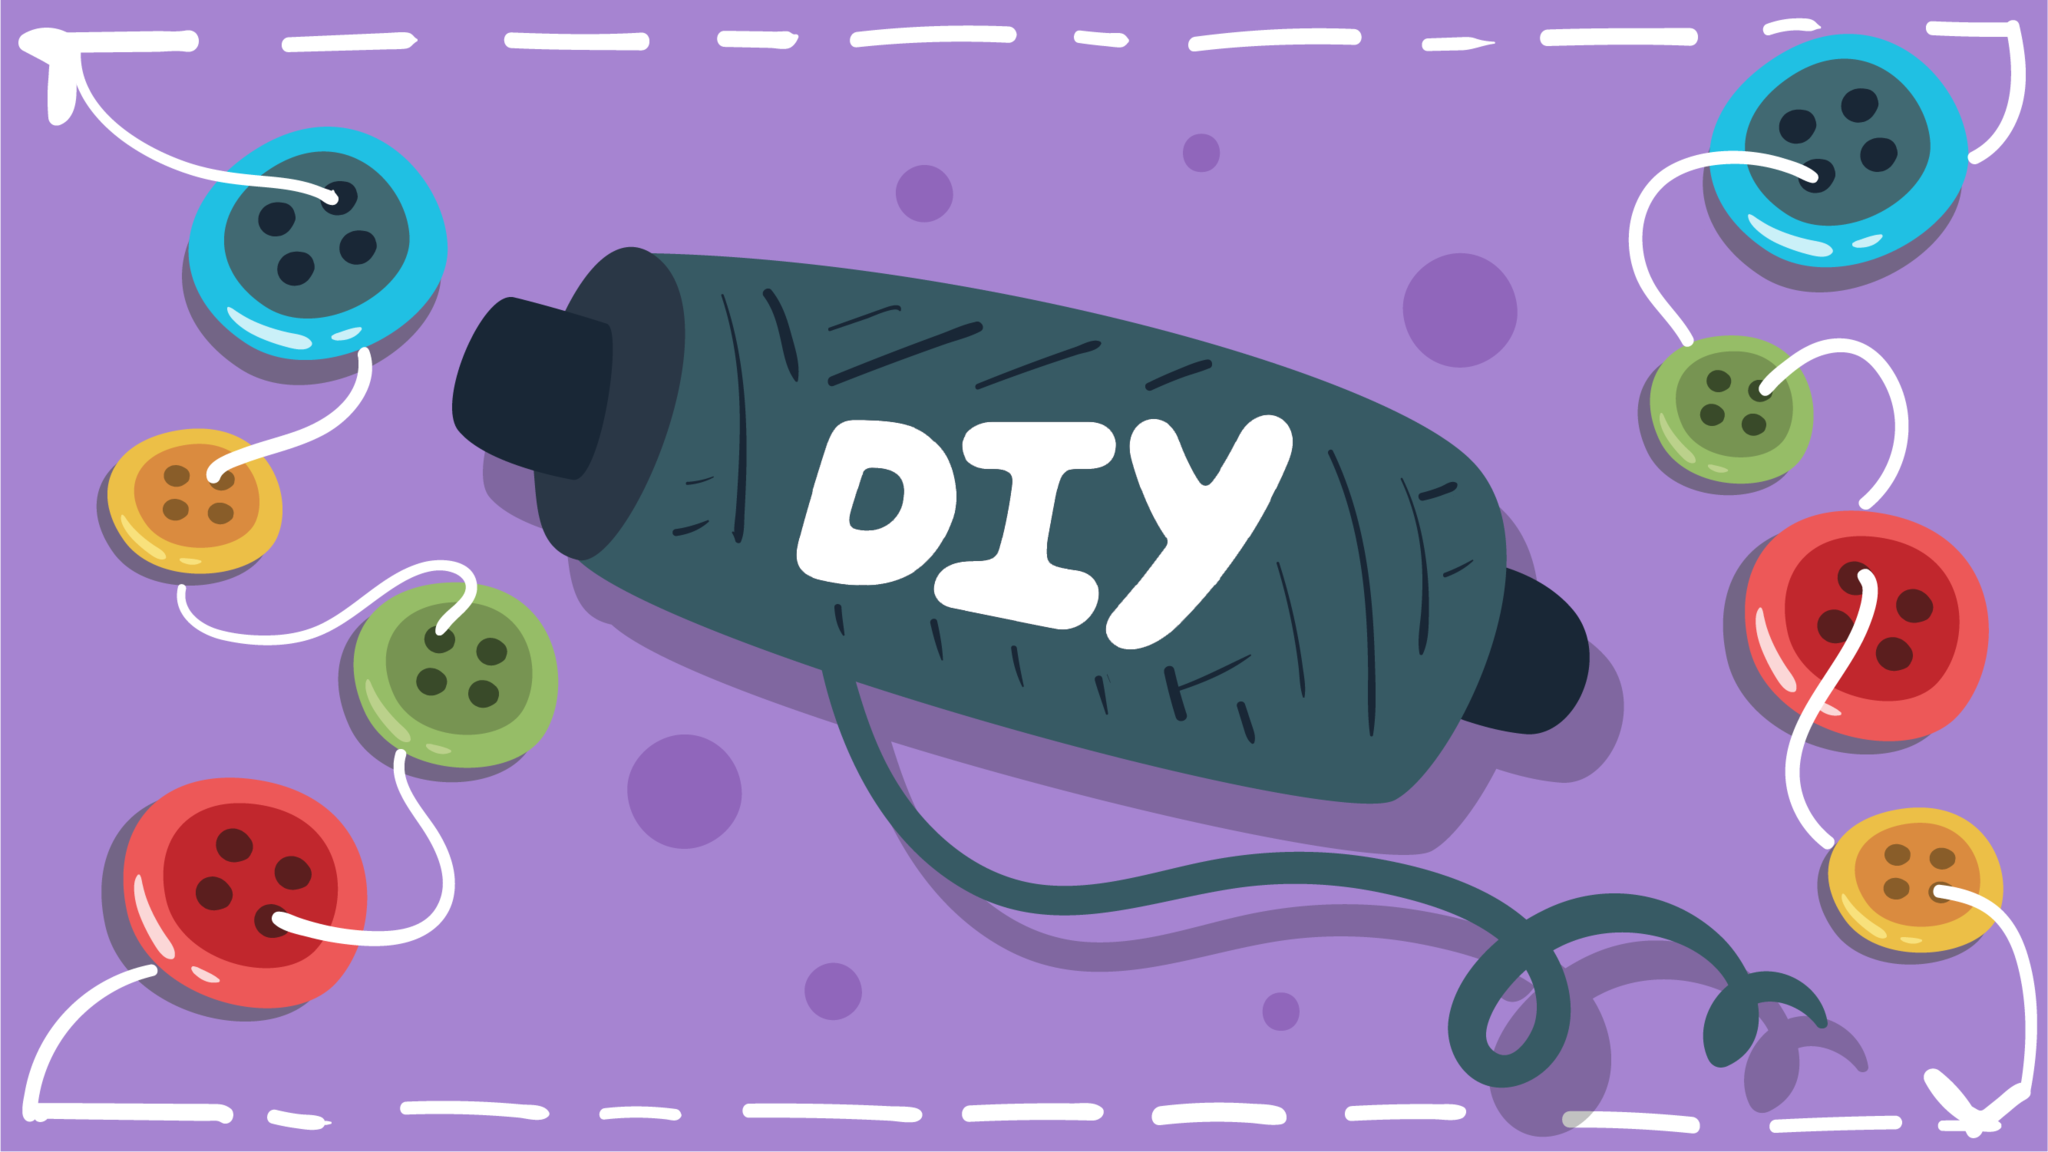
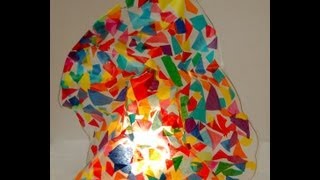
Make A Button Collage
Create a colorful button collage by arranging and gluing buttons onto cardboard, exploring patterns, textures, and composition while developing fine motor and design skills.


Step-by-step guide to make a button collage
Fun Art Projects For The Month Of Making!
Step 1
Gather all materials and bring them to a clear flat workspace.
Step 2
Protect your workspace by laying scrap paper or newspaper under your cardboard.
Step 3
Cut the cardboard to the size you want using scissors.
Step 4
Sort the buttons into groups by color size or shape using small bowls or piles.
Step 5
Lightly draw your collage layout on the cardboard with a pencil.
Step 6
Put a small dab of glue on the back of one large button.
Step 7
Press that button onto the cardboard and hold it for about 10 seconds.
Step 8
Repeat Steps 6 and 7 to glue more buttons following your sketch and building patterns.
Step 9
Use smaller buttons to fill gaps and add texture to your collage.
Step 10
Wipe any glue spills gently with a paper towel.
Step 11
Let your button collage dry flat for at least 30 minutes.
Step 12
Share your finished creation on DIY.org
Help!?
What can we use if we don't have buttons or cardboard?
If you don't have buttons, use bottle caps, paper-punched circles, or beads, and if you lack cardboard use a cereal box or sturdy manila folder and substitute double-sided tape or a glue stick for the craft glue when attaching pieces in Step 6.
Why are some buttons not sticking or glue getting everywhere, and how do we fix it?
If buttons slide or pop off after Steps 6–8, use a stronger craft glue or a hot glue gun with adult help, press each piece firmly for the full 10 seconds in Step 7, and wipe spills immediately as instructed in Step 10 before letting the collage dry flat in Step 11.
How can we adapt this activity for different ages or skill levels?
For younger children simplify by pre-cutting the cardboard, offering only large buttons and a non-toxic glue stick for Steps 3–7 and having them sort into big bowls in Step 4, while older kids can plan complex pencil layouts in Step 5 and use tiny buttons in Step 9 to add detailed texture.
What are simple ways to personalize or extend the button collage?
To personalize and extend the project, paint or decorate the cardboard before Step 5, glue on sequins or beads in Step 9 for extra texture, and frame or photograph the finished collage to share on DIY.org.
Watch videos on how to make a button collage
Cool Art Experiments | Art For Beginners | Art Lessons For Kids | Art Challenges To Do With Friends
4 Videos
Cool Art Experiments | Art For Beginners | Art Lessons For Kids | Art Challenges To Do With Friends
Turning Kids Drawings Into Real Toys
60 Easy Paper Projects - The new Red Ted Art Craft Book for Kids
Modern Art Sculpture for Kids | Inner Child Fun
Facts about collage and mixed-media crafts
🧵 The oldest known button (used as an ornament) was found in Mohenjo-daro and dates to around 2000 BCE.
🎨 The word "collage" comes from the French "coller" meaning "to glue"—Picasso and Braque helped make collage a major modern art technique.
🧠 Picking up and placing small buttons is a great way for kids to build fine motor skills and improve hand–eye coordination.
🌈 Arranging buttons by color, size, and shape teaches visual design principles — repetition, contrast, and balance make collages pop.
♻️ Buttons have been made from shell, metal, wood, glass, and plastic — reusing old buttons is a fun upcycling craft that reduces waste.
How do I make a button collage with my child?
What materials do I need for a button collage?
What ages is a button collage suitable for?
What are the benefits of making a button collage?
