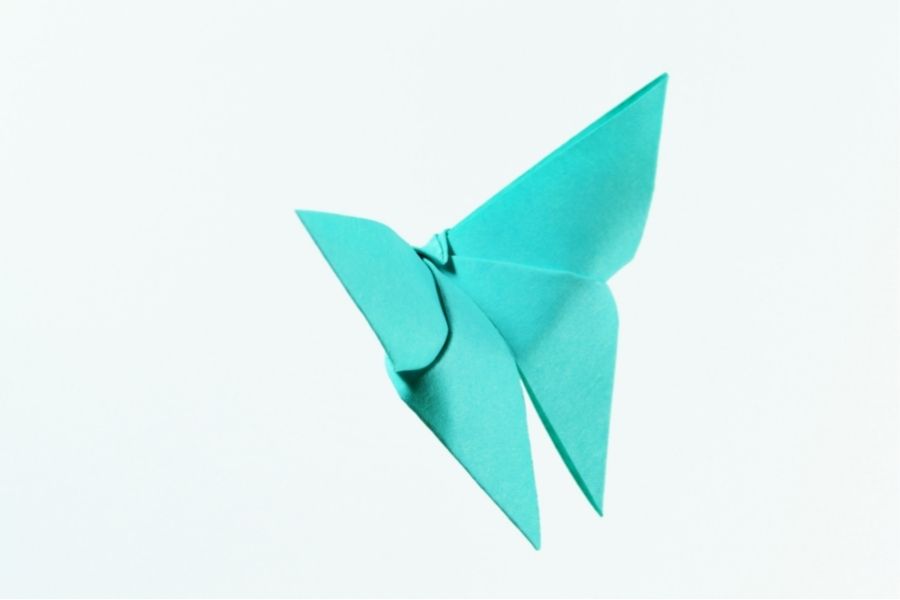
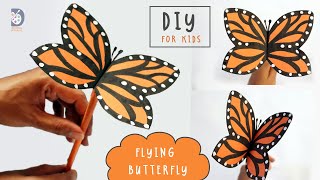
Make a butterfly with @CupcakeLightfury
Make a colorful paper butterfly with @CupcakeLightfury using folded paper, safe scissors, glue, and markers, then decorate wings and learn symmetry.


Step-by-step guide to make a butterfly with @CupcakeLightfury
Step 1
Gather all the Materials Needed on your workspace to make a colorful butterfly with @CupcakeLightfury.
Step 2
Fold one sheet of construction paper in half lengthwise and press a firm crease.
Step 3
Use a pencil to draw half of a butterfly wing along the folded edge leaving a thin center for the body.
Step 4
Cut along your pencil line while the paper is still folded using safe scissors.
Step 5
Open the paper to reveal the full symmetrical butterfly wing shape.
Step 6
Fold the wings closed again along the center crease to prepare for decorating.
Step 7
Decorate only the top visible wing half with colouring materials using dots stripes and simple shapes.
Step 8
Fold the wings together so the decorated side presses the blank side to transfer color and create symmetry.
Step 9
Open the wings to see the mirrored design on both sides.
Step 10
Cut a small rectangular strip from scrap paper to make the butterfly body.
Step 11
Roll the scrap-paper strip into a thin body and tuck the end to secure it.
Step 12
Glue the paper body to the center of the wings.
Step 13
Make two antennae from a pipe cleaner or thin paper strips by cutting and curling the ends.
Step 14
Glue the antennae to the top of the paper body and let the glue dry.
Step 15
Share your finished butterfly on DIY.org.
Help!?
What can I use if I don't have pipe cleaners or construction paper?
Use thin paper strips or twist ties for antennae and substitute regular printer paper folded twice, magazine pages, or lightweight cardstock for construction paper when you fold, draw, and cut the butterfly wing.
My decorated half didn't transfer symmetrically when I folded the wings—what should I try?
If the design doesn't transfer, press firmly along the center crease with your palm or a ruler for 10–20 seconds and blot excess marker or wet paint from the decorated half with scrap paper before folding to avoid smudges.
How can I adapt the activity for different ages?
For preschoolers, pre-cut the wing shape and offer washable crayons and stickers for decorating, while older kids can freehand the wing outline, use paints or collage materials, and curl pipe-cleaner antennae as described in the steps.
How can we extend or personalize the finished butterfly?
Personalize your finished butterfly by adding glitter glue, googly eyes, or a name on the wings before folding for symmetry, or turn several butterflies into a hanging mobile by attaching thread to the glued paper body.
Watch videos on how to make a butterfly with @CupcakeLightfury
Easy Paper BUTTERFLY Craft for Kids | Step-by-Step Origami BUTTERFLY | Fun Paper Crafts for School
4 Videos
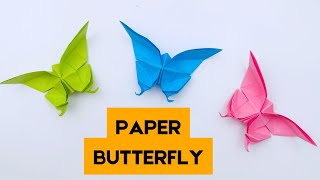
Easy Paper BUTTERFLY Craft for Kids | Step-by-Step Origami BUTTERFLY | Fun Paper Crafts for School
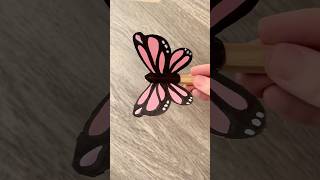
✂️ Easy Butterfly Craft for Kids - Flapping Wings! 🦋
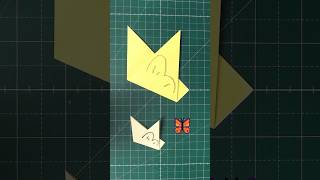
How to Make an Easy Origami Butterfly - Perfect for Kids & Beginners! 🦋✨
Easy Flying Butterfly using paper/How to make a moving Butterfly/DIY for kids
Facts about paper crafts and symmetry for kids
🦋 Butterflies taste with their feet — tiny sensors on their legs help them find the right plants to eat or lay eggs on.
🎨 Folding paper and decorating both wings teaches bilateral symmetry — the left and right sides are mirror images.
✂️ Child-safe scissors have rounded tips to help prevent pokes and make cutting practice safer for kids.
📐 Origami's paper-folding ideas have inspired real-world inventions like foldable solar panels and space structures.
🧠 Decorating and cutting paper butterflies builds fine motor skills, hand-eye coordination, and creativity.
How do I make a colorful paper butterfly with @CupcakeLightfury?
What materials do I need to make a colorful paper butterfly?
What ages is this paper butterfly activity suitable for?
What are the benefits and safety tips for making paper butterflies?
