Make a braid hairstyle!
Practice making a three-strand braid on yourself or a friend, learning sectioning, even tension, and finishing with elastic bands for a neat hairstyle.


Step-by-step guide to make a braid hairstyle
Step 1
Decide whether you will braid your own hair or a friend's hair.
Step 2
Have the person sit or stand facing the mirror and remove any hair accessories.
Step 3
Brush the hair from roots to ends until it is smooth and tangle-free.
Step 4
Gather the hair where you want the braid to start and hold it steady with one hand.
Step 5
Use the comb or your fingers to split the gathered hair into three even sections.
Step 6
Cross the right section over the middle section so the right becomes the new middle.
Step 7
Cross the left section over the new middle section so the left becomes the new middle.
Step 8
Continue braiding by repeating right-over-middle then left-over-middle until you reach near the ends of the hair.
Step 9
Slide your fingers down the sections as you braid to keep the tension even and neat.
Step 10
Secure the end of the braid with a small elastic band so it won’t come undone.
Step 11
Smooth or tuck any loose hairs with your fingers or a bobby pin to make the braid look neat.
Step 12
Take a photo and share your finished braid creation on DIY.org.
Help!?
What can I use instead of a small elastic band or comb if I don't have them?
If you don't have a small elastic band, use a hair tie, ribbon, or a gently wrapped clean rubber band to secure the braid, and if you lack a comb use your fingers or a wide-tooth brush to split the gathered hair into three even sections.
My braid keeps coming undone or looks lumpy—what step am I doing wrong and how do I fix it?
If the braid is loose or uneven, re-brush the hair from roots to ends to remove tangles, make sure to split the gathered hair into three even sections, slide your fingers down the sections while repeating right-over-middle and left-over-middle to keep tension even, and finish by securing the end with a small elastic band and tucking loose hairs with a bobby pin.
How can I adapt this braid activity for different age groups?
For toddlers sit them facing the mirror and braid larger sections using your fingers and a soft elastic, for school-age kids let them follow the comb and section steps with your guidance on the first few crosses, and for older kids encourage practicing tighter three-section braids while sliding your fingers down the sections and finishing neatly with a small elastic before taking a photo for DIY.org.
How can we make the braid more creative or turn this into a bigger project?
Personalize the braid by weaving a ribbon into one of the three sections as you braid, make multiple braids and join them into a bun pinned with bobby pins, or swap the small elastic for a colorful scrunchie and then take a photo to share on DIY.org.
Watch videos on how to make a braid hairstyle
Easy Braids Hairstyle for Kids 👧✨ | Quick & Cute Look! #kidshairstyle #braids
4 Videos
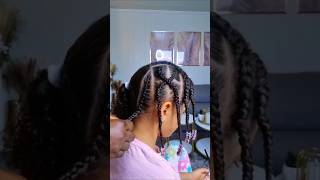
Easy Braids Hairstyle for Kids 👧✨ | Quick & Cute Look! #kidshairstyle #braids
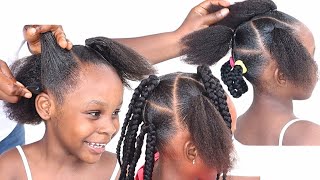
😱 Easy And Affordable Braids Hairstyle For Kids/Beautiful Back To School Braid Hairstyles
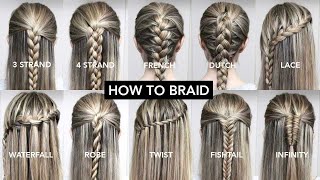
10 Basic Braids For Beginners | Easy DIY Tutorial
EASY BOX BRAIDS FOR KIDS! Rubber band Method| Jessica Pettway
Facts about hairstyling for kids
💇♀️ Braids are one of the oldest hairstyles — people around the world have worn them for thousands of years.
🧠 A three-strand braid is built from a simple sequence: move the outer sections over the middle, left then right.
🤝 Even tension is the secret to neat braids — practice keeping the same pressure so the braid looks smooth.
🪢 Finish braids with a small elastic or ribbon; clear elastics help the braid look seamless.
⏱️ With practice many kids can do a tidy three-strand braid in under 3 minutes—try timing yourself and beat your best!
How do I teach my child to make a three-strand braid step-by-step?
What materials do I need to practice three-strand braids?
What ages are three-strand braid practice suitable for?
What safety tips and fun variations can parents use when teaching braids?
