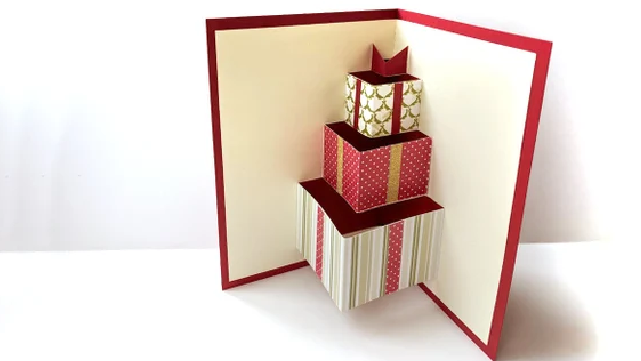
Make a Box Pop Up
Make a pop-up box from paper and cardboard using scissors, ruler, tape, and glue. Cut, fold, and decorate to create a jumping surprise.


Step-by-step guide to make a box pop-up
Step 1
Gather all the materials from the list and clear a flat workspace so you have room to cut and fold.
Step 2
Draw a 15 cm square on a piece of cardboard to make the box base.
Step 3
Cut out the 15 cm cardboard square carefully along the lines.
Step 4
Measure and mark a 3 cm border from each edge on the cardboard square to show where the sides will fold.
Step 5
Score the four border lines gently with the ruler and the tip of the scissors or a blunt tool so the cardboard will fold easily.
Step 6
Cut out the small corner squares made by the border marks so the sides can fold up neatly.
Step 7
Fold up all four sides along the scored lines to form the open box shape.
Step 8
Apply glue or tape to the corner tabs and press the sides together to secure the box.
Step 9
Cut a small character shape from paper or thin cardboard to be your jumping surprise.
Step 10
Cut a paper strip about 12 cm long and 3 cm wide and fold it into a short accordion (three even folds) to make a spring.
Step 11
Glue one end of the paper accordion to the center of the box base and glue the other end to the back of your character so the figure stands when the spring pops up.
Step 12
Share your finished jumping pop-up box on DIY.org
Final steps
You're almost there! Complete all the steps, bring your creation to life, post it, and conquer the challenge!

Help!?
I don't have thick cardboard for the 15 cm square base — what can I use instead?
Use a cereal or shipping box cut down to a 15 cm square or use poster board and score more lightly so the 3 cm border folds without tearing.
My sides won't stay glued/taped and the box falls apart — what should I check?
Ensure you cleanly cut out the small corner squares, score the four border lines gently with a ruler before folding, and press strong glue or tape on the corner tabs until set so the sides hold together.
How can I adapt the activity for a 4-year-old versus a 10-year-old?
For a 4-year-old have an adult pre-cut the 15 cm square, corner notches, and the 12 cm paper accordion while the child decorates and glues the character, and for a 10-year-old let them measure, score the 3 cm borders, cut, fold, and experiment with extra accordion folds themselves.
How can I make the pop-up more fun or unique?
Decorate the box with patterned paper or markers, add multiple characters glued to extra 12 cm accordion springs, or swap the paper spring for a folded pipe cleaner or small metal spring to change the popping action before sharing on DIY.org.
Watch videos on how to make a box pop-up
Pop Up Cubes in a box Tutorial | Step by Step Pop Up Cubes DIY | Jumping Cubes
4 Videos
Pop Up Cubes in a box Tutorial | Step by Step Pop Up Cubes DIY | Jumping Cubes
Pop-Up Tutorial 14 - The Box
Pop-Up Tutorial 1 - Introduction - Materials and Basic Theory
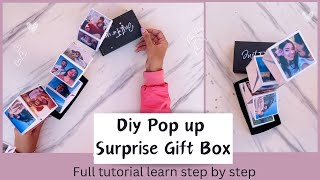
DIY Popup Cubes Gift Box Full Tutorial Learn Step By Step | Popup Cubes | Jumping Cubes
Facts about paper engineering and pop-up crafts
✂️ Kirigami combines cutting and folding to make shapes that pop out, and the name literally means “cut paper” in Japanese.
📦 Cardboard is made of layered paper pulp glued together, so it’s stronger than regular paper and great for sturdy pop-up boxes.
🪄 Pop-up books use paper engineering—clever folds and tabs—to turn flat pages into springy 3D surprises.
📐 Scoring a fold line with a ruler or blunt tool gives crisp, neat folds and helps paper fold without tearing.
🎨 Simple decorations like markers, stickers, and washi tape can totally transform a pop-up box into a fun jumping surprise.
How do you make a box pop up from paper and cardboard?
What materials do I need to make a pop-up box craft?
What ages is the box pop-up activity suitable for?
What safety tips should I follow when making a pop-up box with my child?


One subscription, many ways to play and learn.
Only $6.99 after trial. No credit card required