Make a book from recycled materials
Make a simple handmade book using recycled paper, cardboard, and glue; fold, bind, and decorate pages to tell a story or keep sketches.


Step-by-step guide to make a book from recycled materials
Build Your First Book - Fun Kids Project!
Step 1
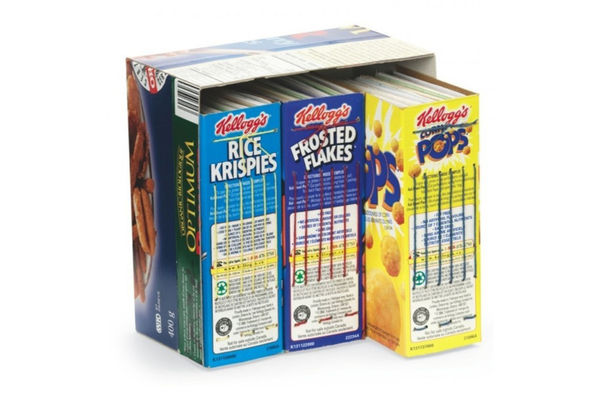
Gather all your materials and place them on a clean flat workspace so everything is easy to reach.
Step 2
Draw two equal rectangles on the cardboard with your pencil and ruler for the front and back covers.
Step 3
Cut out the two cardboard rectangles carefully with scissors to make the covers.
Step 4
Fold each sheet of recycled paper in half to make the book pages.
Step 5
Stack the folded pages neatly with all the folded edges aligned.
Step 6
Place the stack of folded pages between the two cardboard covers so the folded edge lines up where the spine will be.
Step 7
Apply a thin line of glue along the folded edge of the pages using your glue or glue stick.
Step 8
Press the glued spine and the covers together firmly for 30 seconds to help them stick.
Step 9
Smooth a strip of clear tape along the outside spine to secure the pages and covers together.
Step 10
Decorate the cover and inside pages with drawings and words to tell a story or keep sketches.
Step 11
Let the glue and any wet decorations dry flat for at least 30 minutes before handling.
Step 12
Share your finished creation on DIY.org
Help!?
If I don't have clear tape or a glue stick, what else can I use to secure the spine?
If clear tape or a glue stick aren't available, you can staple the folded pages to the cardboard along the spine or run a thin bead of hot glue along the folded edge and press the covers together for 30 seconds.
My pages keep slipping out or the spine won't stick—what did I do wrong and how do I fix it?
If pages slip, make sure the folded edges are tightly aligned, apply a thin, even line of glue along the folded edge as instructed, press the glued spine and covers firmly for 30 seconds, then smooth clear tape over the outside spine and let everything dry flat for at least 30 minutes.
How can I adapt this activity for younger or older kids?
For younger children, have an adult draw and cut the two cardboard rectangles and use a glue stick and stickers for decorating, while older kids can fold more recycled pages, stitch the spine before taping, and write longer stories or chapters.
How can we make the recycled book more special or durable?
To personalize and strengthen the book, glue fabric or magazine collages onto the cardboard covers, add a glued pocket inside the back cover for keepsakes, and varnish or laminate the decorated cover after it dries.
Watch videos on how to make a book from recycled materials
How to make a recycled notebook in 5 easy steps!
4 Videos
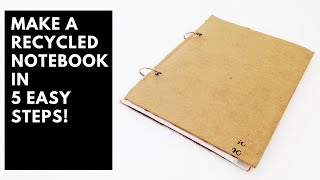
How to make a recycled notebook in 5 easy steps!

3 EASY but Awesome Crafts using old Books! (Upcycling Books and DIY Paper Projects Tutorial)
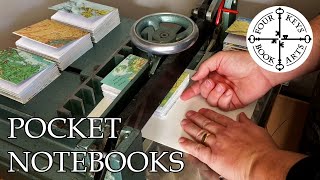
Making a Batch of Upcycled Pocket Notebooks - Easy No-Sew Binding
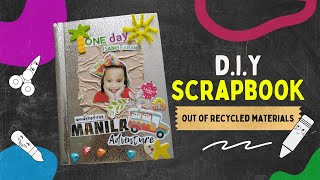
Easy DIY Scrapbook out of recycled materials | My First Fieldtrip Adventure
Facts about bookbinding and recycled paper crafts
📚 Bookbinding has been practiced for over a thousand years — monks and artisans once stitched and covered books entirely by hand.
♻️ Recycling one ton of paper can save about 17 trees and reduces landfill waste.
✂️ You can fold a single sheet of paper into an 8-page mini-book (a zine) with just a few folds and one cut.
📦 Corrugated cardboard is lightweight yet strong, so it's a great recycled material for DIY book covers.
🌍 Upcycling old paper into a handmade book turns trash into treasure and helps the planet a bit at a time.
How do I make a handmade book from recycled materials with my child?
What materials do I need to make a book from recycled paper and cardboard?
What ages is making a recycled handmade book suitable for?
What are the benefits and safety tips for making recycled books with kids?
