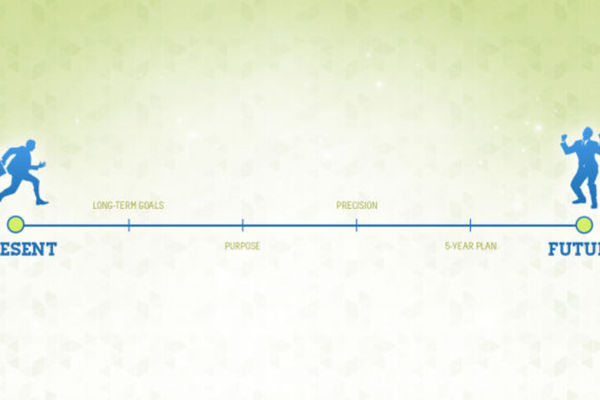
Make a 5-year plan
Create a simple five-year plan with drawings, goals, and timelines; practice setting steps, tracking progress, and adjusting plans with adult guidance.


Step-by-step guide to make a 5-year plan
5 Steps to Achieving Your Goals: A Guide for Kids
Step 1
Gather all materials and set them on a table so everything is ready.
Step 2
Pick a title for your five-year plan and say which year or age you will start.
Step 3
Fold your paper into five equal columns or draw five boxes across the page to make one column for each year.
Step 4
Label the columns Year 1 Year 2 Year 3 Year 4 Year 5 or write the calendar years or ages at the top of each column.
Step 5
Draw one big picture or symbol in each column that shows a dream or big idea for that year.
Step 6
Under each picture write two or three goals you want to try during that year.
Step 7
For each goal write one milestone with a month or age when you want to reach it.
Step 8
For each milestone write two small steps you can do soon to move toward that milestone.
Step 9
Use sticky notes or draw checkboxes to make a progress tracker for each small step.
Step 10
Choose a regular check-in day (for example every month) to look at your plan with an adult.
Step 11
Mark the check-in day on your calendar or monthly pages so you won’t forget.
Step 12
With an adult practice changing one small step or moving one milestone if something new happens.
Step 13
Decorate your plan with colors stickers and fun drawings to make it exciting to follow.
Step 14
Take a photo or describe your finished five-year plan and share it on DIY.org
Help!?
What can we use instead of sticky notes, stickers, or a camera if we don't have them?
If you don't have sticky notes use small torn paper tabs taped to the columns, replace stickers with colored markers or washi tape for decoration, and write a short description of the finished five-year plan instead of taking a photo to share on DIY.org.
What should we do if folding the paper into five equal columns or writing milestones feels too hard?
Use a ruler and pencil to draw five equal boxes across the page instead of folding, and start with one picture and one milestone per year so the child can add the two small steps later during your regular check-in day.
How can this activity be changed for younger children or for older kids who want more detail?
For younger children simplify to three picture-columns with one goal each and let an adult write milestones and sticky-note steps, while older kids can label calendar years, add month-based milestones, and track progress with a digital calendar for the check-in day.
How can we make the five-year plan more motivating, creative, or personalized?
Color-code each year's goals with different markers, use the sticky-note or checkbox progress tracker to add reward stickers for completed small steps, practice changing one small step with an adult as the instructions suggest, and take a photo to post on DIY.org to celebrate progress.
Watch videos on how to make a 5-year plan
SMART Goals for kids
4 Videos

SMART Goals for kids

How to Craft a 5 Year Plan | Brian Tracy

How To Set Goals (4 Easy Steps)

How to Make an Action Plan to Achieve Your Goals (In 7 Simple Steps)
Facts about goal setting and planning for kids
🎯 Writing a goal down helps you remember it and feel more committed to doing it.
🗓️ Five years = 60 months — turning a big goal into monthly steps makes it feel doable.
🧠 Planning and self-control (executive function) grow a lot in early childhood, especially ages 3–7.
🎨 Drawing goals taps visual memory, which many kids use to understand and recall ideas better than words alone.
🤝 Regular adult check-ins and encouragement make children much more likely to stick with their plans.
How do I help my child make a simple five-year plan?
What materials do I need to make a five-year plan with my child?
What ages is a five-year planning activity suitable for?
What are the benefits of making a five-year plan with kids?
