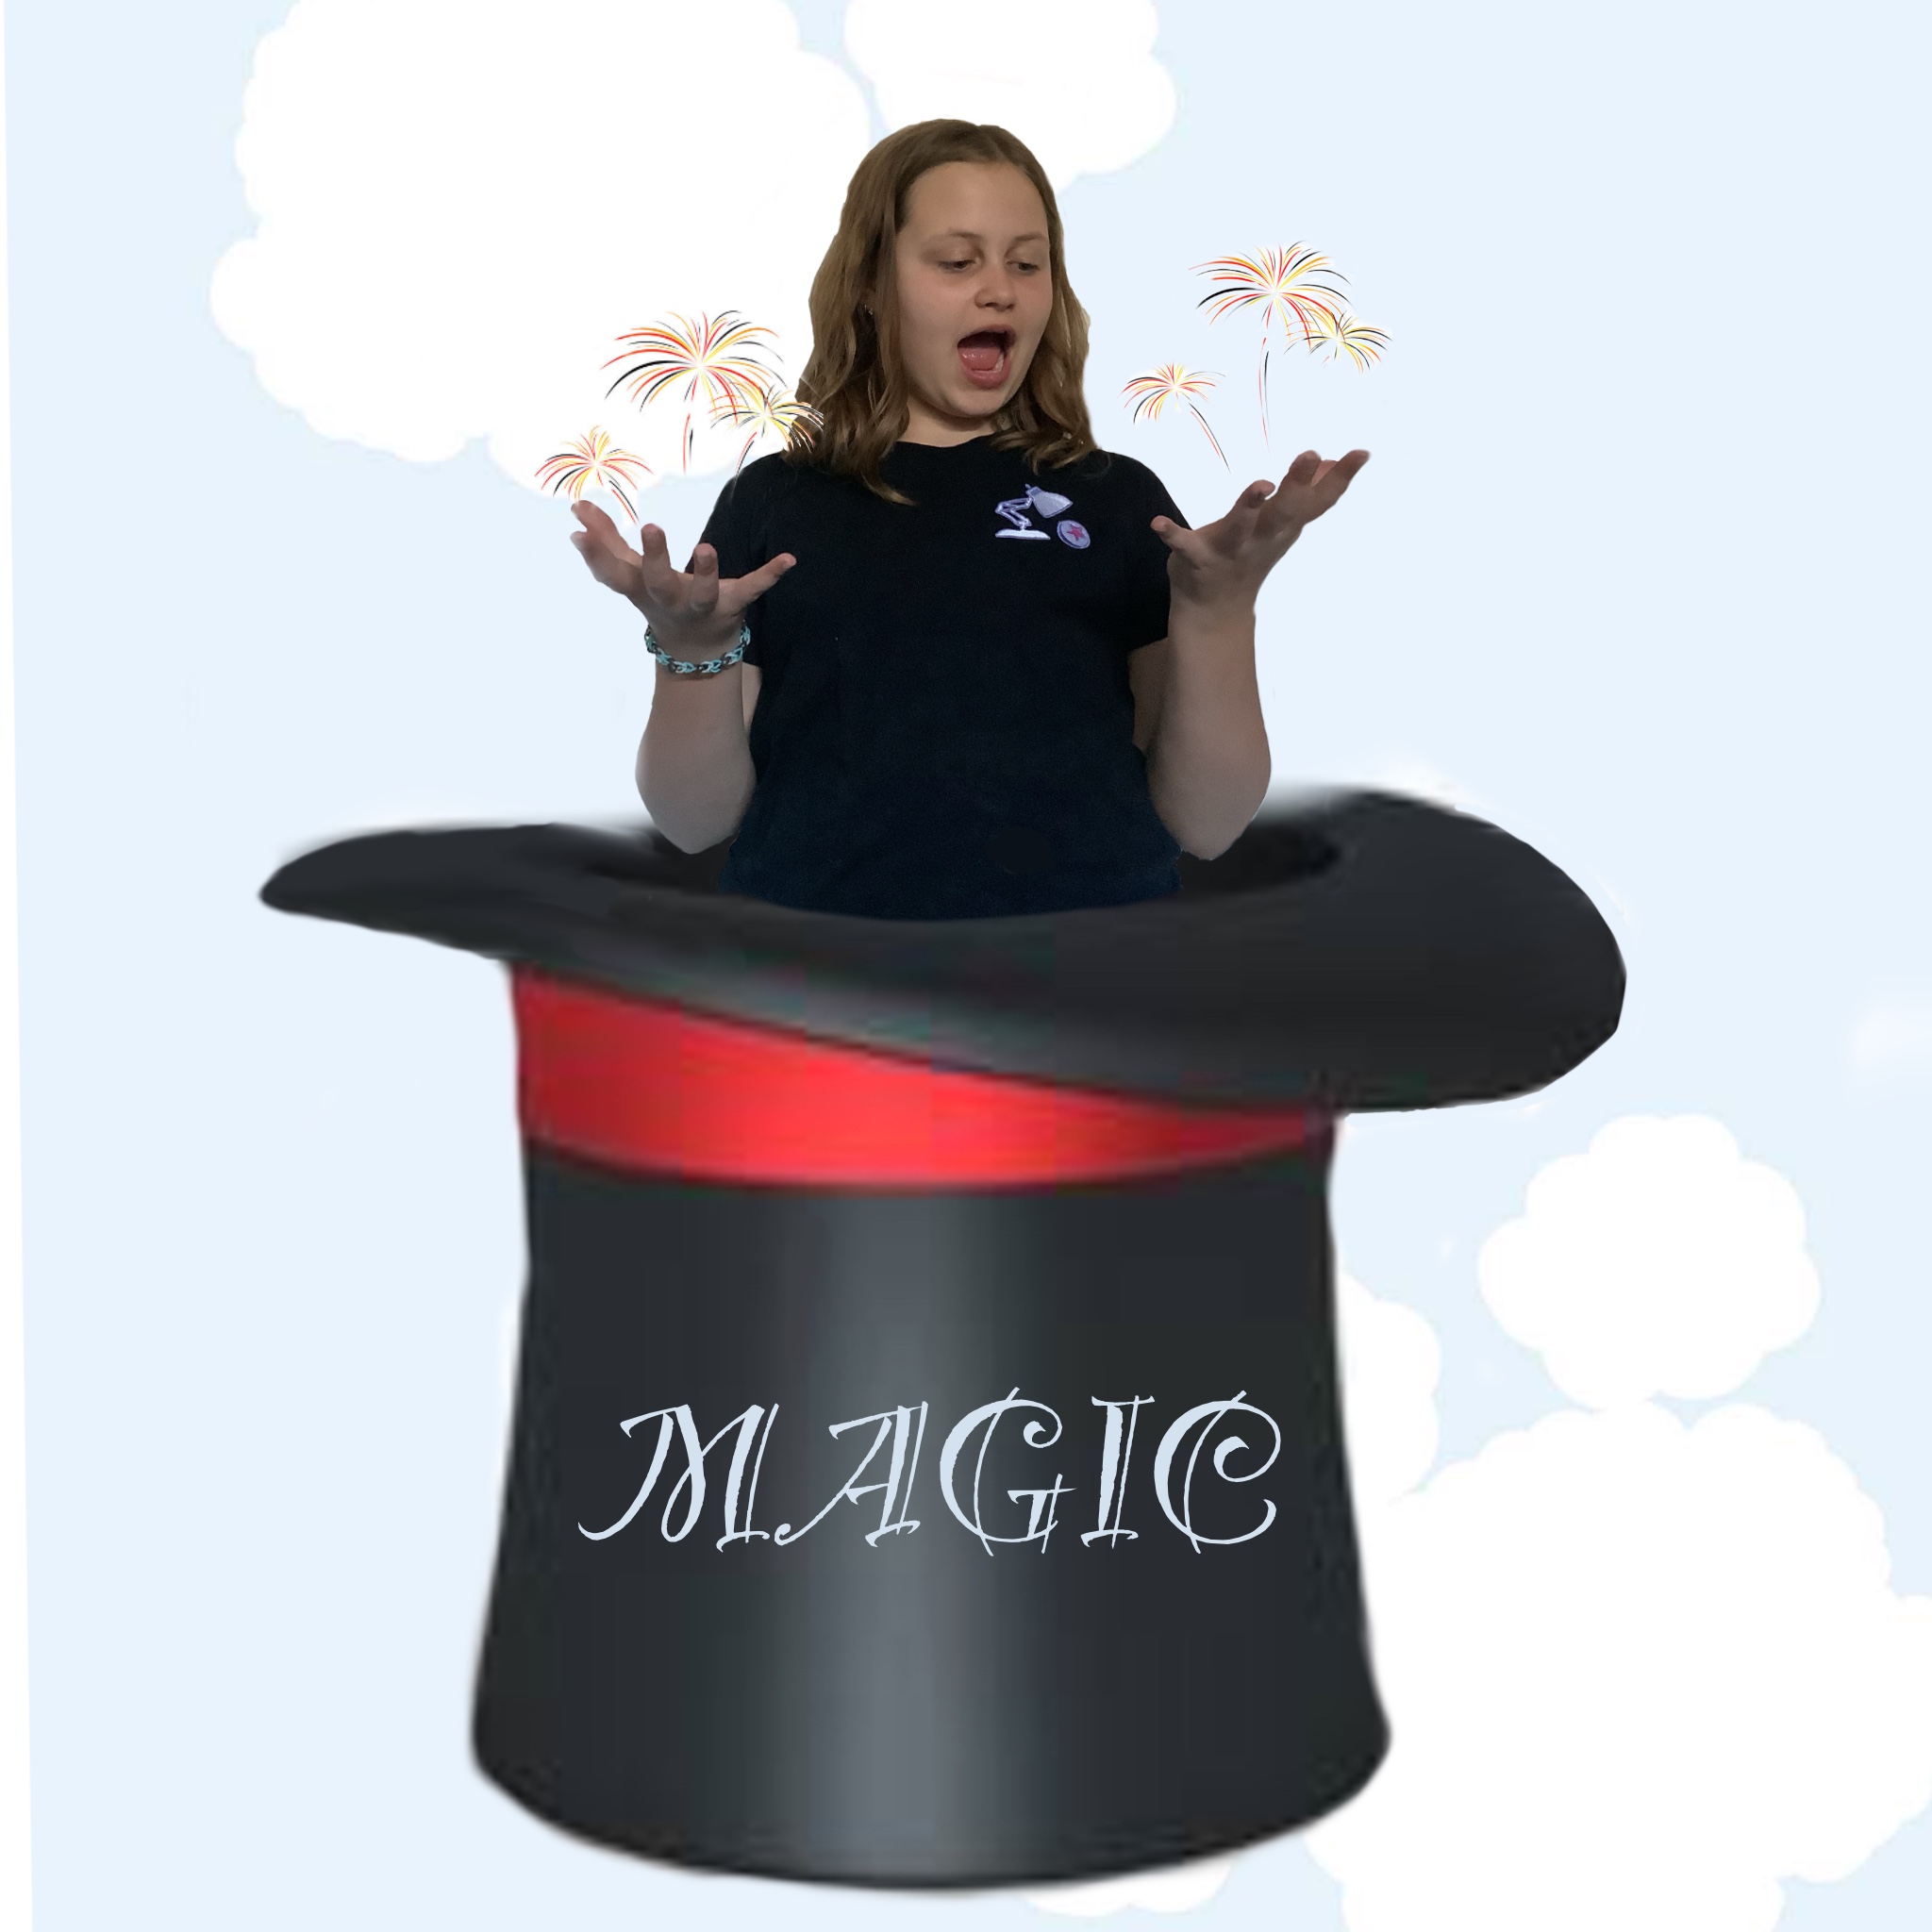
Magic Tricks with DIY Star @LissyLooLoo
Build a sparkly DIY paper star prop and learn three simple magic tricks: vanish, reveal, and sleight-of-hand to amaze friends and family.


Step-by-step guide to Magic Tricks with DIY Star @LissyLooLoo
Step 1
Gather all materials and put them on a flat table so you can reach everything easily.
Step 2
Draw a large 5-point star on one sheet of paper using a pencil or marker.
Step 3
Cut out two identical star shapes from paper using scissors so you have a front and back star.
Step 4
Cut a small rectangle from the scrap paper and fold it into a tiny shelf shape for hiding the coin.
Step 5
Tape or glue the folded shelf inside one star point so it sits hidden from the front.
Step 6
Apply glue or tape around the edges of one star leaving one point unglued to make a pocket.
Step 7
Press the second star on top and align the edges so a secret pocket is formed between the two stars.
Step 8
Let the glue or tape set and dry completely so the pocket stays closed.
Step 9
Decorate the star with sparkly stickers or glitter glue and add colour to make your magic prop shine.
Step 10
Put the small coin into your closed palm so you are ready to practice a vanish move.
Step 11
Hold the star above your closed palm so the audience sees the star covering your hand.
Step 12
Slide the coin from your palm into the secret pocket through the open star point so the coin seems to vanish.
Step 13
Open the star to show the coin resting on the hidden shelf for a magical reveal.
Step 14
Practice palming the coin in your fingers out of sight to learn a simple sleight-of-hand vanish and reappearance.
Step 15
Share a photo or video of your sparkly magic star and tricks on DIY.org so friends can see your amazing magic.
Help!?
I don't have a small coin, glitter glue, or liquid glue — what can I use instead?
Use a button, bead, or washer instead of the small coin, regular markers or sequins instead of glitter glue or sparkly stickers, and a glue stick or clear tape instead of liquid glue to form the pocket.
The coin falls out or the pocket shows when I tilt the star — how can I fix that?
Reinforce the folded shelf inside the star point with extra tape, make sure you left only one point unglued when forming the pocket, press the glued edges firmly together, and let the glue or tape set and dry completely as instructed.
How can I adapt this activity for different ages?
For younger children, pre-draw and pre-cut the two star shapes and fold the scrap paper shelf for them and use a larger button instead of a coin, while older kids can cut stars from thin cardboard, add a washi-tape hinge, and practice the palming sleight-of-hand step to improve the vanish.
How can we make the magic star trick more impressive or personalize it?
Make the prop more impressive by reinforcing the star with thin cardboard for durability, adding a tiny mirror or LED tealight behind the hidden shelf, decorating heavily with sparkly stickers or glitter glue, and writing a short reveal line before sharing a photo or video on DIY.org.
Watch videos on how to perform Magic Tricks with DIY Star @LissyLooLoo
How To Make a Paper Magic Star - Origami
4 Videos
How To Make a Paper Magic Star - Origami
DIY Star fairy wand/Easy magic wand for girls/how to make fairy magic stick/DIY angel fairy stick
DIY PAPER MAGIC WAND / Paper Crafts For School / Paper Craft / Star Moon Magic Wand / Origami Wand
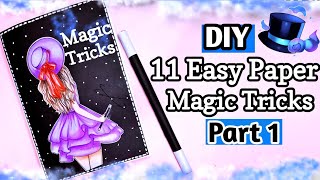
11 Simple Magic Tricks Anyone Can Do / DIY Magic Game Book / DIY Magic Craft To Amaze Your Friends
Facts about magic tricks for kids
🎩 Magicians rely on misdirection — steering attention away from the secret — to make vanish and reveal tricks work every time.
✨ Glitter reflects light from thousands of tiny facets, so a little sparkle goes a long way on a paper star prop.
✂️ Folding paper (as in origami) increases its stiffness, which helps your DIY star keep its shape without lots of glue.
🪄 Sleight-of-hand is mostly muscle memory: practicing a single move dozens or hundreds of times makes it look effortless.
⭐ Tiny folded 'lucky stars' are a beloved papercraft treasure and make perfect mini-templates when designing larger sparkly stars.
How do you do Magic Tricks with DIY Star @LissyLooLoo?
What materials do I need for the DIY paper star magic prop?
What ages is the Magic Tricks with DIY Star activity suitable for?
What are the benefits and safety tips for doing the star magic tricks?
