Let's Bake A Giant Monster Cookie
Bake a giant monster cookie together, measure ingredients, mix dough, shape and bake it safely, then decorate with fun edible monster features.


Step-by-step guide to bake a giant monster cookie
The Biggest Cookie Ever! 🍪 Cookie Monster's Magical Baking Adventure for Kids 🤩🎉
Step 1
Wash your hands with soap and water until they are clean and dry.
Step 2
Preheat the oven to 350°F (175°C).
Step 3
Line a baking sheet with a sheet of parchment paper.
Step 4
Measure all ingredients into small bowls using these amounts: 1 cup all-purpose flour; 1 cup rolled oats; 1 teaspoon baking soda; 1/4 teaspoon salt; 1/2 cup unsalted butter softened; 1/2 cup creamy peanut butter; 1 cup packed brown sugar; 1/2 cup granulated sugar; 1 large egg; 1 teaspoon vanilla; 1 cup chocolate chips; 3/4 cup M&Ms.
Step 5
Put the butter peanut butter and both sugars into a mixing bowl.
Step 6
Beat or stir that mixture until it is smooth and creamy.
Step 7
Stir the egg and vanilla into the creamy mixture until they are fully mixed in.
Step 8
Add the measured flour oats baking soda and salt to the wet mixture and combine until a cookie dough forms.
Step 9
Fold the chocolate chips and M&Ms into the dough until they are spread evenly.
Step 10
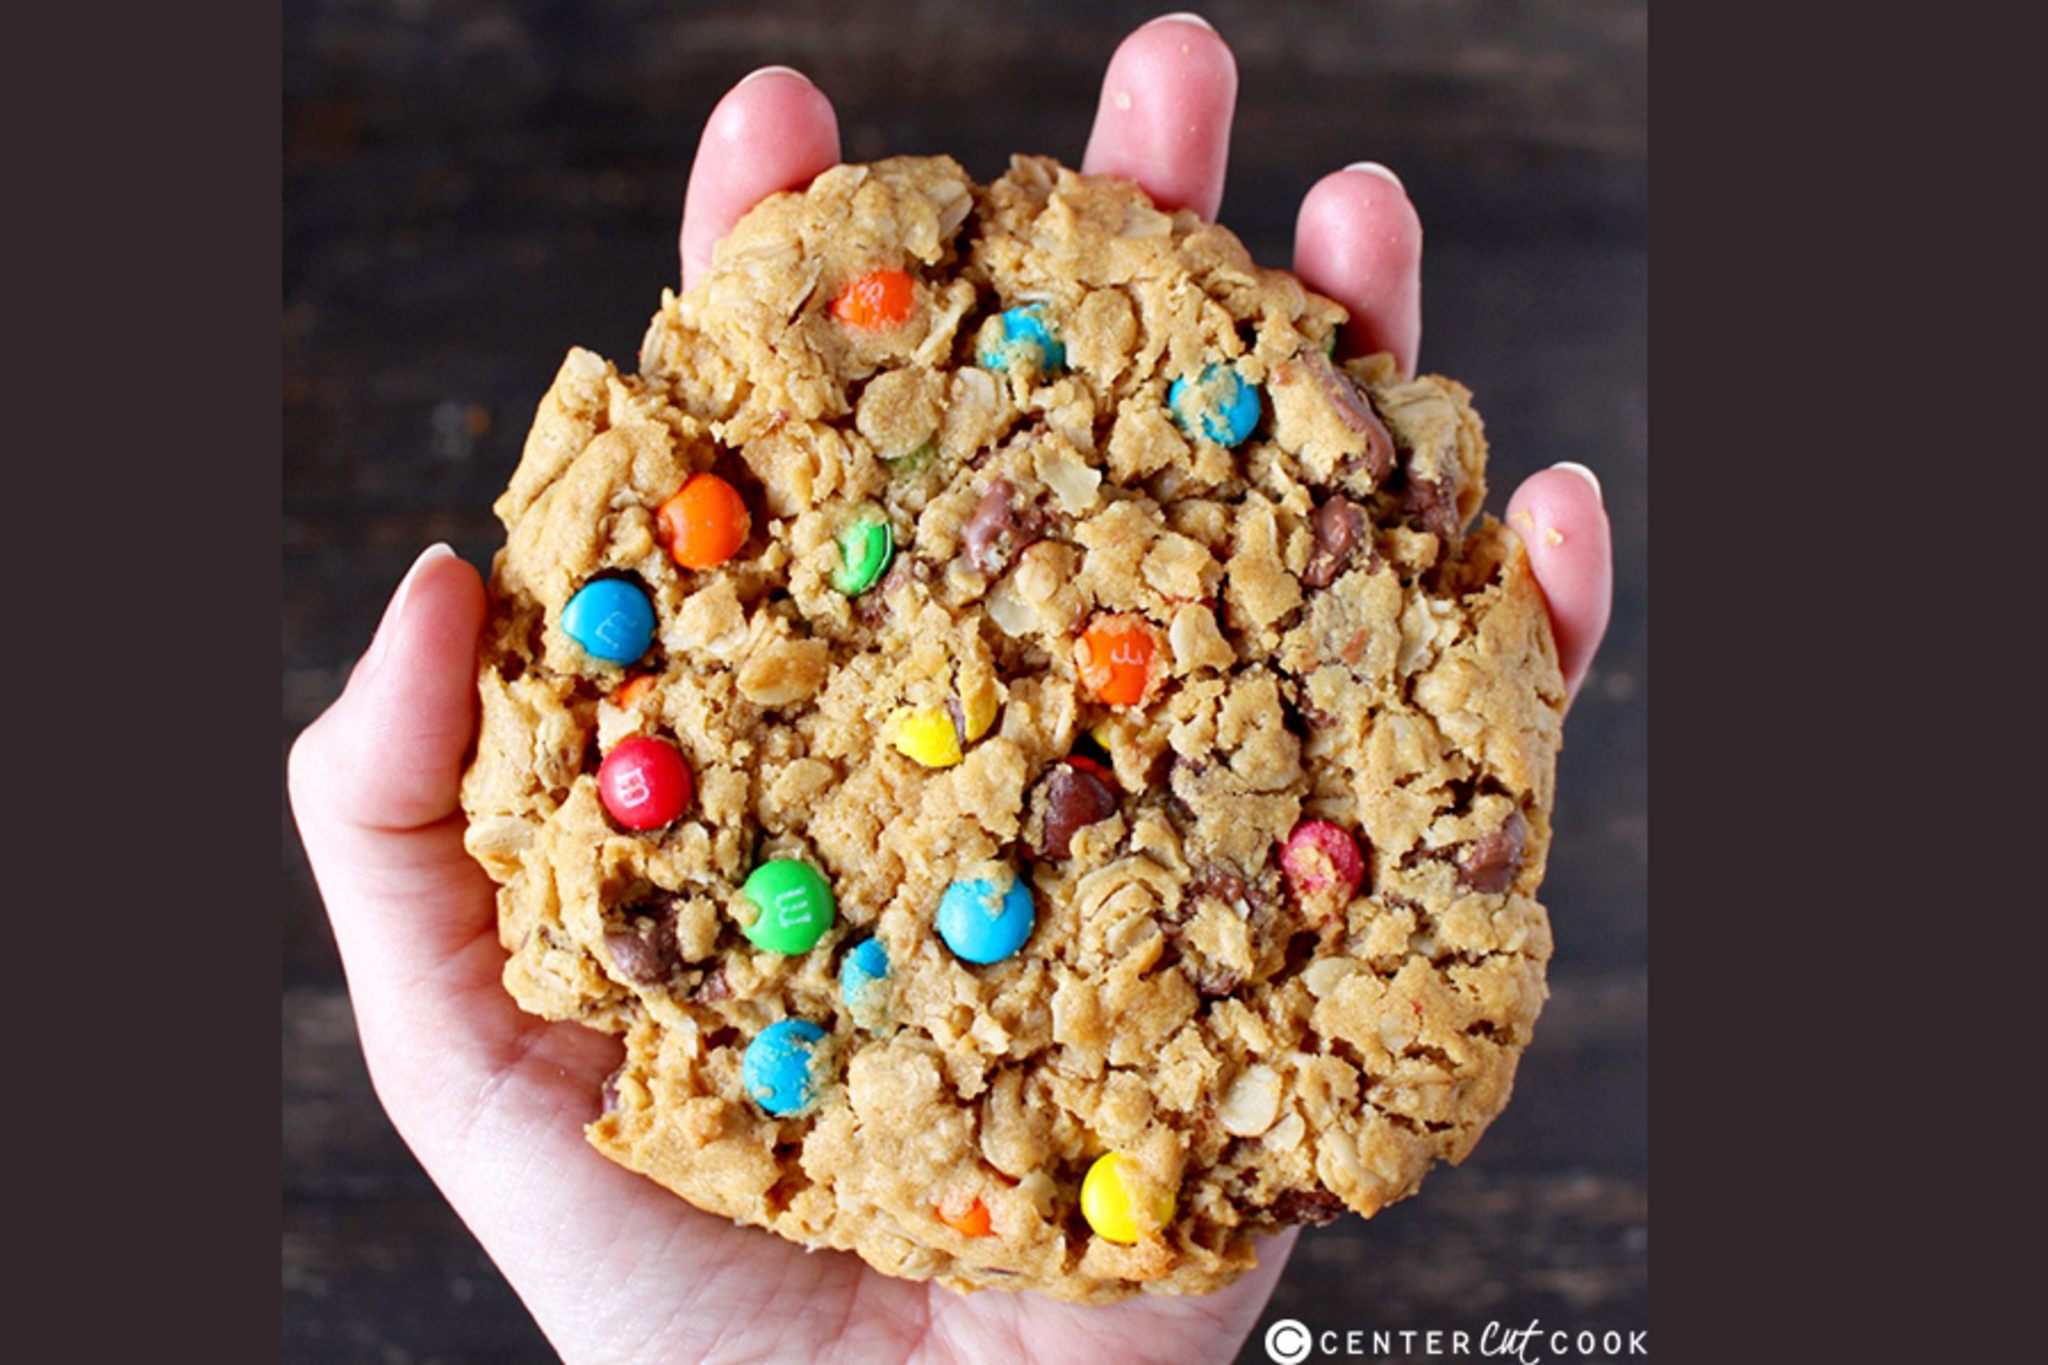
Shape the dough on the lined baking sheet into one big round about 10 inches across and 1 inch thick.
Step 11
Chill the shaped cookie on the baking sheet in the refrigerator for 15 minutes.
Step 12
Take the baking sheet out of the oven using oven mitts when the cookie is baked for 18 to 22 minutes and the edges look golden.
Step 13
Slide the cookie onto a cooling rack to cool for about 20 minutes.
Step 14
Press candy eyes chocolate chips and extra candies into the top to decorate your giant cookie into a silly monster face.
Step 15
Share a photo and story of your finished giant monster cookie on DIY.org.
Help!?
What can I use instead of creamy peanut butter or M&Ms if I have allergies or can't find them?
Replace the 1/2 cup creamy peanut butter in the step where you add butter and peanut butter with an equal amount of sunflower seed butter for a peanut allergy, and swap the 3/4 cup M&Ms for an equal amount of extra chocolate chips or allergy-safe candy when you fold them into the dough and decorate.
My giant cookie spread too thin or didn't hold a 1-inch thickness—what should I try?
If the shaped dough won't stay about 1 inch thick, chill the shaped cookie on the lined baking sheet for longer than the 15 minutes called for and confirm the oven is fully preheated to 350°F before baking so it sets quickly during the 18–22 minute bake.
How can I adapt the activity for different ages or skill levels?
For younger kids let them wash hands, measure dry ingredients like oats and stir the wet mixture while an adult handles the oven mitts and baking, and for older kids let them shape the 10-inch round, press in chocolate chips and M&Ms, chill, bake for 18–22 minutes, cool, and decorate the monster face independently.
How can we extend or personalize our giant monster cookie after baking?
After cooling on the rack, press candy eyes, extra candies, or piped frosting into the top to create different monster faces, try swapping in mix-ins like chopped nuts or sprinkles when folding in the chocolate chips and M&Ms, and then share a photo and story of your finished monster cookie on DIY.org.
Watch videos on how to bake a giant monster cookie
Monster Cookies | Sally's Baking
3 Videos

Monster Cookies | Sally's Baking

Easy Monster Cookies Recipe

How to make Monster Cookies
Facts about baking for kids
🍪 Cookies likely originated in Persia in the 7th century when cooks started testing small amounts of cake batter in ovens.
📏 A “pinch” is roughly 1/16 of a teaspoon—small measuring differences can change how a cookie turns out!
🔥 Most cookie recipes expect a preheated oven around 350°F (about 175–180°C) so cookies bake evenly from the start.
🧪 Baking soda needs an acidic ingredient to activate, while baking powder already contains an acid and a base.
⏱️ Giant or very thick cookies often bake better at a slightly lower temperature for longer so the center cooks without the edges burning.
How do I bake a giant monster cookie with my child?
What materials and ingredients do I need to bake a giant monster cookie?
What ages is baking a giant monster cookie suitable for?
What safety tips should I follow when baking and decorating a giant monster cookie?
