Lego a Traffic Light
Build a working Lego traffic light model using colored bricks and a simple switch to learn sequencing, color order, and road safety rules.


Step-by-step guide to Lego a Traffic Light
How were LEGO bricks invented?
Step 1
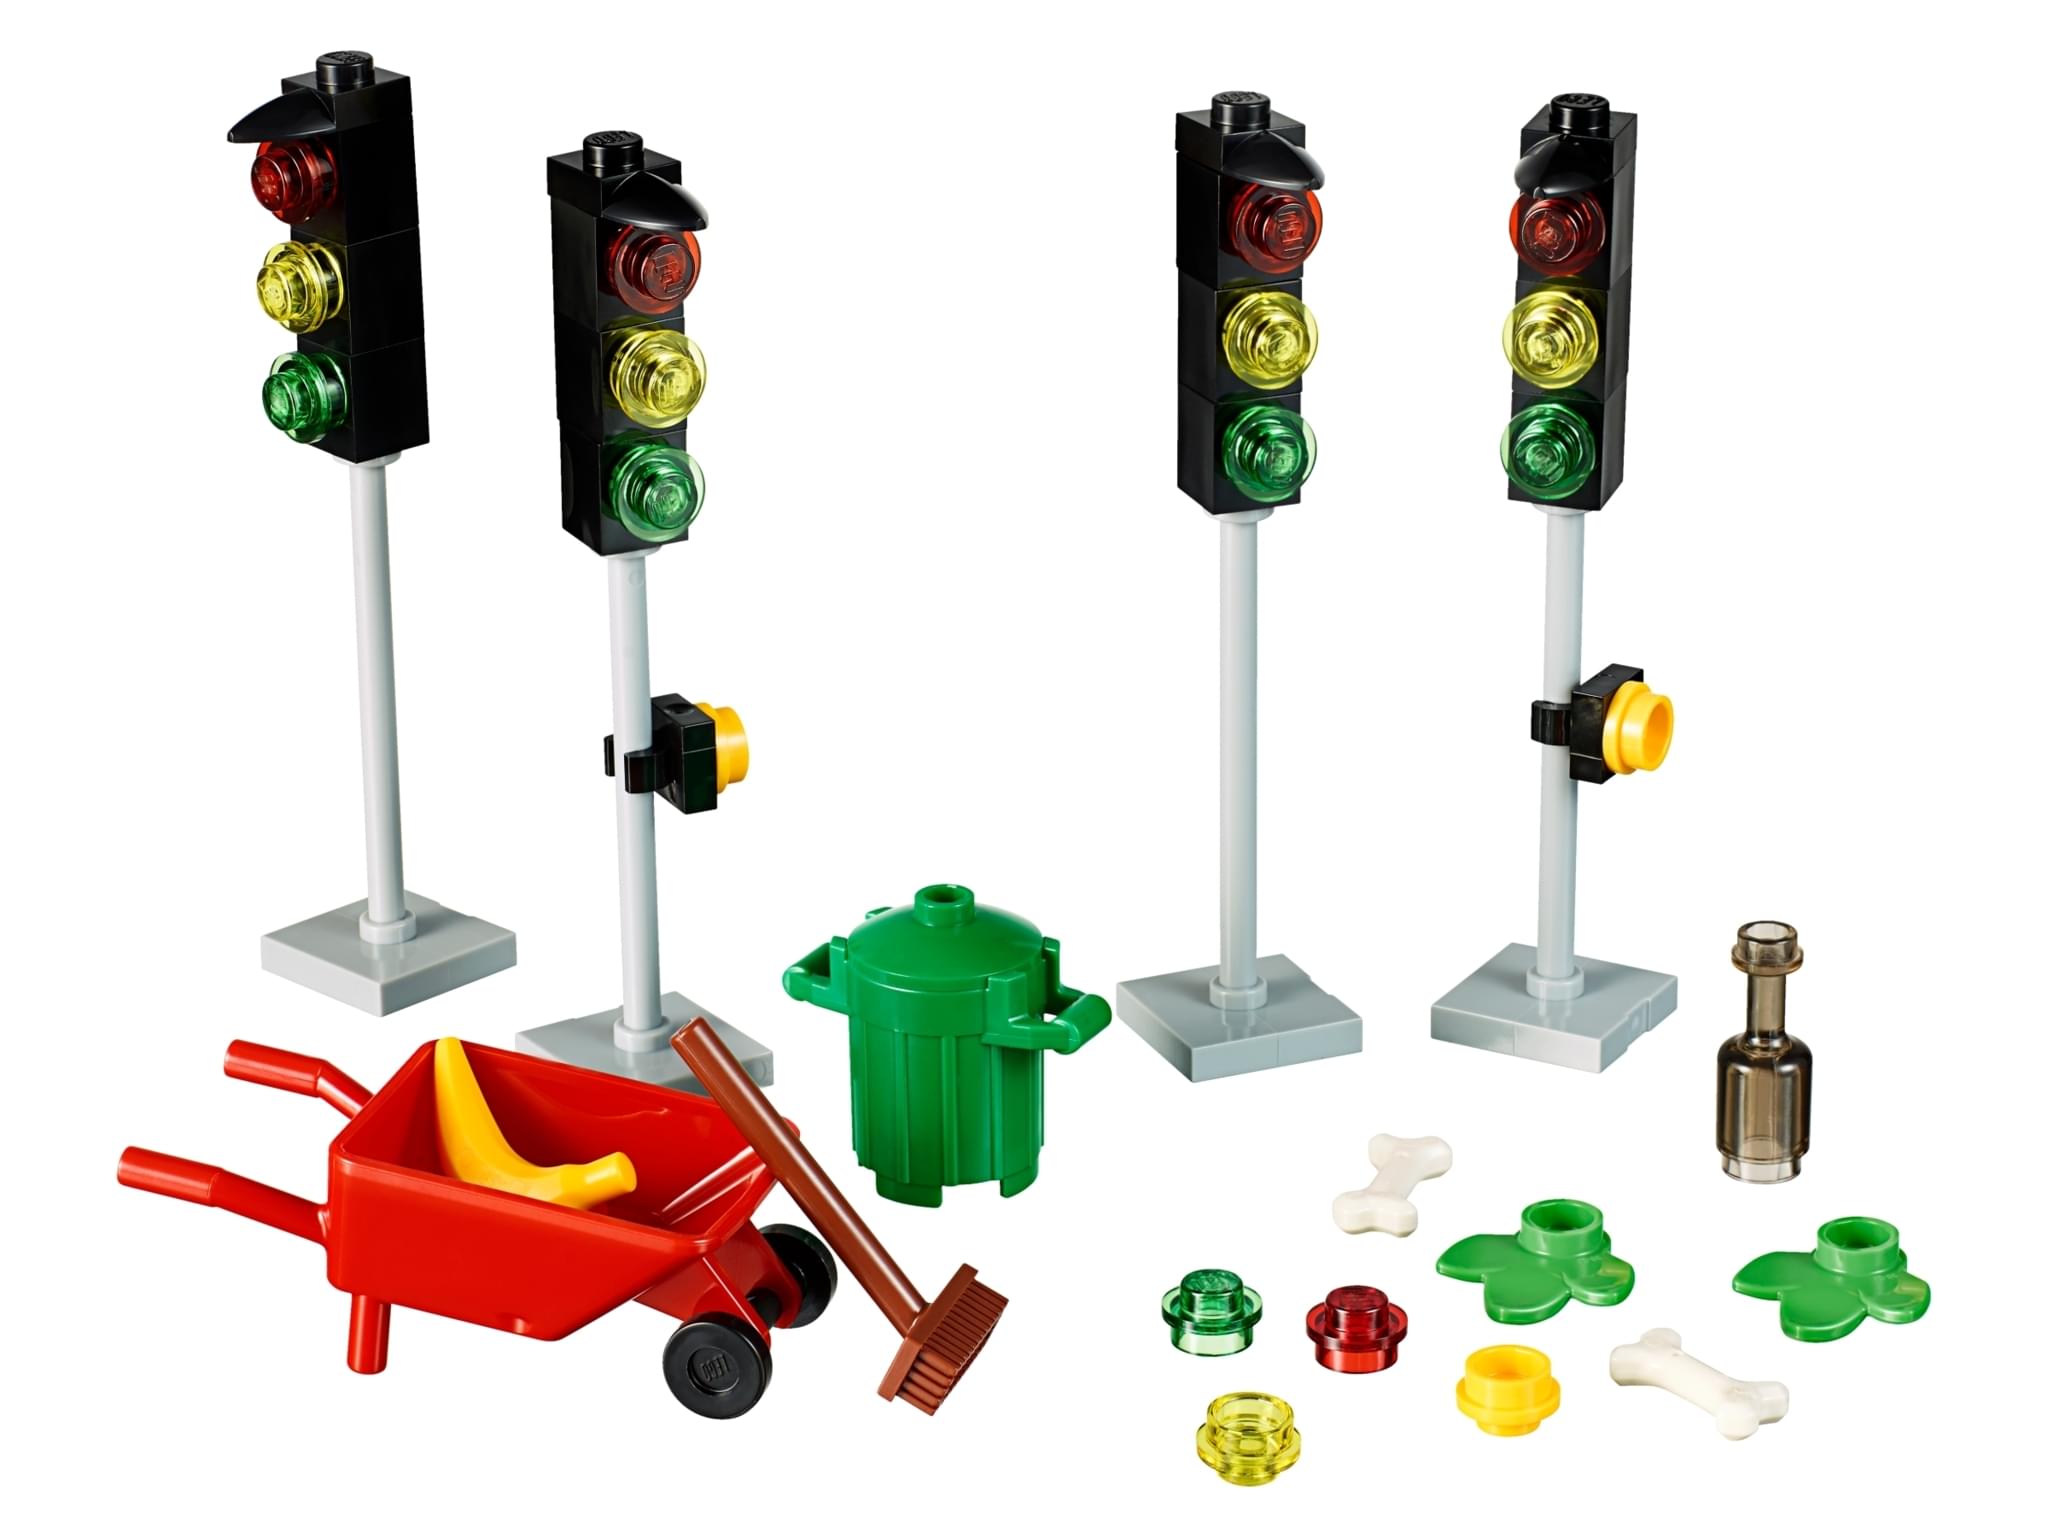
Gather all your materials and clear a workspace so you have room to build.
Step 2
Snap black LEGO bricks onto the baseplate to build a 3-stud-wide vertical tower at least six bricks tall to be the traffic light housing.
Step 3
Attach the red transparent round plate or place a red paper circle at the top front center to make the red light.
Step 4
Attach the yellow transparent round plate or place a yellow paper circle at the middle front center to make the yellow light.
Step 5
Attach the green transparent round plate or place a green paper circle at the bottom front center to make the green light.
Step 6
Create a thin black slider by connecting a flat 2x4 plate to a small LEGO handle piece so you can move it up and down behind the lights.
Step 7
Slide the black plate into the back of the tower so it can move vertically to cover and reveal the lights.
Step 8
Slide the black plate to the top position so only the red light shows and check it stays visible.
Step 9
Slide the black plate to the middle position so only the yellow light shows and check it stays visible.
Step 10
Slide the black plate to the bottom position so only the green light shows and check it stays visible.
Step 11
Practice the traffic light sequence three full times by moving the slider: red then green then yellow then back to red.
Step 12
Add small labels or write STOP under red CAUTION under yellow and GO under green using stickers or a marker so each color’s meaning is clear.
Step 13
Take a photo or write about your finished Lego traffic light and share your creation on DIY.org
Help!?
What can we use instead of the red, yellow, or green transparent round LEGO plates if we don't have them?
If you don't have the transparent round plates, cut red, yellow, and green paper circles and stick them to the front studs or use colored stickers or small bottle caps in place of the plates.
The black slider keeps getting stuck and won't reveal each light cleanly — how do we fix it?
If the black slider sticks, check that you built the thin slider using a flat 2x4 plate plus a small LEGO handle piece as in the instructions, remove any bricks pressing on the slider, or swap to a single 1x4 flat plate so it fits and moves freely behind the lights.
How can I change the activity to suit different age groups?
For ages 3–5 prebuild the 3-stud-wide tower and use large paper circles and a taped tab for the slider, for ages 6–8 let them assemble the tower and slider with regular bricks and paper circles, and for 9+ use the transparent plates, add labels, and challenge them to automate the slider.
What are simple ways to extend or personalize our finished Lego traffic light?
Enhance it by following the instruction to add stickers or write STOP/CAUTION/GO under each light, decorate the housing, install tiny LEDs behind the transparent plates or attach a micro:bit/servo to automate the slider, and then take a photo to share on DIY.org.
Watch videos on how to Lego a Traffic Light
LEGO BUILDS you can use in REAL LIFE...
4 Videos

LEGO BUILDS you can use in REAL LIFE...

ILLEGAL builds in LEGO...

Kids Build with a LEGO Expert | HiHo Kids

LEGO BUILDS that seem IMPOSSIBLE...
Facts about traffic safety and basic electronics
🚦 The world's first traffic signal was installed outside the British Houses of Parliament in 1868 — it was gas-lit and manually operated.
🔴 Most vertical traffic lights place red at the top, then yellow, then green at the bottom — a simple visual rule kids can remember.
🧱 LEGO has produced over 600 billion bricks since the company began making plastic interlocking bricks in the 1940s.
💡 Modern LEDs use much less energy than incandescent bulbs and can last 20,000–50,000 hours — perfect for tiny traffic-light lamps.
🔁 Traffic lights run in timed cycles (sequencing) so drivers and pedestrians follow predictable patterns — a great way to teach step-by-step logic.
How do I build a working Lego traffic light with a simple switch?
What materials do I need to make a Lego traffic light model?
What ages is the Lego traffic light activity suitable for?
What are the benefits and safety tips for a Lego traffic light project?
