Learn to Grow and Shrink Clay with Stop Motion
Make clay characters and animate them growing and shrinking with stop-motion photography, learning frame-by-frame techniques, simple editing, and timing at home.


Step-by-step guide to Learn to Grow and Shrink Clay with Stop Motion
Claymation Basics | Stop Motion
Step 1
Place the flat board or shoebox lid on a clear table to make your stop-motion stage.
Step 2
Tape the colored paper to the back edge of the board to create a simple backdrop.
Step 3
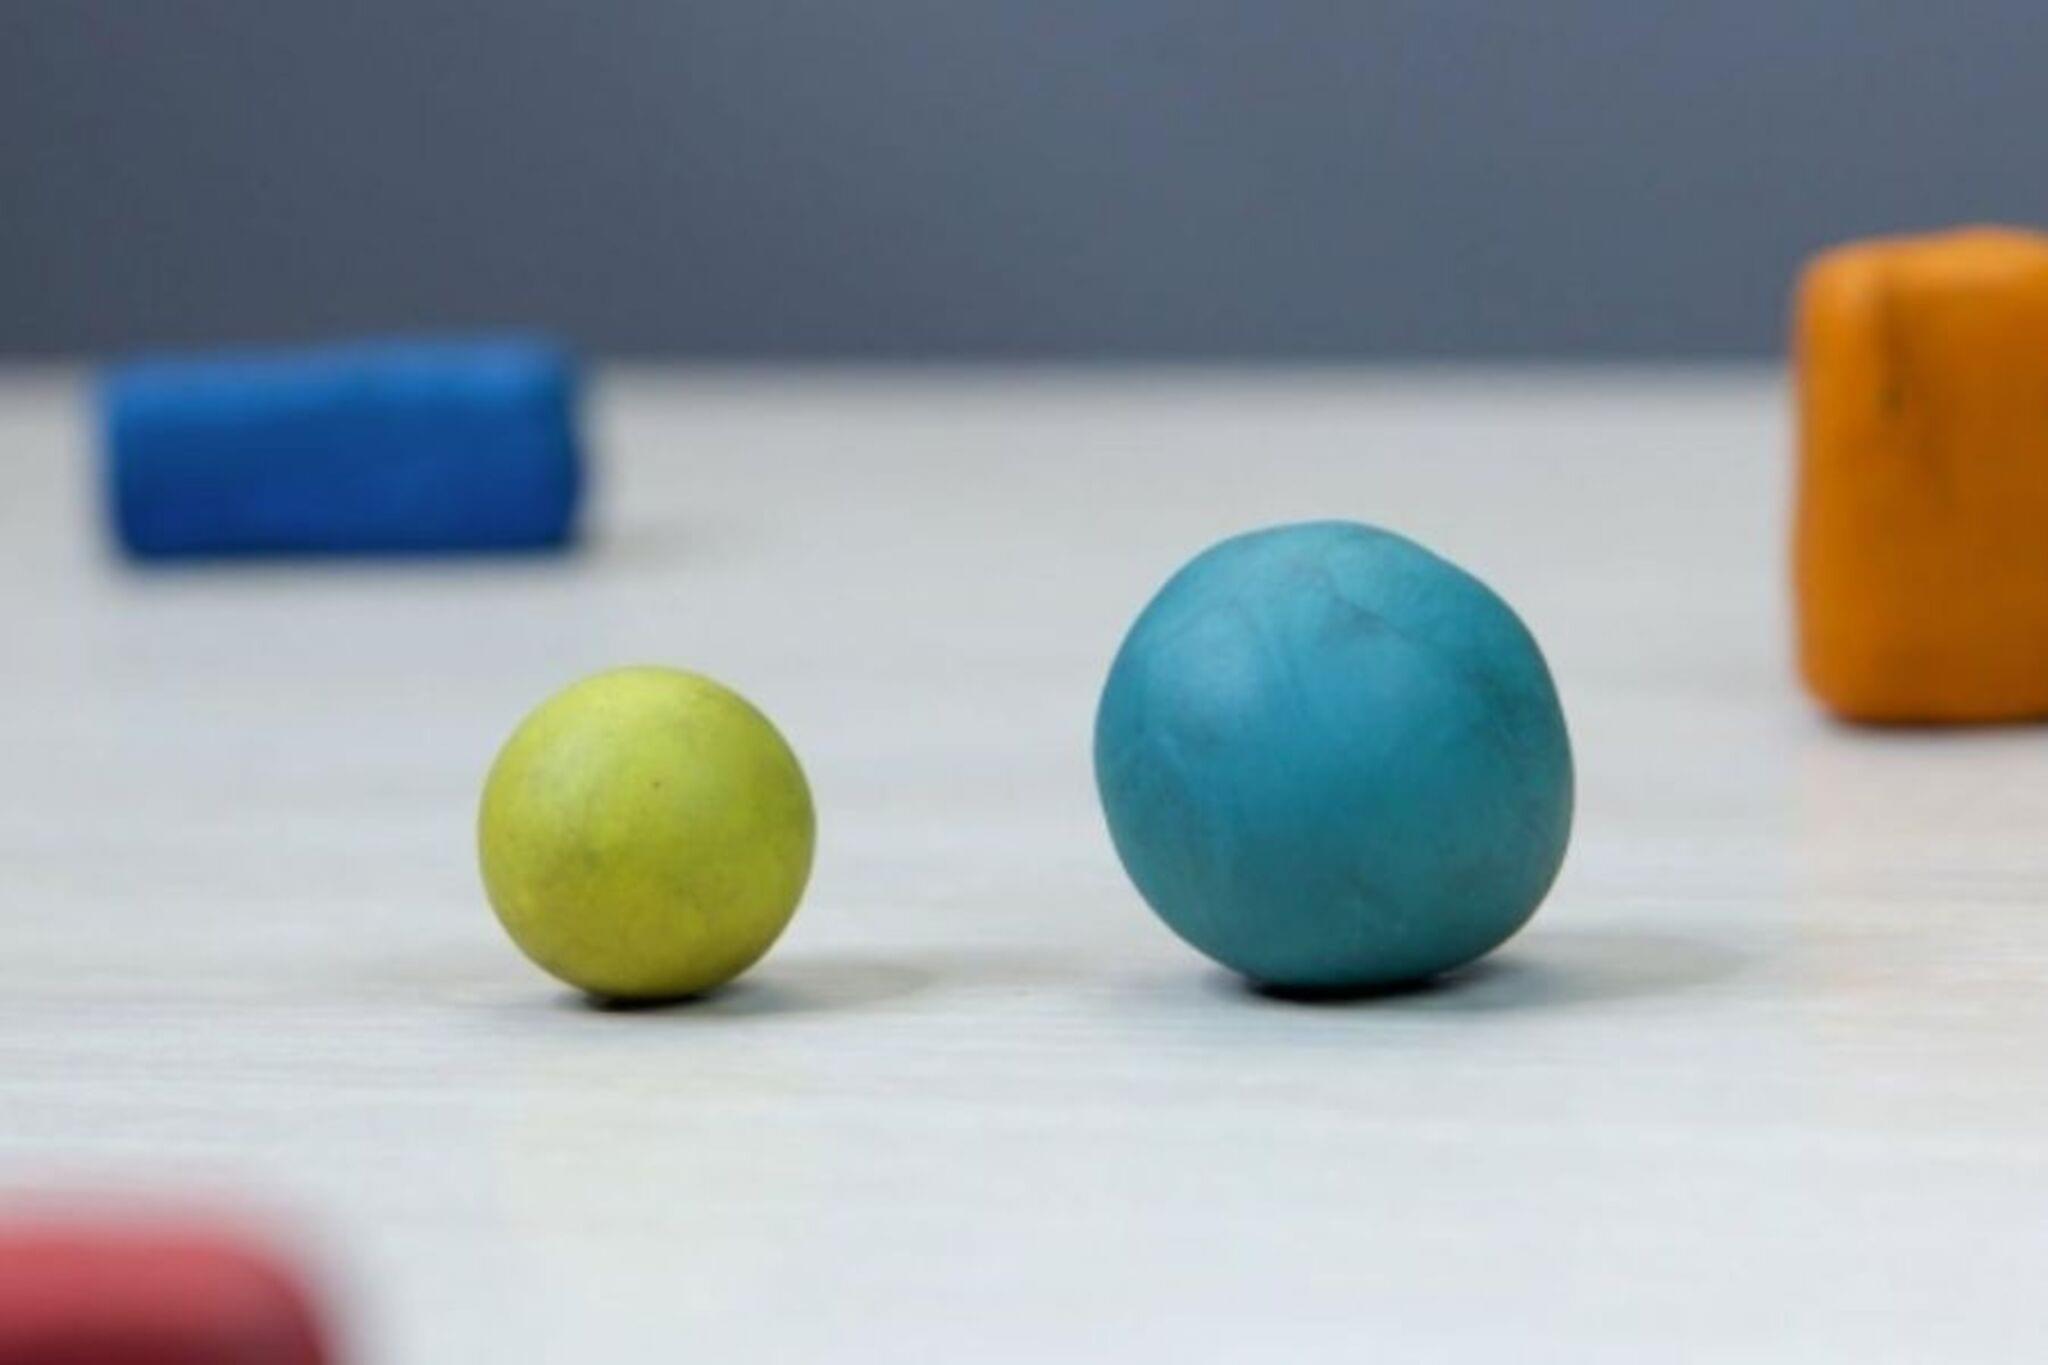
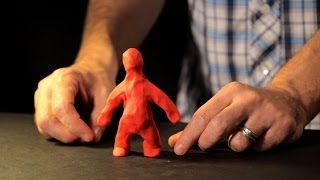
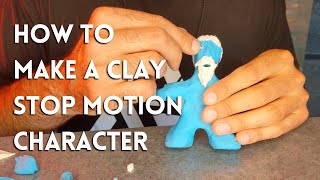
Roll and shape a small clay character using simple parts like a body and a head.
Step 4
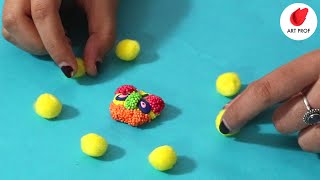
Roll a pile of tiny extra clay pieces to use for making your character grow.
Step 5
Press a little sticky tack under your clay character to hold it steady on the stage.
Step 6
Put your device on a steady surface or tripod facing the stage so it won’t move.
Step 7
Open a stop-motion app on your device so you can capture single frames.
Step 8
Frame the scene on the screen so your character is centered in the shot.
Step 9
Turn on the lamp and point it at the stage so the light stays even for every photo.
Step 10
Capture the first frame in the app to record the starting size of your character.
Step 11
Gently add one tiny clay piece to the character to make it a little bigger.
Step 12
Capture the next frame in the app after you make that tiny change.
Step 13
Repeat adding one tiny clay piece and capturing a frame until the character is as big as you want then repeat removing one tiny piece and capturing a frame to make it shrink back.
Step 14
Export your finished stop-motion animation as a video from the app.
Step 15
Share your finished creation on DIY.org
Help!?
What can we use if we don't have sticky tack, a tripod, or a lamp?
Use a small piece of double-sided tape or a rolled bit of clay under your clay character instead of sticky tack, prop your device against a heavy book or the edge of the table in place of a tripod, and use a desk lamp or a bright flashlight pointed at the stage for even lighting.
My character keeps moving or the frames look jumpy — how can I fix that?
Make sure the device is on a steady surface or tripod, tape the flat board or shoebox lid to the table so the stage doesn't shift, and press sticky tack under your clay character before capturing each frame to keep it steady.
How can I adapt the activity for younger kids or older kids?
For younger children, roll larger clay parts and add or remove bigger pieces with fewer captured frames, while older kids can roll many tiny extra clay pieces and capture finer single-frame changes in the stop-motion app for smoother growth and shrink effects.
How can we make the stop-motion more creative or personal before exporting and sharing?
Tape extra colored paper cutouts to the back edge for a customized backdrop, add small props on the flat board, experiment with lamp angle for mood, then export the finished stop-motion animation as a video and add music before you share on DIY.org.
Watch videos on how to Learn to Grow and Shrink Clay with Stop Motion
How to Create a Clay Character | Stop Motion
4 Videos
How to Create a Clay Character | Stop Motion
Easy Stop Motion Animation: Step by Step for Beginners
Clay Class: Intro To Claymation
How to Make a Claymation Character | Easy Stop Motion Tutorial
Facts about stop-motion animation and clay modeling
🎥 Most professional stop-motion films run at 24 frames per second, but animators often shoot "on twos" (12 unique poses per second) to save time.
🧱 Plasticine and similar oil-based clays don't dry out, so you can reshape characters again and again during a shoot.
🏆 Nick Park, the creator of Wallace & Gromit, won Academy Awards for his clay-animated short films and helped popularize claymation worldwide.
⏱ To make one minute of animation at 12 fps you need 720 photos — tiny movements between frames make motion look smooth.
🎨 Many stop-motion clay characters use a wire armature (a simple skeleton) so they can hold poses while they grow, shrink, or move.
How do I make clay characters grow and shrink with stop-motion?
What materials do I need to grow and shrink clay with stop-motion?
What ages is this grow-and-shrink clay stop-motion activity suitable for?
What are the benefits and safety tips for stop-motion grow-and-shrink clay animation?
