Landscape painting with water colors
Paint a landscape with watercolor paints on paper, practicing color mixing, wet-on-wet blending, and layering to create sky, trees, and hills.


Step-by-step guide to landscape painting with watercolors
How to Paint a Beach Landscape Kids Watercolor Art Tutorial
Step 1
Tape the edges of your watercolor paper to the table with masking tape to keep it flat.
Step 2
Lightly sketch a horizon line and simple shapes for hills trees and a sun with your pencil.
Step 3
Dip a clean brush in water and wet the sky area evenly for a wet-on-wet background.
Step 4
Put a small amount of blue paint on your palette and add water to make a light blue wash.
Step 5
Touch the blue wash onto the wet sky and watch the color spread and blend.
Step 6
Mix blue and yellow on your palette to make green and test the shade on a scrap piece of paper.
Step 7
Use a medium brush to paint a light green wash for the distant hills.
Step 8
Wait a few minutes for the hill layer to dry a little so your next layer will sit on top.
Step 9
Make a darker green by adding more paint or less water to your green mix.
Step 10
Paint nearer hills with the darker green to create depth using layered strokes.
Step 11
Paint tree trunks with brown paint using a small round brush.
Step 12
Make tree foliage by dabbing short upward strokes of dark green and add a few lighter green highlights.
Step 13
Allow your painting to dry completely so the colors set.
Step 14
Carefully peel off the masking tape to reveal clean edges.
Step 15
Take a photo of your finished landscape and share your creation on DIY.org
Help!?
What can I use if I can't find watercolor paper or masking tape?
If you don't have watercolor paper, use heavyweight mixed-media paper or heavy cardstock and replace masking tape with painter's tape or low-tack drafting tape to tape the edges to the table.
My sky paint isn't spreading smoothly and I have hard edges — how do I fix it?
Re-wet the sky area with a clean brush as in step 3, touch more diluted blue wash so it can spread, and blot excess with a scrap piece of paper to avoid puddles and hard lines.
How can I adapt this activity for younger or older children?
For younger kids, use thicker brushes, pre-drawn horizon and hill shapes taped down for tracing, and less water for easier control, while older kids can experiment with thinner washes, layered glazing, and mixing greens on the palette for depth as in steps 6–10.
What are simple ways to personalize or enhance the landscape before sharing it?
Add texture by sprinkling salt on the wet sky or lifting paint for cloud highlights, paint detailed foreground elements with the small round brush and darker green mixes, then carefully peel the tape and photograph the finished piece as in steps 12–13 to share.
Watch videos on how to paint a landscape with watercolors
How to Paint a Mountain Sunset in Watercolors Kids Art Tutorial
4 Videos
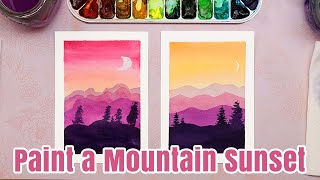
How to Paint a Mountain Sunset in Watercolors Kids Art Tutorial
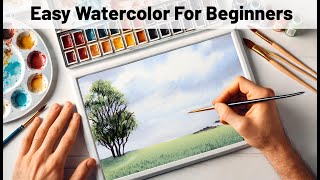
How to Paint a Watercolor Landscape and Sky for Absolute Beginners
Simple BEGINNERS Woodland SUNBEAMS Watercolour Landscape, watercolor sun rays painting tutorial demo

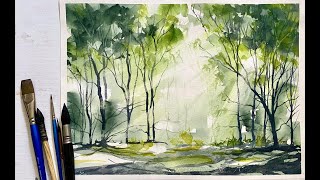
watercolor painting landscape mountains for beginners | watercolor art easy landscape tutorial
Facts about watercolor painting for kids
🎨 Watercolor became especially popular for landscape sketches in 18th–19th century Britain because artists could paint quickly outdoors.
🌈 With just three primary paints (red, yellow, blue) you can mix hundreds of shades to capture skies, trees, and hills.
☁️ The wet-on-wet technique makes colors spread into soft "blooms" — changing how wet the paper is changes the effect.
🌲 Distant hills often look lighter and bluer due to atmospheric perspective, a trick artists use to show depth.
🖌️ Many watercolorists use a small palette and only a few brushes — practicing mixing and layering is more important than fancy tools.
How do I teach my child to paint a watercolor landscape?
What materials do I need for a watercolor landscape activity with my child?
What ages is watercolor landscape painting suitable for?
What are the benefits of children painting watercolor landscapes?
