Jewellery Making with CraftyUnicorn and LiviaBivia
Make colorful bracelets and necklaces with CraftyUnicorn and LiviaBivia using beads, elastic cord, and clay charms, learning pattern design and safe tool use.

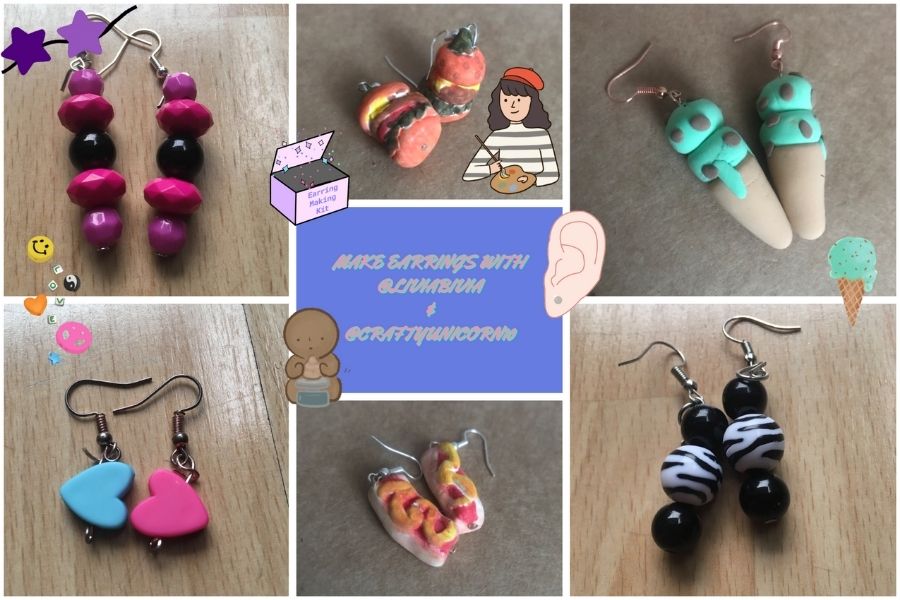

Step-by-step guide to make colorful bracelets and necklaces with CraftyUnicorn and LiviaBivia
Step 1
Gather all materials and spread them on a clean table so you can see everything.
Step 2
Wash your hands so the beads and clay stay clean.
Step 3
Decide if you will make a bracelet or a necklace first.
Step 4
Wrap the elastic cord around your wrist or neck to measure the right length.
Step 5
Cut the elastic cord with scissors leaving extra length for tying the knot.
Step 6
Roll and shape small charms from air-dry clay if you want custom charms.
Step 7
Put your clay charms on a paper towel to dry completely.
Step 8
Lay out beads and charms in a fun color pattern on the table.
Step 9
Wrap a small piece of tape around one end of the cord to make a stiff tip for threading.
Step 10
Thread the beads and charms onto the cord following your pattern.
Step 11
Wrap the beaded cord around your wrist or neck to check the fit.
Step 12
Tie a strong double knot to secure the ends of the cord.
Step 13
Trim the extra cord close to the knot with scissors.
Step 14
Tuck the knot inside a bead hole or behind a charm so it looks neat.
Step 15
Share a photo of your finished bracelet or necklace on DIY.org.
Help!?
What can I use if I can't find elastic cord or air-dry clay?
Substitute elastic cord with stretch-bead cord (like Stretch Magic) or strong embroidery floss (secure the end with the tape trick from the instructions), and swap air-dry clay for polymer clay (bake per package) or ready-made charms instead of rolling your own.
My beads won't thread and my clay charms stay sticky—what should I do?
If the cord tip frays, rewrap a tighter piece of tape as described in the instructions or use a beading needle, and if charms remain tacky after putting them on a paper towel to dry completely, make them thinner, let them dry longer, or speed-dry gently with a cool hairdryer.
How can I adapt this activity for different ages?
For younger kids pre-cut the elastic cord, use large wooden beads and adult help for scissors and knots, while older kids can measure by wrapping the cord around their wrist/neck, roll smaller clay charms themselves, and create more complex color patterns from the layout step.
How can we extend or personalize the finished bracelet or necklace?
After tying and trimming the cord, personalize by adding letter or metal beads to spell a name, paint and seal your clay charms before tucking the knot, or make a matching bracelet-and-necklace set and then share a photo on DIY.org.
Watch videos on how to make colorful bracelets and necklaces with CraftyUnicorn and LiviaBivia
Grow Your Own Crystals | DIY Unicorn & Jewelry Crystals
4 Videos

Grow Your Own Crystals | DIY Unicorn & Jewelry Crystals
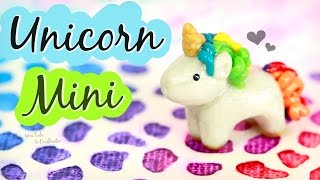
MINI UNICORN - Polymer Clay Charm - How To | SoCraftastic
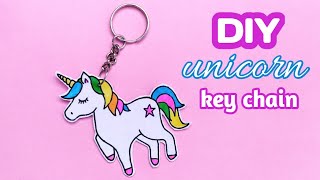
How to make Unicorn keychain | DIY Unicorn keychain | Tonni art and craft | DIY Unicorn|DIY with Jas
Simple Ways to Make Affordable Jewelry with Resin and Clay!
Facts about jewellery making for kids
🐚 Some of the oldest beads were made from seashells and are over 100,000 years old.
🔥 Polymer clay can be shaped at room temperature and then hardened in a home oven to make tiny charms.
🔗 Elastic cord makes bracelets stretchy so they slip on without a clasp—perfect for kids.
🎨 Simple repeating patterns like AB or AAB help bracelets look balanced and are fun to plan.
✂️ Always use child-safe scissors and ask an adult to help with pliers or oven use for safe projects.
How do I make colorful bracelets and necklaces with CraftyUnicorn and LiviaBivia?
What materials do I need for Jewellery Making with CraftyUnicorn and LiviaBivia?
What ages is Jewellery Making with CraftyUnicorn and LiviaBivia suitable for?
What are the benefits and safety tips for Jewellery Making with kids?
