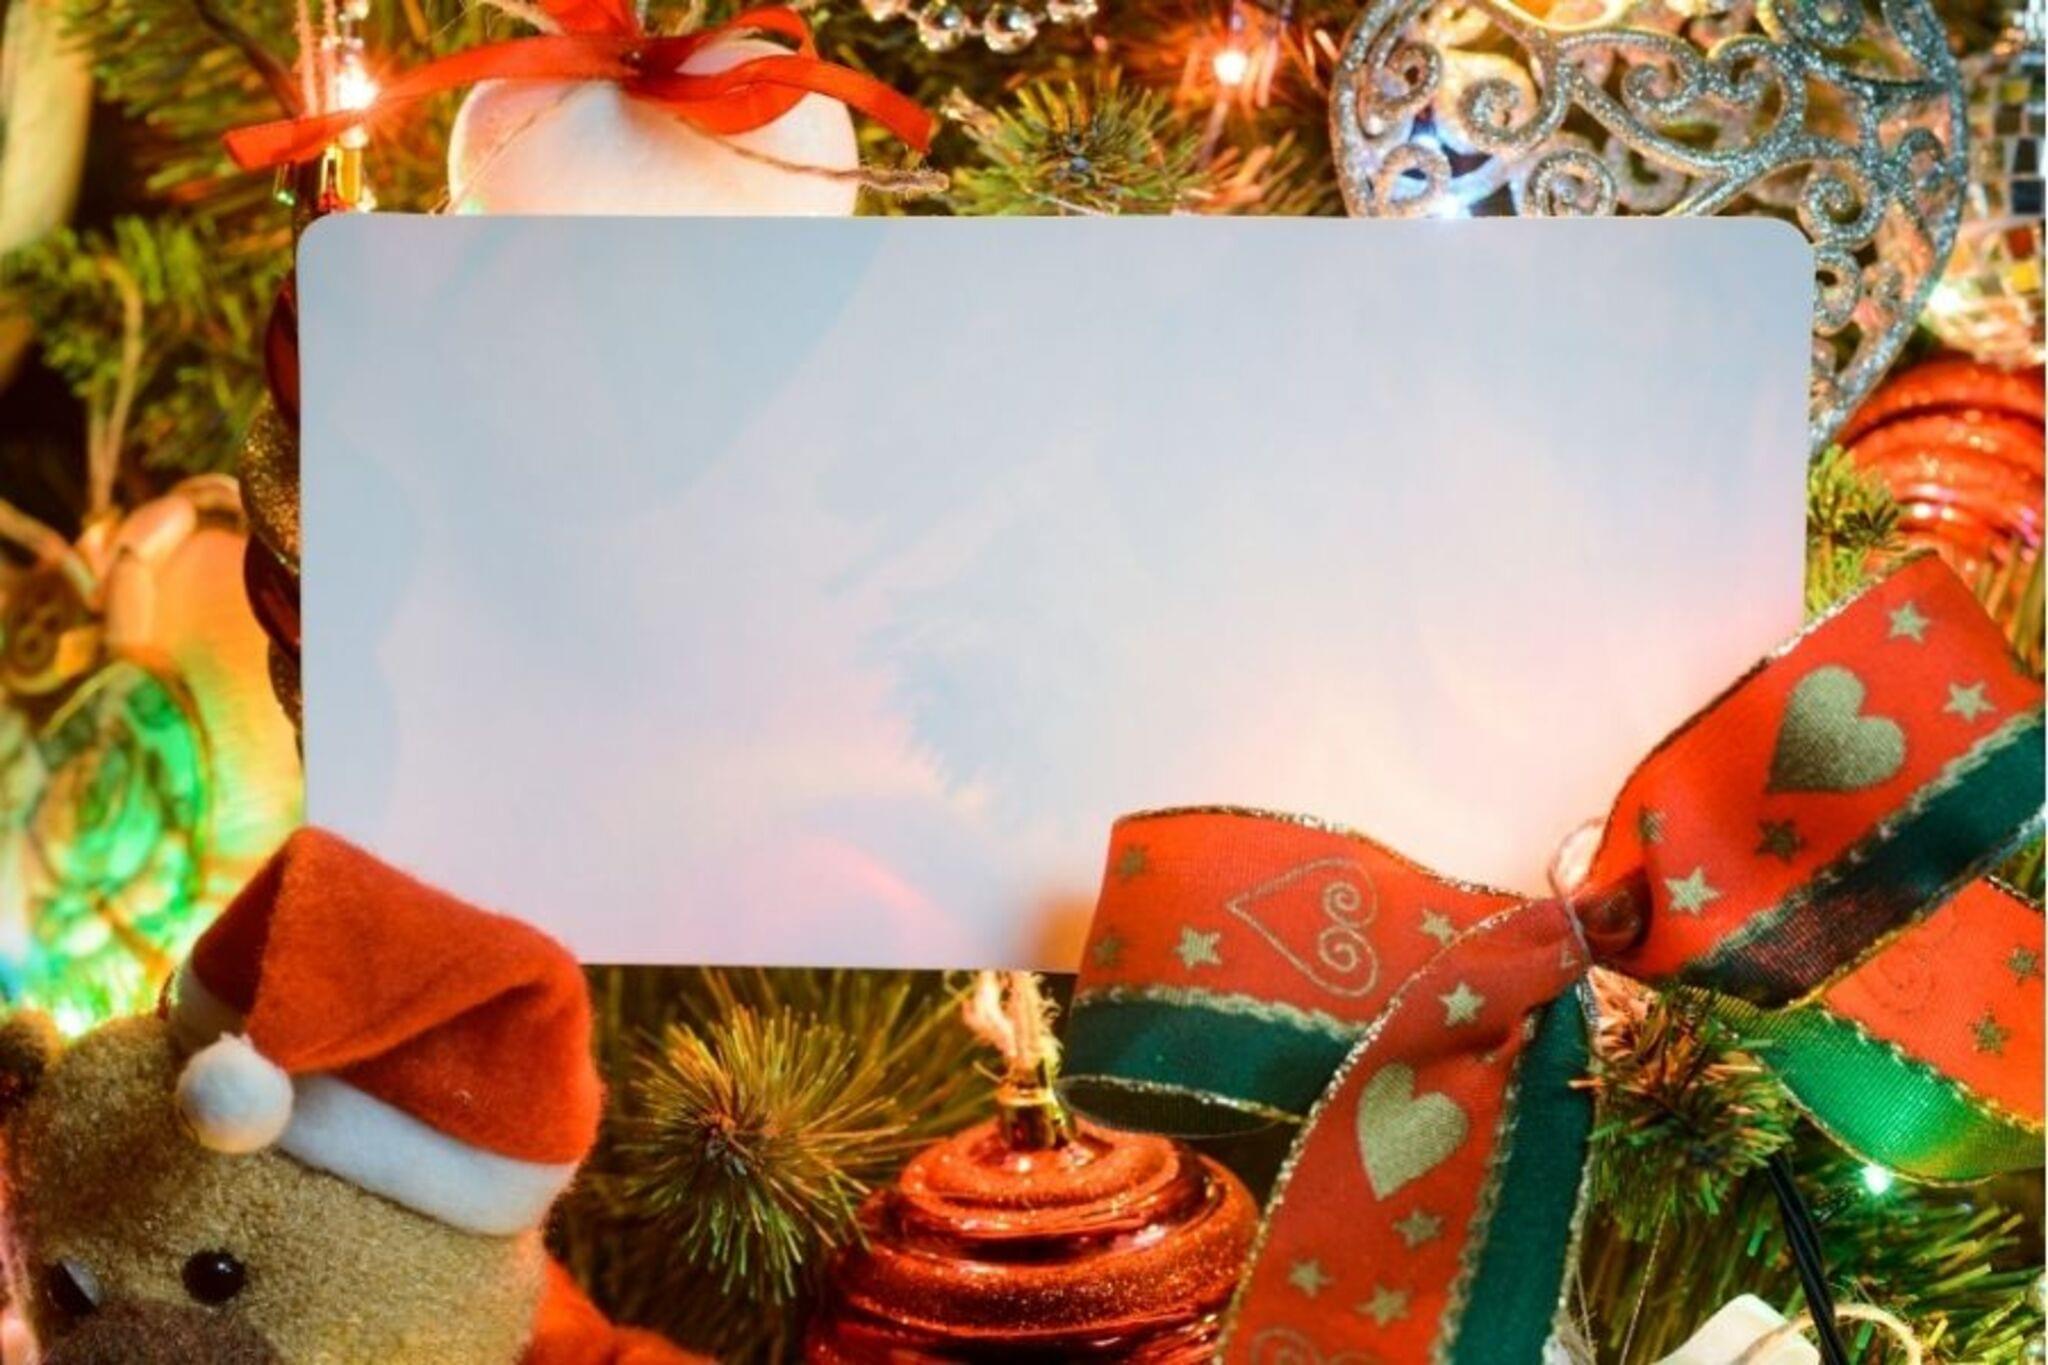
It's Greeting Cards Day! Create.Colour.Celebrate
Make and decorate personalized greeting cards using paper, markers, stickers, and simple folding techniques; colour, write messages, and give them to friends or family.


Step-by-step guide to make and decorate personalized greeting cards
How To Make Greeting Cards At Home | Materials & Supplies, Full Process, + Tips
Step 1
Gather all the materials listed so everything is ready.
Step 2
Clear a comfy workspace with good light to make your card.
Step 3
Pick a sheet of paper or cardstock and fold it in half neatly to create a card.
Step 4
Trim the edges with scissors if you want a smaller or neater card size.
Step 5
Lightly sketch a picture or design on the front of the card with your pencil.
Step 6
Colour in your front design using your colouring materials.
Step 7
Add stickers or use the glue stick to attach extra decorations to the front.
Step 8
Open the card and write a warm personalized message inside with a marker or pen.
Step 9
Draw a small border or doodles around your message to make it extra special.
Step 10
Fold another sheet of paper into an envelope shape to hold your card.
Step 11
Write the recipient’s name clearly on the front of the envelope.
Step 12
Give the finished card to a friend or family member with a smile.
Step 13
Share a photo of your finished creation on DIY.org.
Help!?
What can I use instead of cardstock, a glue stick, or special stickers if I don't have them?
If you don't have cardstock for the 'pick a sheet of paper or cardstock' step, use folded printer paper or a flattened cereal box, replace the 'glue stick' with clear tape or diluted white glue, and cut pictures from magazines or use washi tape instead of 'stickers' when decorating the front.
My card creases unevenly or my drawing smudges—what should I do?
To get a neat fold when you 'fold it in half', press the crease firmly with a ruler or the back of a spoon, and to prevent smudges let marker or pen ink dry fully and erase extra pencil lines gently before you 'colour in your front design'.
How can I adapt this activity for different ages?
For toddlers pre-fold the card and give chunky crayons and stickers to 'colour in' and 'add stickers', for school-age kids encourage detailed pencil sketches and marker messages inside, and for teens introduce mixed media like paint, collage, or hand-lettering before folding the envelope.
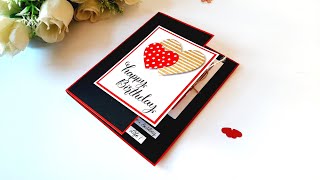
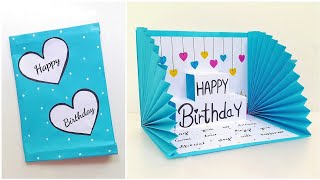
How can we make the card more special or advanced?
Increase the wow factor by adding a pop-up element after you 'open the card and write a warm personalized message', glue fabric or collage pieces to the front instead of just stickers, decorate the envelope with stamps or drawings, and 'share a photo of your finished creation on DIY.org'.
Watch videos on how to make and decorate personalized greeting cards
Beautiful Handmade Birthday card | DIY Greeting card for Birthday | Tutorial
4 Videos
Beautiful Handmade Birthday card | DIY Greeting card for Birthday | Tutorial
DIY - Happy Birthday Card • How To Make Birthday Greeting Card ? • Easy Pop Up Birthday Special Card

10 Stunning DIY Handmade Greeting Cards | Paper Craft Ideas

CUTE Handmade Birthday Card Creations You'll LOVE!
Facts about paper crafts for kids
🎉 People buy over 6 billion greeting cards each year—lots of smiles sent by paper!
✉️ The first commercial Christmas card was produced in England in 1843.
📝 Origami means "folding paper" in Japanese and inspires many fun card folds.
💌 Hallmark Cards was founded in 1910 and helped turn greeting cards into a huge industry.
🖍️ Handmade cards are often kept as treasured keepsakes for years after they're given.
How do I make personalized greeting cards with my child?
What materials do I need to make greeting cards?
What ages is making greeting cards suitable for?
What are the benefits of making greeting cards with children?
