Invent an athletic game
Design and play a new safe athletic game with simple equipment like cones, soft balls, and teams; create rules, test skills, and adjust.


Step-by-step guide to design and play a new safe athletic game
10 Recreational Games (10 Fun & Easy Games for Kids) | Physical Education Games | PE Class | Games
Step 1
Choose a safe open play area and ask an adult to check the ground for holes rocks or other hazards.
Step 2
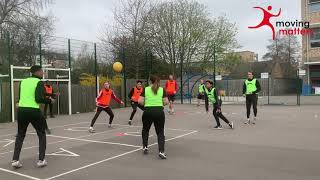
Use cones to mark clear boundaries and a center line or middle zone for the game.
Step 3
Divide players into two teams and give each team a different colored band or bib.
Step 4
Decide the main objective of your game like getting a ball into the opposite goal zone for one point.
Step 5
Place goal zones with cones or set a box as each team’s goal at opposite ends of the play area.
Step 6
Agree on three safety rules to follow such as no tackling no grabbing and stop play if someone is hurt.
Step 7
Agree on two movement rules like how many steps a player can take with the ball or when passing is required.
Step 8
Spend five minutes practicing key skills like passing aiming and moving without bumping others.
Step 9
Play a short 3 to 5 minute test round using your current rules to see how the game feels.
Step 10
After the test round have each team say one thing to keep and one thing to change about the rules.
Step 11
Make the agreed rule changes together and set a time limit or winning score for the full game.
Step 12
Play the full game using the updated rules and keep track of score with a teammate or adult.
Step 13
Walk and stretch to cool down and then collect all cones balls and gear into a neat pile.
Step 14
Write your final rules and any tips or take photos of your game and share your new athletic game on DIY.org.
Help!?
What can we use instead of cones, colored bands, or a box if we don’t have them?
If cones, colored bands, or a box are hard to find, use small water bottles or chalk marks for the cones from step 2, tied shirts or colored socks as team bands from step 3, and a cardboard box as the goal from step 5.
What should we do if players keep bumping or someone gets upset during the game?
If players keep bumping or arguments break out, stop play and repeat step 6 to reinforce 'no tackling/no grabbing' and spend extra time on the passing and moving drill in step 8 before resuming.
How can we change the game for younger kids or make it harder for older kids?
For younger children shrink the play area from step 2, use a soft foam ball and relax movement rules from step 7 with a 1–2 minute test round in step 9, while older kids can enlarge the field, add an extra movement rule from step 7, and raise the winning score in step 11.
How can we improve or personalize the game after the test round?
To extend and personalize the game, add a 'power cone' bonus zone in the middle from step 2 worth extra points, create player role cards during the practice in step 8, and photograph or write your final rules and tips as described in step 14 to share.
Watch videos on how to design and play a new safe athletic game
12 Fun Physical Education Games
4 Videos
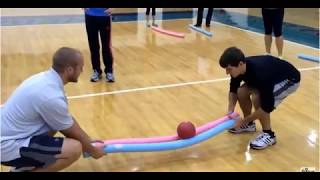
12 Fun Physical Education Games
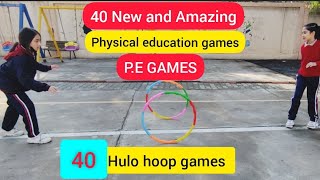
40 physical education games and activities for school | 40 hulo hoop games | physEd
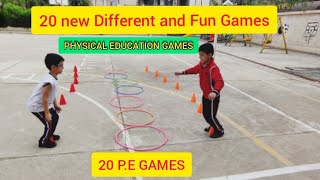
20 new different and Fun games | 20 Pe games | physical education games | 20 educaçãofisica
Primary School PE- How to Play Handball
Facts about children's physical activity and safe game design
🧠 Playtesting helps designers spot unclear rules and keep games fun — even simple kid games get better after trying them out.
🧸 Soft foam balls are much safer for kids: they reduce injury risk and are easier to catch than hard balls.
🟠 Cones are super versatile — they can mark goals, create lanes, or become obstacles in seconds.
🤝 Team games teach communication, cooperation, and sportsmanship that kids use off the field too.
🏃 Short, regular practice sessions usually help kids build skills faster and keep energy high compared with long rare practices.
How do I create and play a new athletic game for kids using cones and soft balls?
What materials do I need to invent a simple athletic team game at home or school?
What ages are suitable for designing and playing a new safe athletic game?
What are the benefits, safety tips, and variations for this game-creation activity?
