Invent a new technique or color combo
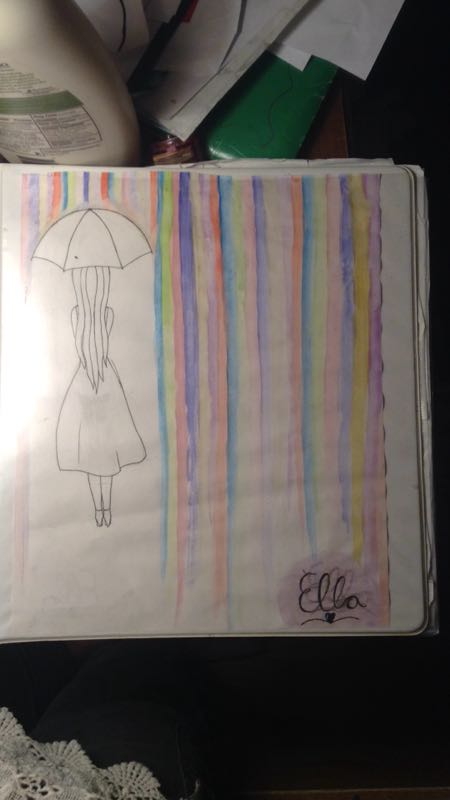
Design and test a new painting technique or color combination using safe paints and paper, documenting effects, mixing hues, and creating an original artwork.


Step-by-step guide to invent a new painting technique or color combination
Step 1
Clear a flat workspace and cover it with newspaper or paper towels so your table stays clean.
Step 2
Put on your apron or old shirt to protect your clothes.
Step 3
Squeeze small blobs of each paint color you want to test onto your palette or paper plate.
Step 4
Choose one color combination and one painting technique to try such as sponge dabbing dry brushing or splatter with a toothbrush.
Step 5
Paint a small rectangle of the base color on scrap paper to make your first test swatch.
Step 6
Apply the second color to the swatch using the painting technique you chose to see how the colors interact.
Step 7
Look closely at the test swatch to notice changes in color texture and how the paint layers behave.
Step 8
Make a second test swatch on scrap paper while changing just one thing like more water a different tool or less paint.
Step 9
Hold both swatches side by side and pick which one you like best for your final artwork.
Step 10
Lightly sketch a simple composition on your final painting paper with a pencil to plan where the colors will go.
Step 11
Mix the chosen color combo on your palette to create the exact hue you want to use in your final piece.
Step 12
Paint your final artwork using the sketch as a guide and using the technique and mixed colors you tested.
Step 13
Set your finished painting in a safe spot to dry completely.
Step 14
On a separate sheet write the name of your new technique the color combo you used and one sentence about what worked best.
Step 15
Share your finished creation on DIY.org
Help!?
What can I use if I don't have a palette, sponge, or toothbrush?
Use a muffin tin or plastic lid instead of the 'palette or paper plate', a torn kitchen sponge or makeup sponge for 'sponge dabbing', and an old soft toothbrush or stiff paintbrush for 'splatter with a toothbrush'.
Why did my second color smear the base color and how do I fix it?
Let the base rectangle swatch dry completely before you 'apply the second color to the swatch using the painting technique you chose', or blot excess paint with a paper towel and thin the top color with water to prevent smearing.
How can I change the activity for younger or older kids?
For ages 3–6, use washable tempera on heavier paper, pre-sketch the 'simple composition' and stick to two colors with 'sponge dabbing', while older kids can experiment with layering, dry brushing, and precise color mixing on the 'test swatches' and 'final painting paper'.
How can we extend or personalize the final artwork after choosing a favorite swatch?
Create a series by changing only one variable per 'test swatch' (more water, different tool, less paint), add texture with salt or metallic paint on the finished piece, name your new technique on the separate sheet, and photograph it to share on DIY.org.
Watch videos on how to invent a new painting technique or color combination
Art Education - Elements of Art - Color - Getting Back to the Basics - Art For Kids - Art Lesson
4 Videos
Art Education - Elements of Art - Color - Getting Back to the Basics - Art For Kids - Art Lesson
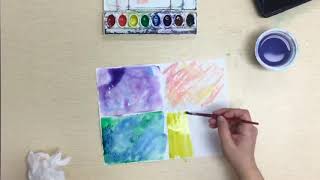
Watercolor Techniques for kids
How to Teach Art: 12 Watercolor Techniques for Kids!
The 7 Elements of Art Explained: A Fun and Easy Guide for Kids! 🎨
Facts about painting techniques and color mixing for kids
🎨 The artist's color wheel often shows 12 hues—3 primaries, 3 secondaries, and 6 tertiaries to help mix harmonious palettes.
🌈 Mixing light (screens) uses red/green/blue primaries, while mixing paints uses different primaries—so "primary" colors depend on the medium.
💧 Watercolor pigments can often be reactivated with water after drying, letting you lift, blend, or change experiments later.
🧠 Johannes Itten taught about several color contrasts (like hue, value, and temperature) that artists use to create mood and drama.
🪨 Many historic pigments came from crushed minerals, plants, or insects—ultramarine from lapis lazuli was once more valuable than gold.
How do I help my child design and test a new painting technique or color combination?
What materials do I need to invent a new painting technique with my child?
What ages is this painting experiment suitable for?
What are the benefits, safety tips, and variations for this painting activity?
