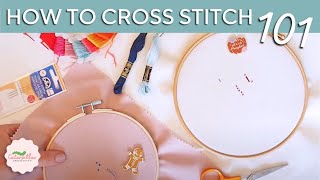
Introduction to Cross Stitch
Learn basic cross stitch techniques to create a small embroidered sampler or bookmark using fabric, needle, and thread while practicing counting and patterns.


Step-by-step guide to learning basic cross stitch
Step 1
Clear a flat well-lit workspace so you have room to stitch.
Step 2
Gather all your materials and place them within easy reach.
Step 3
Put the fabric into the embroidery hoop and tighten it so the fabric is stretched taut.
Step 4
Cut a length of embroidery floss about 18 inches long and separate it into two strands.
Step 5
Tie a small knot at one end of the two strands to keep the thread from pulling through the fabric.
Step 6
Find the center of your fabric by folding it in half twice and mark the center lightly with the washable marker.
Step 7
Draw a simple counted pattern on graph paper using Xs and numbers so you can count squares while stitching.
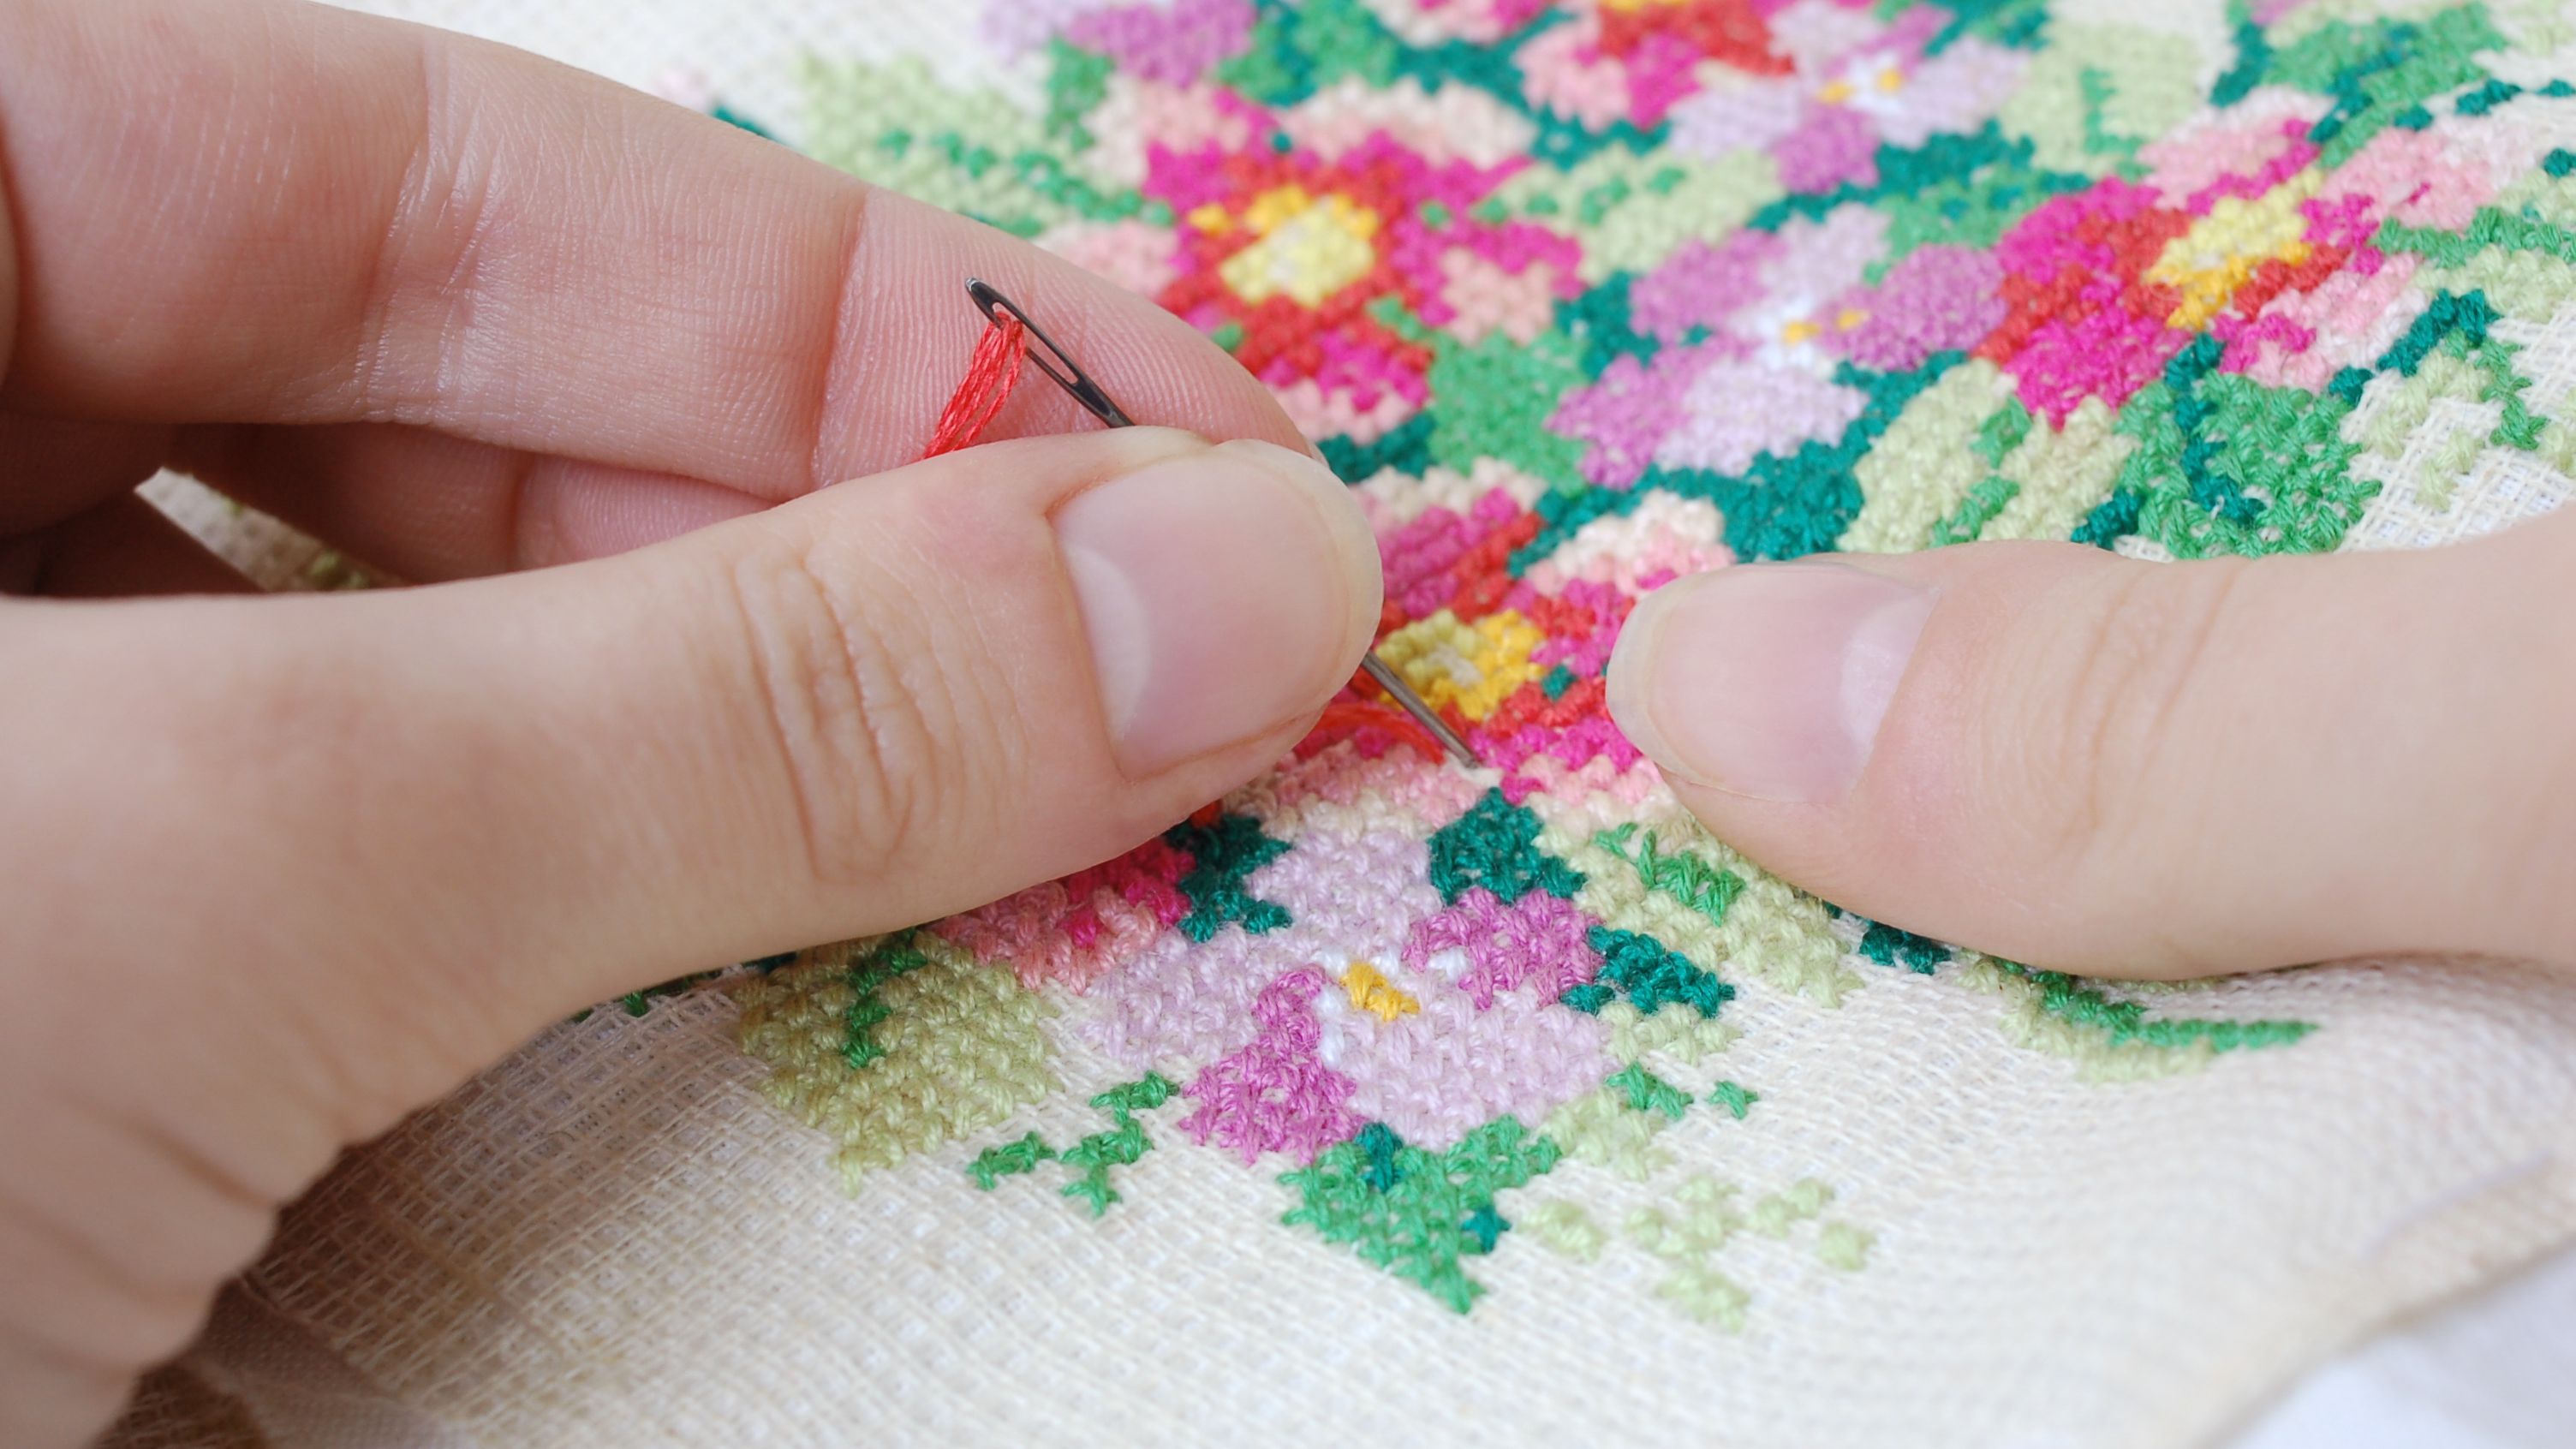
Step 8
Make one cross stitch in the center square by bringing the needle up through the bottom left hole then down through the top right hole then up through the bottom right hole and down through the top left hole to finish an X.
Step 9
Follow your drawn pattern and stitch row by row, counting the squares as you make each X.
Step 10
When you finish a color, secure the thread by weaving the tail under several stitches on the back and then trim the extra thread.
Step 11
Remove the fabric from the hoop and trim or finish the edges to turn your sampler into a small bookmark or decorative square.
Step 12
Take a photo of your finished embroidered sampler or bookmark and share your creation on DIY.org
Help!?
What can we use if we don't have an embroidery hoop or embroidery floss?
If you don't have an embroidery hoop you can tape the fabric tightly over a cereal box or hardcover book for step 3, and if you lack embroidery floss use two strands of cotton sewing thread doubled and knotted as described in steps 4–5.
My stitches look sloppy and the fabric puckers — how do I fix that?
If the fabric puckers, loosen the hoop, re-center and pull the fabric edges to stretch it taut before retightening in step 3, and make each X with even tension as you follow the counted pattern in step 8.
How can I adapt this cross-stitch activity for younger children or older kids who want more challenge?
For younger children use a plastic needle, chunky yarn on plastic canvas and a pre-drawn counted pattern to simplify steps 4–8, while older kids can separate six-strand floss into two strands, design a more complex graph-paper pattern in step 7, and add backstitching for detail when finishing.
How can we personalize or turn the finished sampler into a special gift?
After removing the fabric from the hoop in step 11, trim the edges to make a bookmark and sew on a small ribbon tassel or embroider initials with contrasting floss before photographing and sharing on DIY.org.
Watch videos on how to learn basic cross stitch
LEARN TO CROSS STITCH in 5 Minutes | How to Cross Stitch Tutorial for Beginners Flosstube
4 Videos
LEARN TO CROSS STITCH in 5 Minutes | How to Cross Stitch Tutorial for Beginners Flosstube
Easy beginner cross stitch guide ✨ 🪡 Step by step tutorial
Cross Stitch for Beginners | Get Started in Cross Stitch | Hobbycraft
Cross Stitch Basics | How to Start Cross Stitching for Beginners - Ultimate Guide!
Facts about hand embroidery for kids
🪡 Cross-stitch designs are built from tiny X-shaped stitches—each X is two diagonal stitches.
🧵 Embroidery floss commonly comes as six strands that you can separate to make thinner threads.
🧮 Aida cloth has an even grid of holes that makes counting stitches and following patterns easier for beginners.
📜 Samplers were traditionally used to record patterns and teach young people sewing and stitching skills.
⏱️ A small cross-stitched bookmark is a quick, satisfying project many beginners can finish in an afternoon.
How do I teach a child basic cross stitch to make a small sampler or bookmark?
What materials do I need for a beginner cross stitch sampler or bookmark?
What ages is this introduction to cross stitch suitable for?
What are the benefits and safety tips for children learning cross stitch?
