Indigenous Australian Dot Painting
Create a dot painting inspired by Indigenous Australian art using acrylic paint and cotton buds, learning patterns, storytelling elements, and cultural respect.


Step-by-step guide to create an Indigenous Australian dot painting
Step 1
Gather all your materials and bring them to a table where you can work comfortably.
Step 2
Cover the table with a protective sheet or newspaper and put your paper plate and jar of water within easy reach.
Step 3
Ask an adult to help you look up or read a little about Indigenous Australian dot painting so you know how to be respectful and learn about common patterns.
Step 4
Decide on a simple story or theme for your painting like a journey river animal or meeting place.
Step 5
Lightly sketch a few big shapes on your paper with a pencil to map where your story will go.
Step 6
Squeeze small blobs of 3 to 5 paint colors onto your paper plate to make a palette.
Step 7
Practice making dots on a scrap piece of paper using a cotton bud so you can see how hard to press.
Step 8
Use a cotton bud to paint the biggest dots first along your pencil shapes following the pattern you imagined.
Step 9
When you want a new color grab a fresh cotton bud so the colors stay bright and clean.
Step 10
Add rows of smaller dots and repeating patterns to build texture and show parts of your story.
Step 11
Step back and add tiny highlight dots with a contrasting color to make details pop.
Step 12
Let your painting dry completely and then wash your jar and throw away used cotton buds while wiping the table.
Step 13
Take a photo of your finished dot painting and share your creation on DIY.org
Help!?
What can we use instead of cotton buds if they're hard to find?
Use the rounded end of a pencil eraser, the blunt handle of a paintbrush, or a toothpick wrapped with a tiny bit of cotton to make dots on your paper plate palette and practice pressure on scrap paper.
My dots are smudging or colors look muddy—how do I fix that?
Blot excess paint on the paper plate, follow the step that says to grab a fresh cotton bud for each color, and let each painted area dry before adding rows of smaller dots to prevent smudging.
How can I adapt this activity for younger or older children?
For younger children simplify the penciled shapes and use larger tools like pencil erasers or jumbo cotton buds, while older kids can sketch finer maps and use toothpicks for tiny highlight dots and extra color layers.
How can we extend or personalize the dot painting after it's finished?
Once the painting is completely dry, write your chosen story on the back, varnish or frame the paper, try the same dotting technique on smooth rocks for a set, and photograph the finished piece to share on DIY.org.
Watch videos on how to create an Indigenous Australian dot painting
How to make a Dot Painting Aboriginal Style Art Canvas | Baker Ross
4 Videos
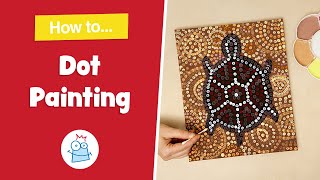
How to make a Dot Painting Aboriginal Style Art Canvas | Baker Ross
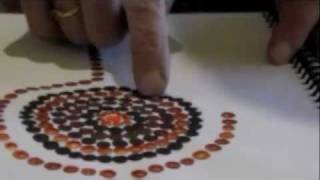
How to teach dot painting to kids.m4v
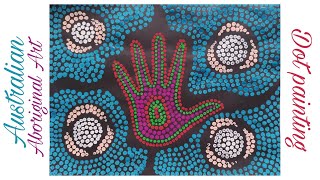
Dot painting for kids | Australian Aboriginal Art easy for kids @gyaneshwariarts

Australian Aboriginal Dot Art | DIY Kids Craft | Ottawa Public Library
Facts about Indigenous Australian art and storytelling
🎨 The modern Aboriginal dot painting movement began in the early 1970s at Papunya, where artists used dots to share stories while protecting sacred symbols.
🌏 Many dot paintings tell parts of the Dreaming (Dreamtime), a body of stories and laws that explains the creation of the land and peoples.
🟠 Traditional pigments for Australian Indigenous art often come from ochres — natural earths in red, yellow and white — plus charcoal for black.
🖌️ While traditional tools included sticks and fingers, modern dot painters (and kids) often use cotton buds or the end of brushes to make precise dots with acrylic paint.
🤝 Dot painting is culturally important — it's best to approach the style with respect, learn the meanings behind symbols, and avoid copying sacred designs without permission.
How do I make an Indigenous Australian dot painting with my child?
What materials do we need for Indigenous Australian dot painting?
What ages is Indigenous Australian dot painting suitable for?
What are the benefits and cultural respect tips for doing Indigenous Australian dot painting with kids?


