Immobilize a limb
Practice making a simple arm splint using cardboard, cloth, and tape to immobilize a limb safely on a stuffed toy or mannequin.

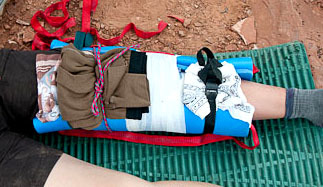

Step-by-step guide to make a simple arm splint
Basic First Aid for Kids | First Aid Training!
Step 1
Gather all materials and set them on a clean flat table.
Step 2
Lay the stuffed toy or mannequin on its back with the "injured" arm resting beside the body.
Step 3
Place a piece of cardboard along the toy's arm so it extends past the wrist and past the elbow.
Step 4
Carefully cut the cardboard to the length you placed along the arm.
Step 5
Make the cardboard edges rounded so they are not sharp.
Step 6
Fold one cloth strip several times to make a soft padded strip.
Step 7
Lay the folded cloth on the inner side of the cardboard to create a padded splint.
Step 8
Slide the padded cardboard under the arm so it supports the arm from wrist to elbow.
Step 9
Gently hold the toy's arm straight against the splint.
Step 10
Wrap tape around the arm and splint in two or three places to keep them together.
Step 11
Look to make sure the arm is held straight and the splint feels snug and secure.
Step 12
Share a photo of your finished splint on DIY.org.
Help!?
What can we use if we don't have cardboard, cloth strips, or tape as listed in the materials?
Use a stiff magazine cover or a thin plastic folder cut to wrist-to-elbow length as the splint, fold a clean sock or small hand towel for the padded cloth strip, and secure everything with masking tape, string, or a bandage following the sliding and wrapping steps.
What should we do if the splint keeps slipping or the tape doesn't hold when we wrap the toy's arm?
Press the folded cloth padding firmly against the cardboard, make sure the cardboard extends past both wrist and elbow as in steps 2–4, then wrap tape tightly in two or three places and smooth the ends so the arm feels snug and secure per step 9.
How can we adapt this immobilization activity for different age groups?
For preschoolers have an adult pre-cut and round the cardboard and fold the padding (steps 3–6) while older children can measure, cut, and decorate the cardboard themselves and practice taping the splint securely before sharing the photo on DIY.org.
How can we extend or personalize the finished splint activity after wrapping the toy's arm?
Decorate the cardboard before padding (step 4), add a tied cloth sling to support the splinted arm, and write the child's name and 'first aid practice' on the splint before taking the photo to share.
Watch videos on how to make a simple arm splint
How to use a Tourniquet on Kids to Control Life-Threatening Bleeding
3 Videos

How to use a Tourniquet on Kids to Control Life-Threatening Bleeding
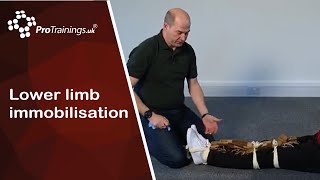
Lower limb immobilisation
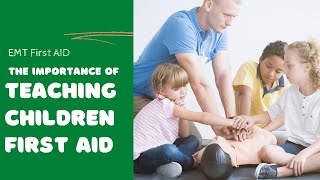
The importance of Teaching children First Aid skills at home and school
Facts about first aid for kids
🩹 A simple splint can reduce pain and prevent further injury by keeping broken or sprained limbs from moving.
📦 Corrugated cardboard is lightweight yet strong—layering and folding it makes a sturdy DIY splint material.
🧸 Practicing on stuffed animals or manikins helps kids learn first aid skills calmly and builds confidence.
🧵 Soft cloth or padding between the limb and splint prevents pressure sores and makes the splint more comfortable.
⏱️ Quick stabilization is key—immobilize an injured limb before moving the person whenever it's safe to do so.
How do you practice making a simple arm splint using cardboard, cloth, and tape on a stuffed toy or mannequin?
What materials do I need for a practice arm splint activity?
What ages is this activity suitable for?
What safety tips and benefits are there when practicing making splints?
