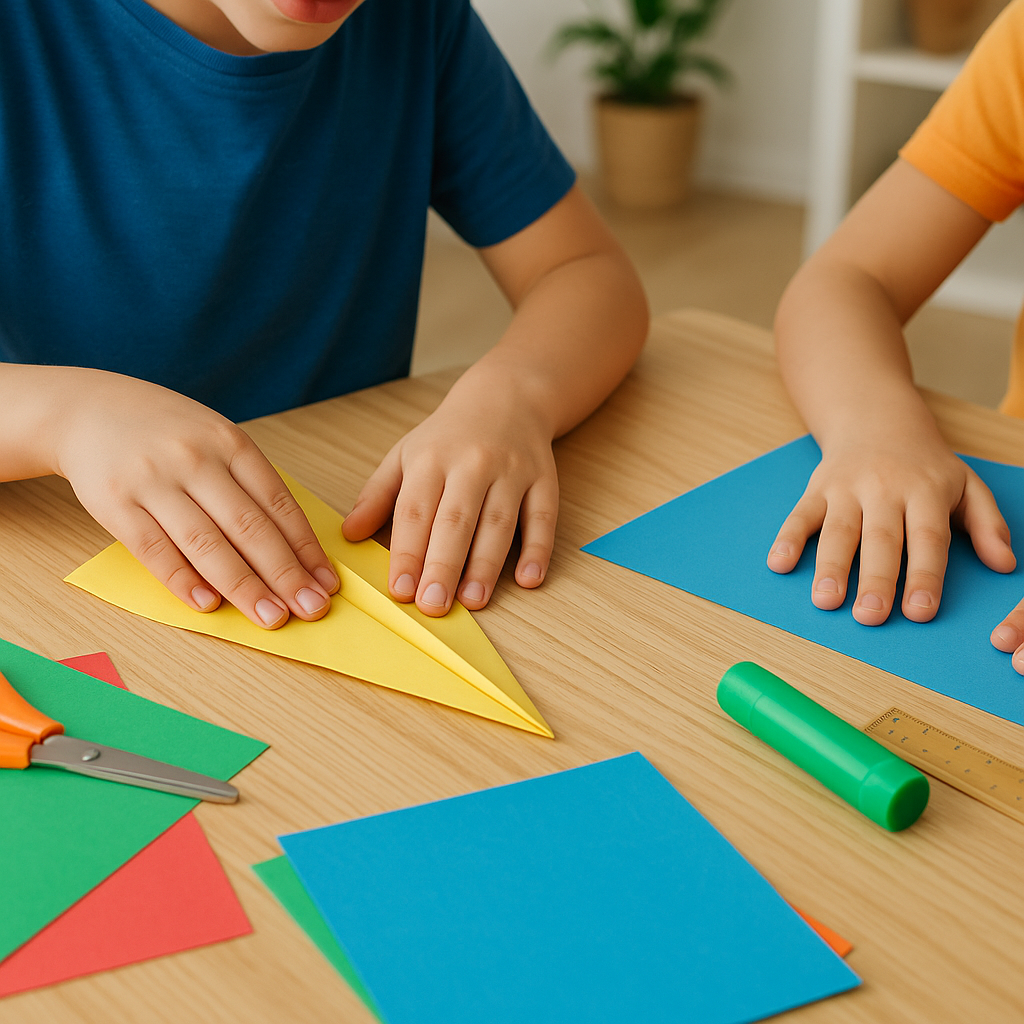
Ow to make a paper airplane
Fold and test a classic dart paper airplane using a single sheet, learning about symmetry, folds, and flight by adjusting wings and tail.


Step-by-step guide to make a paper airplane
How to Make a PAPER AIRPLANE!! - (Easy for Kids!)
Step 1
Place the paper on a flat surface with the short sides at the top and bottom.
Step 2
Fold the paper in half lengthwise so the long edges meet and make a sharp crease.
Step 3
Unfold the paper so the center crease is visible.
Step 4
Fold the top left corner down to the center crease and press a sharp crease.
Step 5
Fold the top right corner down to the center crease and press a sharp crease.
Step 6
Fold the top left edge down to the center crease to lengthen the nose and crease it.
Step 7
Fold the top right edge down to the center crease to finish the pointed nose and crease it.
Step 8
Fold the paper in half away from you along the original center crease so the nose points forward.
Step 9
Fold the top layer outer edge down to meet the bottom edge and crease firmly to make one wing.
Step 10
Turn the plane over so the other top layer faces up.
Step 11
Fold that top layer outer edge down to meet the bottom edge and crease firmly to make the second wing.
Step 12
Fold up small winglets at the back edge of each wing about 1 cm to help stabilize flight.
Step 13
Hold the plane near the middle and gently throw it straight forward to test its flight.
Step 14
If the plane veers or dives adjust symmetry by bending a wing tip up or down slightly and test again.
Step 15
Share your finished paper airplane on DIY.org.
Final steps
You're almost there! Complete all the steps, bring your creation to life, post it, and conquer the challenge!


Help!?
What can we use if we don't have plain printer paper?
Use a similarly sized sheet like A4, notebook paper, or lightweight construction paper, but avoid heavy cardstock because it makes the plane too heavy to glide.
My plane keeps diving or spiraling—what step should I fix?
Follow step 14 and slightly bend one wing tip up or down to correct symmetry, and if the wings look uneven press the center crease from step 2 and the wing creases with a fingernail or ruler to make them sharp.
How can I adapt this activity for different ages?
For preschoolers, pre-fold the center crease (step 2) and guide them through the top corner folds (steps 4–5), while older kids can experiment with larger 1–2 cm winglets (step 12) or adding a paperclip to the nose to change flight distance.
How can we personalize or improve flight performance?
Decorate the paper with markers or stickers before folding, tune flight by adding a small paperclip to the nose or adjusting the 1 cm winglets at step 12, and share your best result on DIY.org as in step 15.
Watch videos on how to make a paper airplane
How to Make the Perfect Paper Airplane | Paper Airplane Tutorial - Step-by-Step Guide
Facts about paper airplanes and basic aerodynamics
✈️ The world record for a paper airplane flight is 69.14 m (226 ft 10 in) — thrown by Joe Ayoob with a plane folded by John Collins in 2012.
⚖️ A little extra weight at the nose (like a paperclip or extra fold) can make a dart fly farther by moving the center of mass forward.
📐 Classic dart paper airplanes use a centerfold symmetry so both wings mirror each other for steady flight.
🎎 Paper airplanes are a playful cousin of origami — people have been folding paper for art and fun for centuries.
🧪 Tiny tweaks to the tail (called elevators) change pitch — bend them up to climb or down to dive.
How do I fold and test a classic dart paper airplane step-by-step?
What materials do I need to make a classic dart paper airplane?
What ages is folding and testing this paper airplane suitable for?
What variations or experiments can we try and how do those changes affect flight?


One subscription, many ways to play and learn.
Only $6.99 after trial. No credit card required


