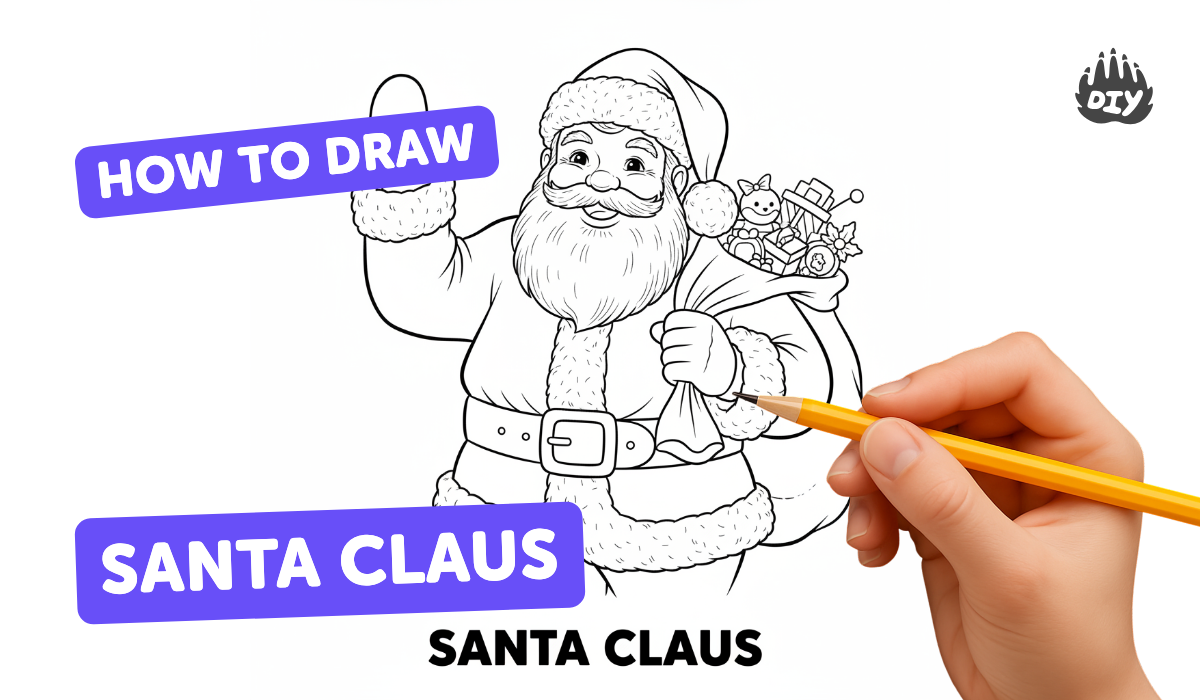
How to draw santa claus - a free santa claus drawing guide
Draw a friendly Santa Claus using simple shapes, step by step proportions, and basic shading. Practice adding facial details, coat textures, and coloring to finish.

Drawing Apps
Get inspired with these


Instructions
How To Draw Cartoon Santa Claus
Step 1
Gather your materials and sit at a clean flat surface.
Step 2
Draw a large oval near the top center of the paper for Santa's face.
Step 3
Lightly draw one vertical line down the middle of the oval and one horizontal line across the middle to help place the features.
Step 4
Draw a rounded rectangle or oval below the face to make Santa's body and coat.
Step 5
Draw Santa's hat by sketching a fluffy brim across the top of the head and a cone-shaped top with a pom-pom.
Step 6
Draw two small circles on the horizontal guide for eyes and add tiny dots inside them for pupils.
Step 7
Draw a small round nose on the centerline between the eyes.
Step 8
Draw a gentle curved smile just below the nose.
Step 9
Draw a curvy mustache above the smile and then draw a big fluffy beard that wraps around the chin.
Step 10
Draw a simple coat under the beard with a fur collar and two round buttons down the front.
Step 11
Carefully trace the lines you want to keep with your black marker and wait for the ink to dry.
Step 12
Gently erase the extra pencil guidelines and stray sketch marks.
Step 13
Color Santa neatly using your coloring materials and add light shading under the hat and along the coat to show depth.
Step 14
Share your finished Santa drawing on DIY.org.
Help!?
What can I use if I don't have a black marker, eraser, or coloring materials?
If you don't have a black marker, trace your final lines with a dark fine-tip pen or a sharpened crayon, use a soft rubber or kneaded eraser to remove the pencil guidelines, and substitute colored pencils, crayons, or washable markers for the coloring materials.
My black marker smudged and the pencil guidelines won't erase cleanly—how do I fix that?
Let the black marker dry completely and place a scrap sheet under your hand while tracing to prevent smudges, then gently lift remaining pencil lines with a kneaded eraser or erase in light passes to avoid tearing the paper.
How can I adapt the drawing steps for different ages?
For younger children, pre-draw the large oval, hat brim, and coat and have them add eyes, nose, smile, and color, for early elementary keep the vertical and horizontal guides and simple beard shapes, and for older kids ask them to add fur texture, careful shading under the hat, and button highlights.
What are simple ways to enhance or personalize our Santa drawing?
Personalize the drawing by changing the coat pattern or button colors, adding gifts or a reindeer in the background, gluing cotton or torn paper to create a fluffy beard and pom-pom, and signing or photographing the finished Santa to share on DIY.org.
Related videos
How to Draw a Cute Santa Claus - Simple and Easy Step-by-Step for Kids!
4 Videos
How to Draw a Cute Santa Claus - Simple and Easy Step-by-Step for Kids!

How To Draw Santa Using Shapes - Preschool

HOW TO DRAW SANTA CLAUS EASY STEP BY STEP

How to Draw Santa Claus 🎅🏻🎄 Christmas Art
Fun Facts
🎅 The jolly red-suited Santa we know was popularized by Haddon Sundblom's Coca-Cola ads in the 1930s.
✏️ Artists often begin characters with simple shapes—circles, ovals and rectangles—to build accurate proportions easily.
🧔 Santa's big, fluffy beard is a classic cartoon trick to make a face look older, kinder, and more memorable.
🎨 Red, white and black are Santa's signature colors because red pops against snowy white and strong black outlines help details read from far away.
📏 Cartoon proportions use head-to-body ratios (for example 1:3 for chibi styles or 1:7 for realistic figures) to keep characters consistent.
How do you draw a friendly Santa Claus step by step?
What materials do I need to draw a Santa Claus with my child?
What ages is drawing a simple Santa Claus suitable for?
What are the benefits of drawing Santa Claus?
