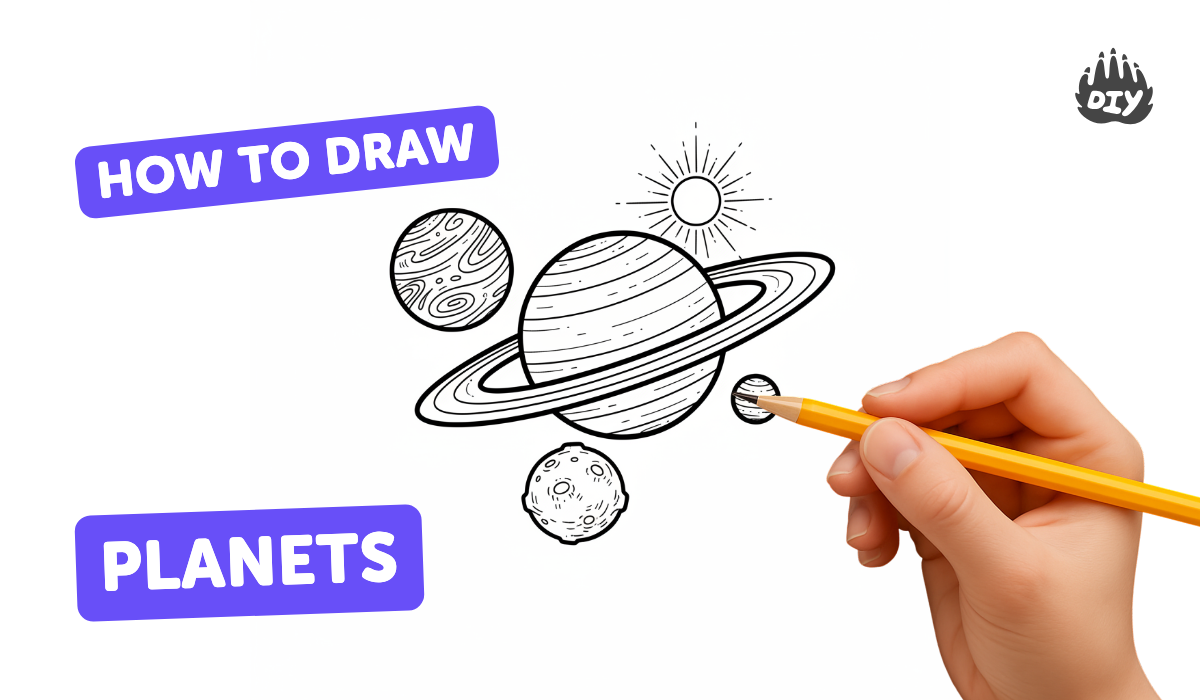
How to draw planets - a free planets drawing guide
Draw realistic planet illustrations using circles, shading, and colors. Practice observing planetary features, labeling sizes, and arranging them in orbit order.


Get inspired with these


Instructions
How to Draw the SOLAR SYSTEM! | Step by Step Easy Drawing for Kids | Learn Planet Names and Colors
Step 1
Gather all your materials and set them on a clean flat workspace.
Step 2
Decide where the Sun (light) will be coming from by picking a side like left or right.
Step 3
Use your pencil and ruler to draw a faint horizontal guide line across the page.
Step 4
Mark a small circle on the chosen side of the line to show where the Sun will be.
Step 5
Trace different-sized circles along the guide using round objects to make each planet.
Step 6
Lightly write each planet’s name under its circle in order from the Sun outward.
Step 7
Shade the side of every planet that is opposite the Sun with gentle pencil strokes.
Step 8
Smooth the pencil shading on each planet by blending with a stump or tissue.
Step 9
Add surface textures with pencil like bands for gas giants craters for rocky worlds and swirls for clouds.
Step 10
Darken the far edge of each planet slightly to deepen its shadow for a round look.
Step 11
Lift a tiny spot on the lit side of each planet with your eraser to create a bright highlight.
Step 12
Color each planet with light layers building up tones and blending colors smoothly.
Step 13
Share your finished solar system drawing on DIY.org
Final steps
You're almost there! Complete all the steps, bring your creation to life, post it, and conquer the challenge!


Help!?
What can we use if we don't have a blending stump, ruler, or round objects to trace?
Use a folded tissue or cotton swab to 'smooth the pencil shading', the straight edge of a book to 'draw a faint horizontal guide line', and coins, jar lids, or cup rims to 'trace different-sized circles'.
My planet circles look uneven and the shading is blotchy — how can I fix that?
Lightly erase and retrace uneven circles using a steady object when you 'trace different-sized circles', and make shading smoother by using gentle, layered pencil strokes and then 'smooth the pencil shading...by blending with a stump or tissue'.
How can I adapt this activity for younger children or older kids?
For younger kids use larger 'round objects', thicker crayons instead of colored pencils, and pre-drawn faint guide lines, while older kids can make proportional planet sizes and distances, add finer 'surface textures', and practice 'color each planet with light layers' for realism.
What are some ways to extend or personalize the solar system drawing?
Add orbital paths and fun fact labels under each 'planet’s name', paint a space wash before you 'color each planet with light layers', or cut out planets to create a layered, pop-up display to 'Share your finished solar system drawing on DIY.org'.
Related videos
Learn to draw the planets! Perfect for kids & beginners. Let's make space art easy! #ArtForKids
Fun Facts
✏️ Pencil hardness matters: H pencils are lighter and harder, B pencils are darker and softer — use a mix for fine detail and deep shadows.
🌕 Light wraps around spheres: curved highlights and soft shadows make a planet look three-dimensional.
🌍 Most planets are slightly flattened at the poles (oblate), so drawing them a bit wider at the equator adds realism.
🎨 Planet colors come from real chemistry — Mars looks red from iron oxide, while methane gives Neptune its blue-green hue.
🪐 The Solar System has eight official planets — a great set to arrange and label in your drawing!
How do I teach my child to draw realistic planets and arrange a labeled solar system?
What materials do I need to draw realistic planets with blending techniques?
What ages are suitable for a realistic planet drawing activity?
What are the benefits of drawing realistic planets and how can I vary the activity?


Make things. Learn new skills. Share safely.
DIY is a creative community where kids draw, build, explore ideas, and share.
No credit card required


