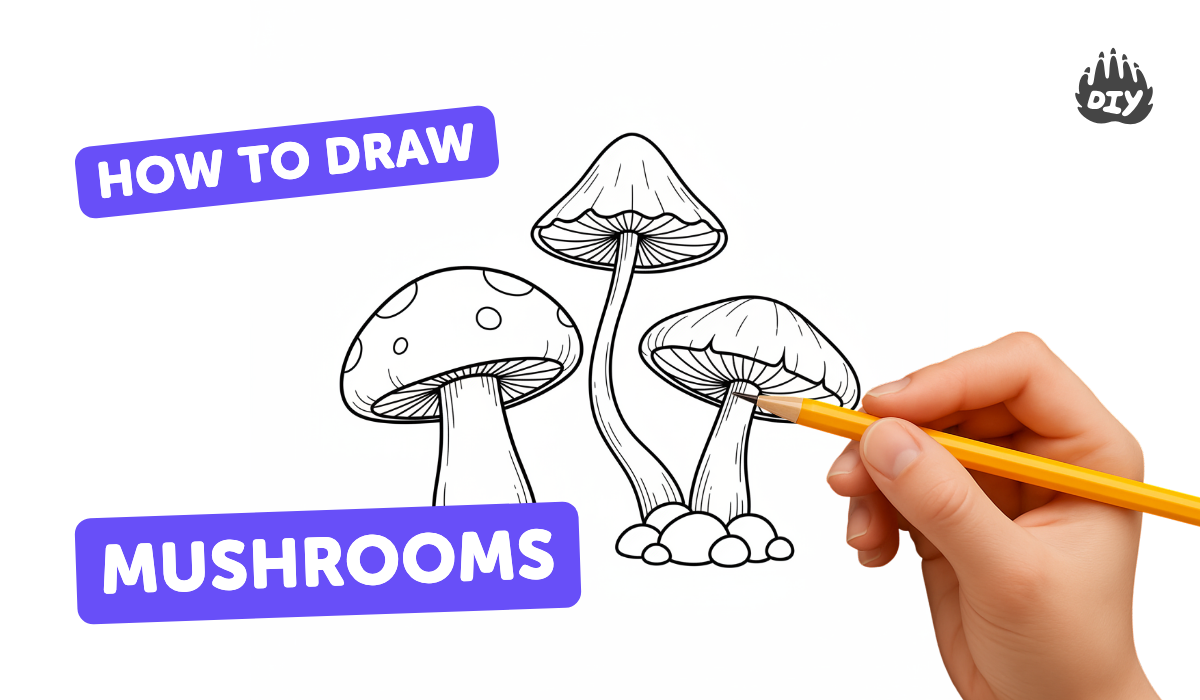
How to draw mushrooms - a free mushrooms drawing guide
Draw three different mushrooms step-by-step using simple shapes, shading, and color to learn proportions, textures, and basic drawing techniques with pencils.

Drawing Apps
Get inspired with these


Instructions
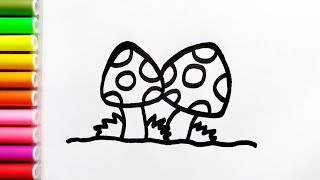
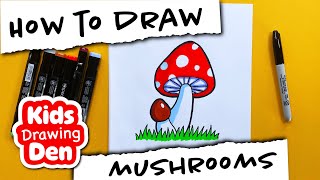
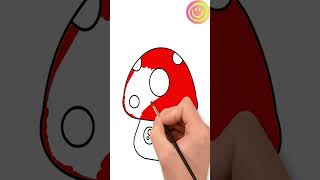
How to draw mushrooms with markers for kids and beginners 🍄 🍄 🟫
Step 1
Place your paper on a flat surface and put your pencil and eraser beside it so you are ready to draw.
Step 2
Draw a light horizontal ground line near the bottom of the paper to show where your mushrooms will stand.
Step 3
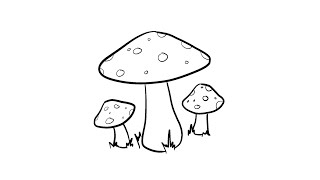
Lightly sketch three mushroom caps of different sizes using semicircles or rounded ovals along the ground line.
Step 4
Draw stems under each cap using two slightly curved vertical lines that meet at a rounded base for each stem.
Step 5
Make the front mushroom the biggest and overlap the smaller mushrooms behind it slightly to show depth.
Step 6
Add gills under each cap by drawing several short curved lines that fan from where the cap meets the stem.
Step 7
Decorate the caps with patterns like spots stripes or zigzags using simple shapes you enjoy.
Step 8
Sketch a few simple tree trunks and round bush shapes behind the mushrooms to create a forest background.
Step 9
Choose the lines you like best then carefully trace them with a black marker or a darker pencil to make your drawing pop.
Step 10
Gently erase the extra pencil guidelines so only the clean traced lines remain.
Step 11
Color the mushrooms stems and background with light even layers using your coloring materials to fill in the big areas.
Step 12
Add shading by coloring a bit darker on one side of each cap and stem then blend softly with a cotton swab or tissue for a smoother look.
Step 13
Add small finishing details like tiny dots white highlights or short grass lines around the mushrooms for extra charm.
Step 14
Sign your name on the drawing so everyone knows you made it.
Step 15
Take a photo of your finished colorful mushroom drawing and share it on DIY.org
Help!?
What can we use if we don't have a black marker or cotton swab listed in the materials?
If you don't have a black marker for tracing, use a dark pencil or fine-tip pen, and if you lack a cotton swab for blending, use a folded tissue or your fingertip when doing the shading step.
My lines smudge or my shading looks messy—what should I check while following the steps?
If your black marker or dark-pencil tracing smudges while coloring, let the ink dry, place a scrap paper under your hand, and only erase the extra pencil guidelines after the marker is fully dry.
How can I adapt the drawing steps for younger or older kids?
For preschoolers, pre-draw the ground line and large mushroom cap outlines for them to trace and color with chunky crayons, while older kids can add extra gills, cap patterns, shading with a cotton swab and more detailed tree trunks as described.
How can we extend or personalize the mushroom drawing once the basic steps are done?
To personalize and extend the activity, try adding white highlights and tiny dots to the decorated caps, experiment with a light watercolor wash for the background before coloring, then sign your name and photograph the finished drawing to share on DIY.org.
Related videos
How to Draw Cute Mushrooms | Easy step by step tutorial for Kids and Toddlers
4 Videos
How to Draw Cute Mushrooms | Easy step by step tutorial for Kids and Toddlers
How to Draw Cute Mushrooms 🍄 | Easy Drawing for Kids
How to Draw a Simple Mushroom | Step-by-Step Lesson
How to Draw a Mushroom - Easy Art Tutorial for Kids
Fun Facts
🍄 Mushrooms are fungi — genetically they're closer to animals than to plants!
🌈 Some mushrooms come in bright colors (red, yellow, blue) — perfect inspiration for fun drawings.
🌌 A few species are bioluminescent and actually glow in the dark like tiny forest lanterns.
🌳 The mushroom you draw is just the fruiting body; most of the organism (mycelium) lives hidden underground and can span acres.
💨 A single mushroom can release millions of tiny spores that drift on the wind to make new mushrooms.
How do I teach my child to draw colorful mushrooms step-by-step?
What materials do I need to draw mushrooms with my child?
What ages is this mushroom drawing activity suitable for?
What are the benefits of drawing mushrooms and safe variations to try?
