How to draw french fries - a free french fries drawing guide
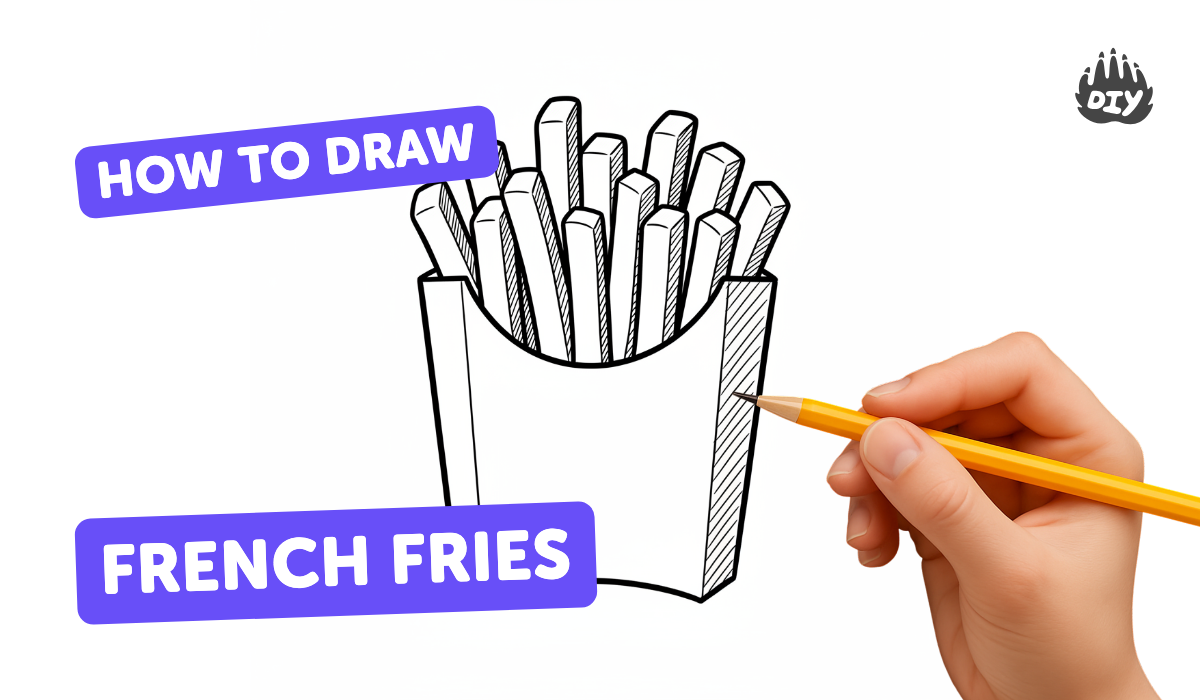
Draw a realistic carton of French fries step by step using simple shapes, line work, shading, and color. Finish with highlights and shadows.

Drawing Apps
Get inspired with these


Instructions
How to Draw a Cute French Fries Easy - Step by Step Easy for Kids
Step 1
Draw a light trapezoid in the center of your paper to map the front of the fry carton.
Step 2
Draw a gentle curved horizontal line above the trapezoid to mark the carton opening.
Step 3
Draw two short diagonal lines connecting that curved line to the top corners to show the opening’s thickness.
Step 4
Draw two slightly angled vertical lines down from the trapezoid bottom corners to show the carton sides.
Step 5
Draw a soft curved bottom line to join the side lines and finish the carton outline.
Step 6
Draw six to nine long rounded rectangles inside the opening to make the fries at different heights.
Step 7
Add small curved bumps to the top of each fry so they look natural and cooked.
Step 8
Erase extra guide lines so only the clear carton and fry outlines remain.
Step 9
Trace over your clean outlines with a slightly darker pencil or a fine liner to define the shapes.
Step 10
Shade each fry with light curved pencil strokes along their length to suggest roundness and add darker shading where fries touch each other.
Step 11
Add diagonal shading to the carton's faces and draw a small cast shadow beneath the carton to ground it.
Step 12
Color the fries with warm yellows and browns and color the carton then add small white highlights and deepen shadows to finish the look.
Step 13
Share your finished creation on DIY.org
Help!?
We don't have a fine liner—what can we use instead when the instructions say to "trace over your clean outlines with a slightly darker pencil or a fine liner"?
Use a darker HB or 2B pencil, a fine-tipped gel pen, or a thin black marker to trace over the clean outlines so the carton and fry edges stay defined without a fine liner.
My fries look flat or the shading is messy—how can we fix that when the instructions tell us to "shade each fry with light curved pencil strokes along their length"?
Reapply light curved strokes following each fry's length, deepen only the areas where fries touch, and gently blend with a tissue or blending stump before you "erase extra guide lines" to keep the roundness without smudges.
How can we adapt the steps like "draw six to nine long rounded rectangles" and "add small curved bumps" for different ages?
For younger kids simplify to three large rounded fries and skip detailed shading using crayons, while older kids can draw more fries at varied heights, add the small curved bumps and layered shading, and use the fine liner step for crisp edges.
What are some ways to extend or personalize the activity beyond "color the fries with warm yellows and browns" and sharing on DIY.org?
Personalize by designing a custom logo or pattern on the carton, add a ketchup cup or tabletop cast shadow for context, experiment with different lighting when you "add small white highlights and deepen shadows," or create a series with different carton colors and sauces before sharing on DIY.org.
Related videos
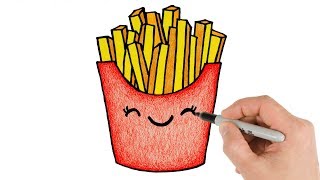
How to Draw Cartoon Fries Cute and Easy
4 Videos
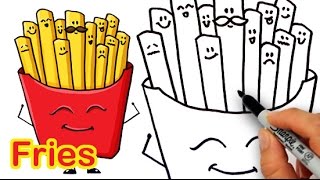
How to Draw Cartoon Fries Cute and Easy
How to Draw French Fries Cute and Easy Drawing for beginners
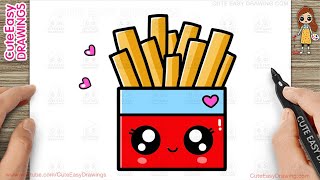
How to Draw a Cute French Fries Simple & Easy for Kids
How To Draw Funny French Fries
Fun Facts
🍟 Belgium and France both claim to have invented French fries in the 1700s — a tasty history mystery!
🥔 Potatoes were first domesticated in the Andes thousands of years ago, long before fries existed.
🎨 Artists often start with simple shapes (rectangles, cylinders, cones) to build realistic objects like a fry carton.
✏️ Shading and highlights are what turn flat linework into 3D-looking, crispy fries on paper.
🧂 French fries are one of the world's most popular side dishes and come in many cuts — shoestring, curly, and steak fries!
How do I teach my child to draw a realistic carton of French fries step by step?
What materials do I need to draw realistic French fries with my child?
What ages is this French fry drawing activity suitable for?
What are the benefits of drawing realistic French fries and how can I vary the activity?
