How to draw clothes - a free clothes drawing guide
Practice drawing clothing: sketch shirts, pants, dresses, and coats on character outlines, add seams, folds, patterns, and simple shading to fit proportions. Download the PDF for complete instructions.

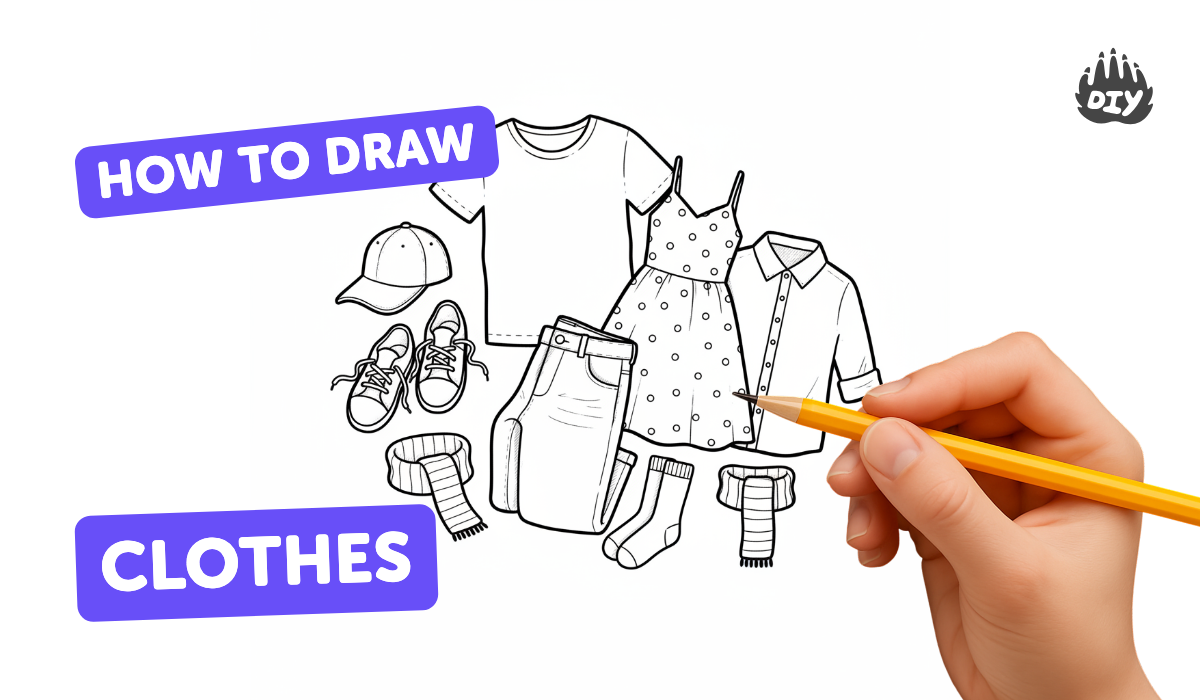

Step-by-step guide to draw clothes on character outlines
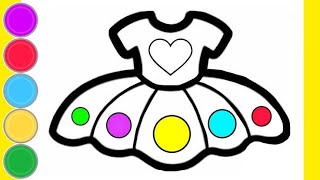
How to Draw Cute Clothes | Easy Step by Step Tutorial | Made for Kids
Step 1
Gather your drawing materials and place them where you can reach them easily.
Step 2
Put a character outline flat on your table to use as your base.
Step 3
Choose one clothing type to practice first: a shirt or pants or a dress or a coat.
Step 4
Lightly sketch the basic outer shape of that chosen garment over the character outline.
Step 5
Draw seam lines and hems to show where the garment pieces join.
Step 6
Add folds and creases where the fabric would naturally bend or squeeze.
Step 7
Add one construction detail like a collar or a pocket or a waistband.
Step 8
Draw a simple pattern or texture such as stripes dots or checks on the clothing.
Step 9
Shade lightly under folds and near edges to show where shadows fall.
Step 10
Use your eraser to remove extra guide lines and tidy up smudges.
Step 11
Darken the final clothing lines so your design stands out clearly.
Step 12
Try another clothing type on a fresh outline to practice proportions and variety.
Step 13
Share your finished clothing sketches on DIY.org.
Help!?
What can we use if we don't have a printed character outline or special drawing pencils?
Use plain paper folded to trace a simple mannequin shape as your 'character outline' and substitute any sharp pencil or colored pencil for the sketching and shading, while a soft cloth or fingertip can help tidy smudges if you don't have an eraser.
My folds and shading look flat—how can I fix that step?
Study a real shirt or pants, sketch creases with very light pencil strokes, build shadows gradually as instructed in 'Shade lightly under folds,' and only then use your eraser to lift tiny highlights before you darken the final clothing lines.
How should I change the activity for different ages?
For younger kids simplify to choosing one clothing type and drawing the basic outer shape with bold patterns like dots or stripes, while older kids should add seam lines, hems, collars or waistbands, practice folds and shading, and 'try another clothing type' to refine proportions.
How can we extend or personalize our clothing sketches after finishing them?
Add real fabric swatches, tiny buttons or paper pockets as extra construction details, color patterns with markers, create a mini lookbook of outlines, and then photograph your best designs to 'share your finished clothing sketches on DIY.org.'
Watch videos on how to draw clothing on character outlines
How to Draw a Dress Step by Step | Easy Clothes Drawing for Kids and Beginners | Draw with Mila
4 Videos
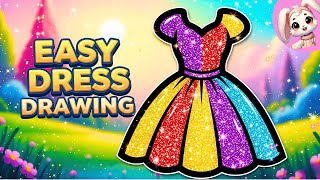
How to Draw a Dress Step by Step | Easy Clothes Drawing for Kids and Beginners | Draw with Mila
How to draw Clothes For Beginners | Drawing Clothing | Easy Step by Step Drawing Lesson
How to Draw Clothes step by step - Beginner's guide
Easy dress drawing for kids and toddlers/learn to draw step by step | Art and learn
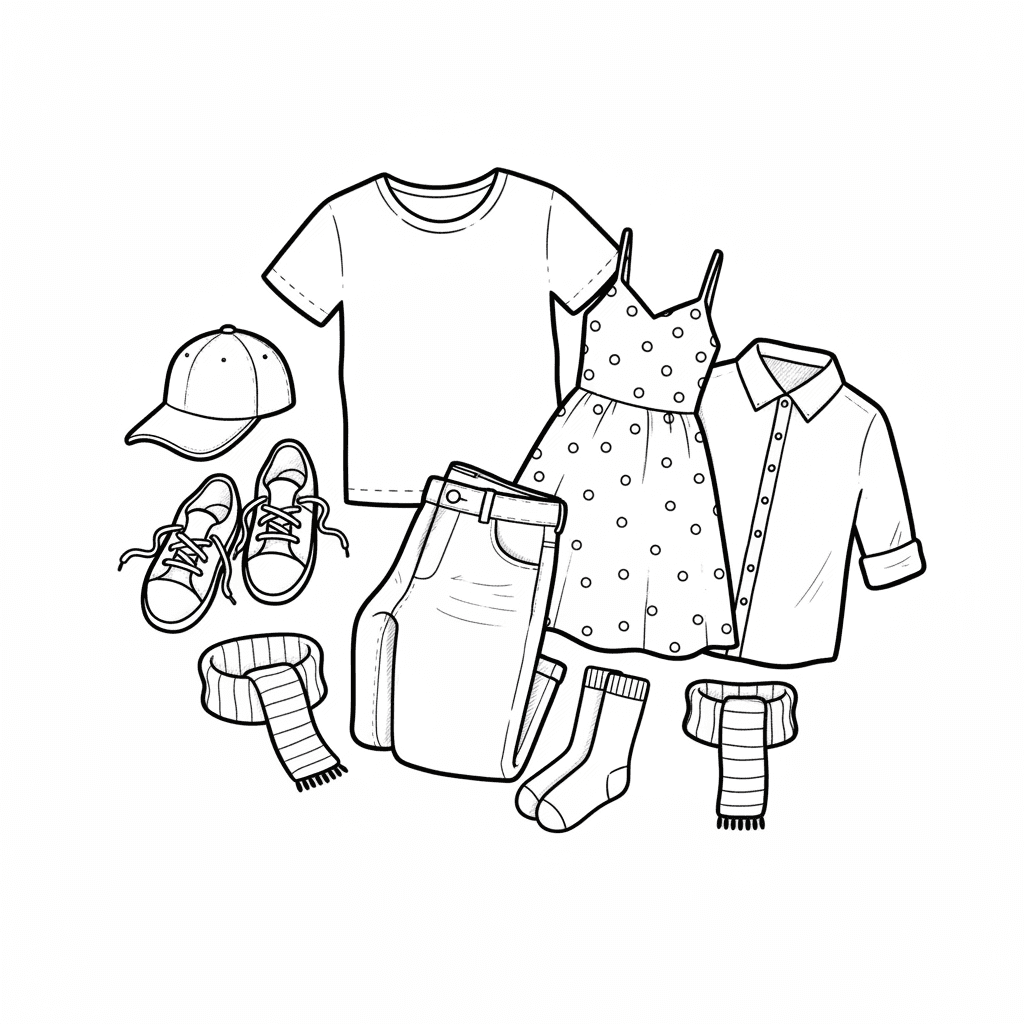
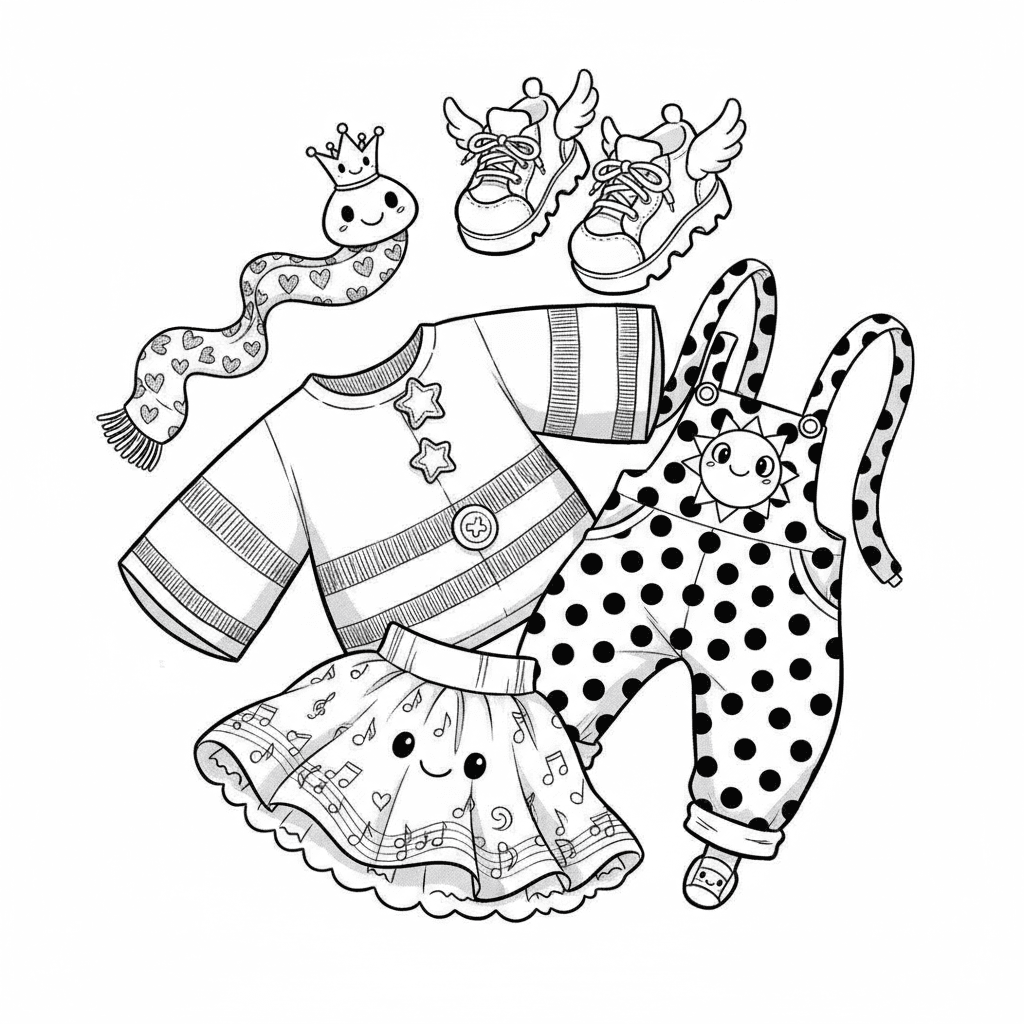
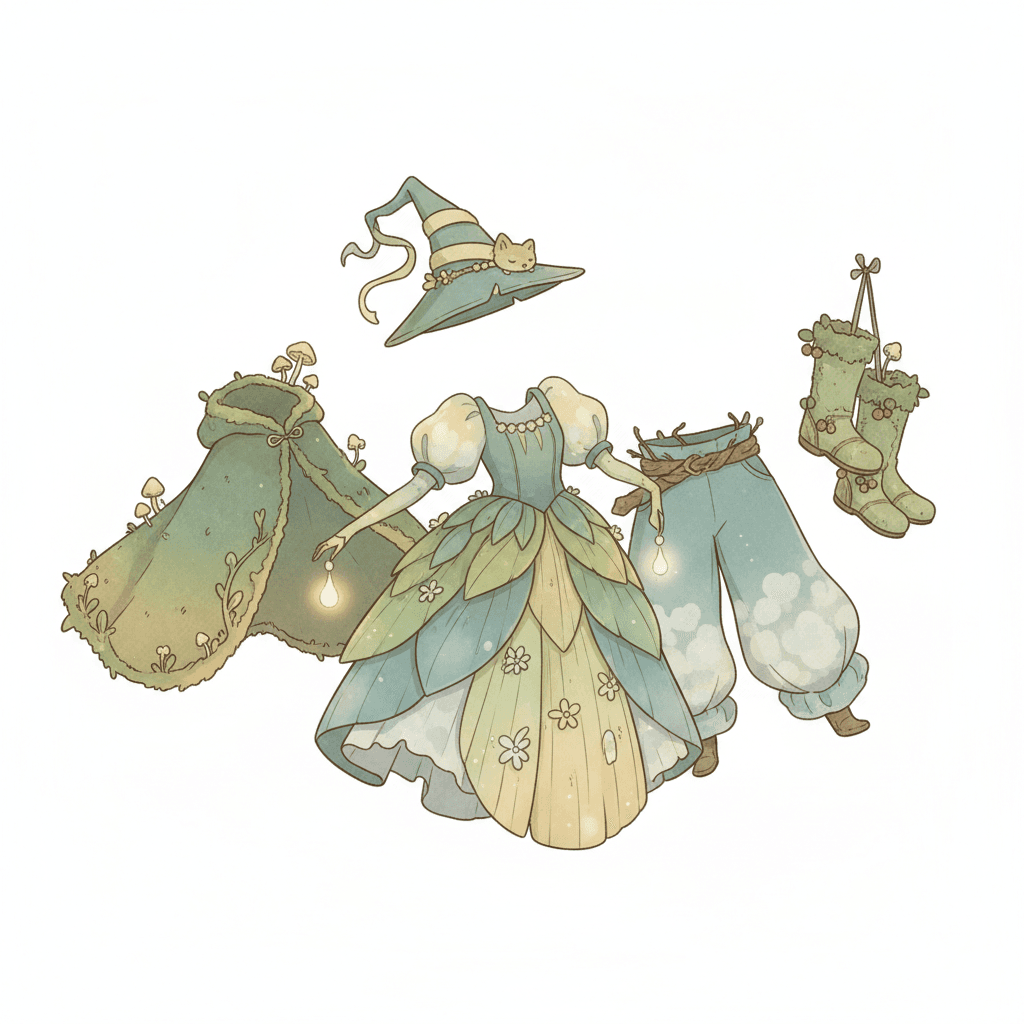
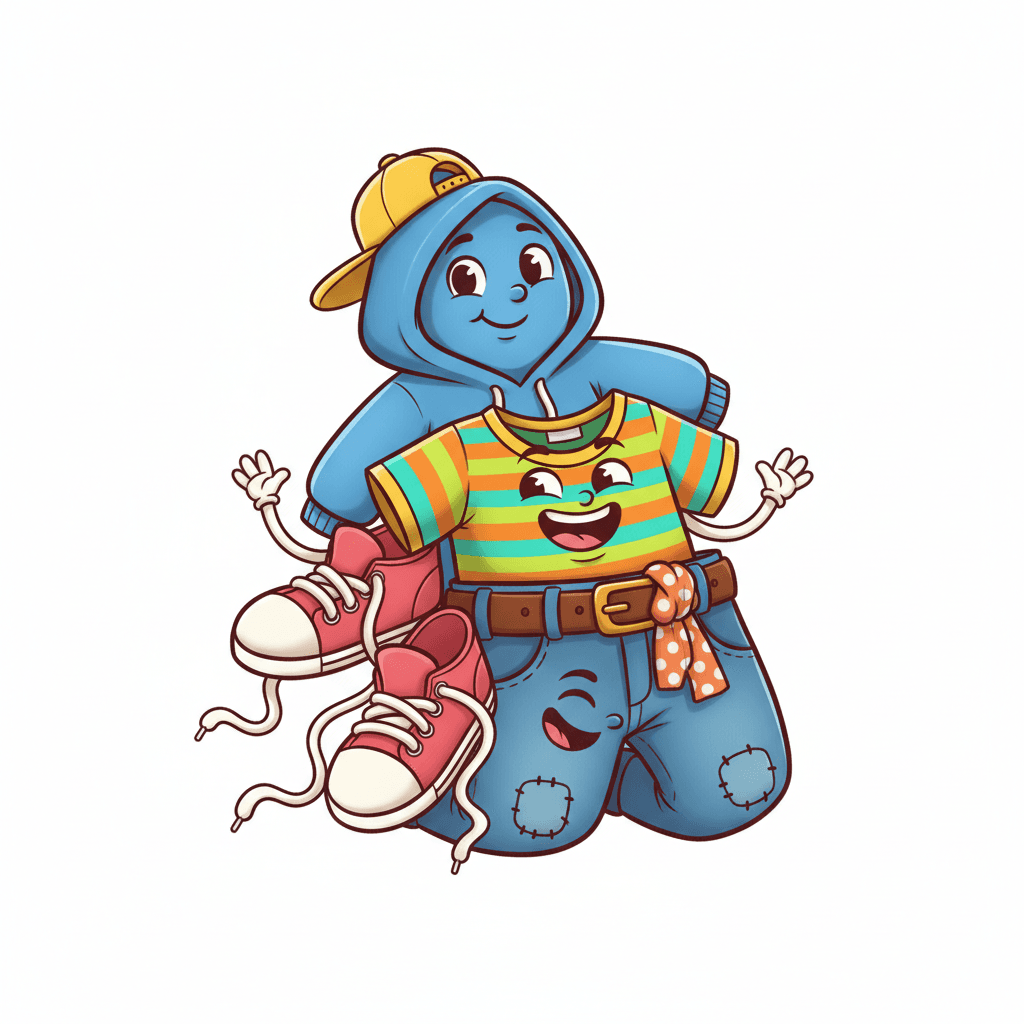
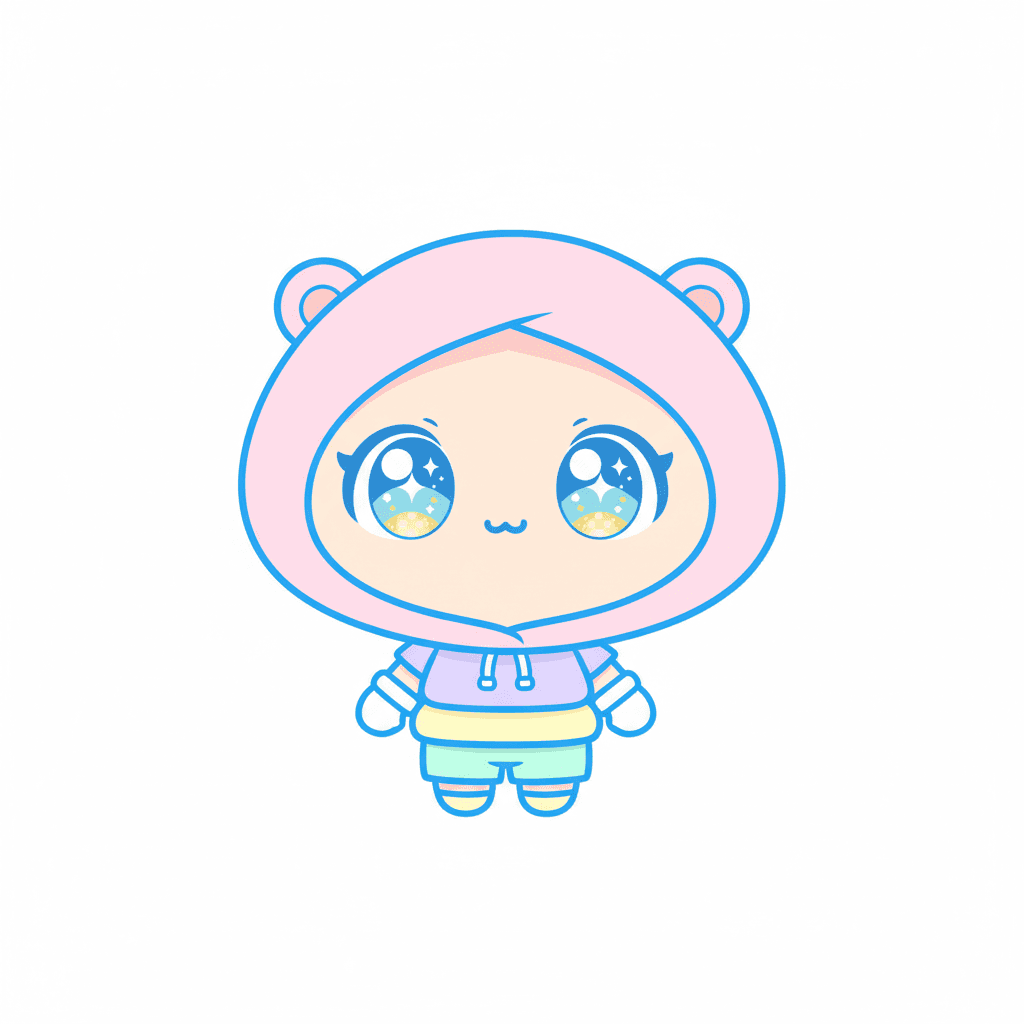
Photos of clothing drawings on character outlines
Facts about drawing clothing and proportions
👗 Fashion illustration has been used for centuries to share new styles—before photos, designers relied on drawings to show clothes to the world!
✂️ Artists study drapery and fold types like pipe, zigzag, and spiral to draw realistic fabric behavior on a body.
✏️ Many fashion figures are drawn '9 heads tall' to give clothes an elegant, stylized look—using head units helps you keep proportions consistent.
🎨 Simple patterns (stripes, checks, dots) and the direction of their lines can make fabric look stretchy, stiff, or flowy in a sketch.
📐 Adding seam lines, darts, and pocket placements in your sketches makes outfits look fitted and more believable—tailor details tell the story of a garment.
How do you practice drawing clothes on character outlines?
What materials do I need to draw clothing on characters?
What ages is this clothing-drawing activity suitable for?
What are the benefits of practicing clothing drawing with kids?
