How to draw christmas tree - a free christmas tree drawing guide
Draw a decorated Christmas tree step by step using simple shapes, layering, and coloring. Practice proportions, shading, and adding ornaments to complete your drawing.

Drawing Apps
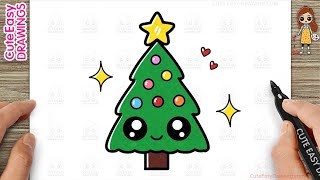
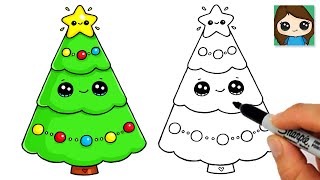
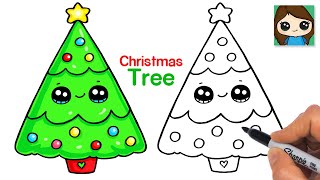
Photos of decorated Christmas tree drawings


Step-by-step guide to draw a decorated Christmas tree
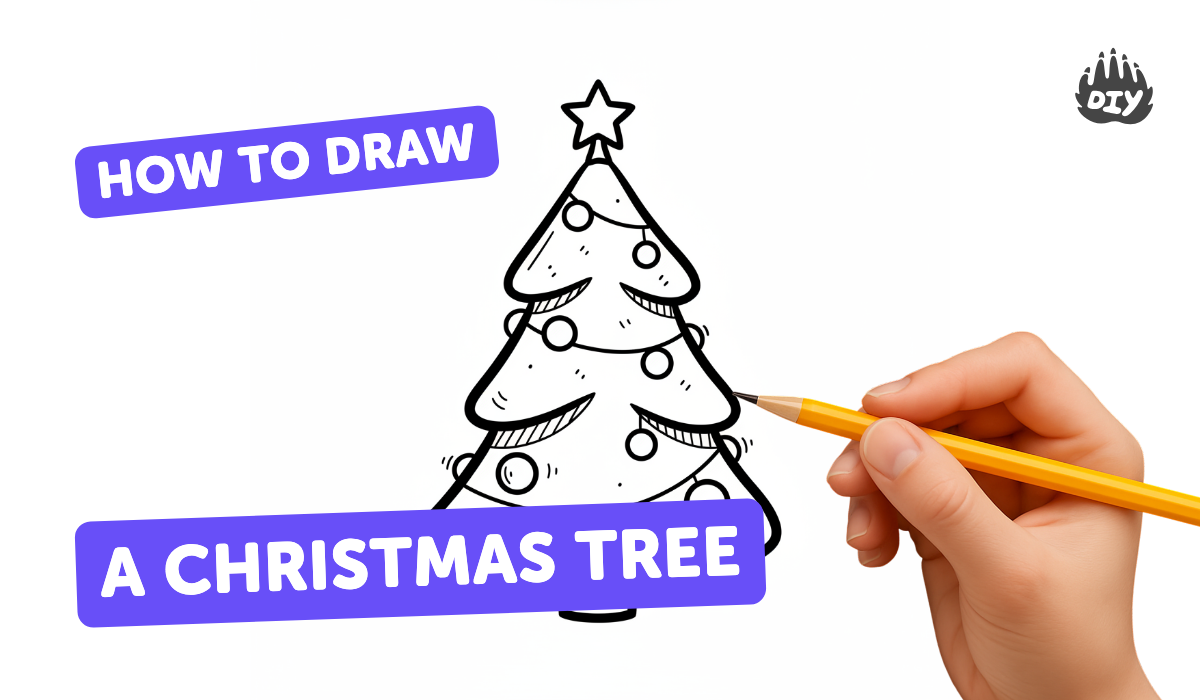
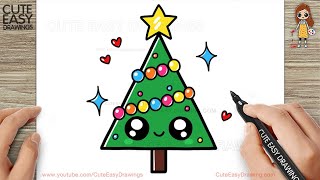
How To Draw A Christmas Tree
Step 1
Gather all your materials and find a flat spot to draw.
Step 2
Lightly draw a vertical center line to mark the tree’s height.
Step 3
Draw a small rectangle at the bottom center for the trunk.
Step 4
Draw a large triangle above the trunk for the tree’s bottom layer.
Step 5
Draw a slightly smaller triangle above the first triangle so they overlap a bit.
Step 6
Draw a small triangle at the very top to finish the tree shape.
Step 7
Draw a star or simple shape at the top of the tree.
Step 8
Draw round and star-shaped ornaments spaced across the three tree layers.
Step 9
Draw curved garland lines across each triangle to wrap the tree.
Step 10
Add short angled strokes along the triangle edges to make branch texture.
Step 11
Trace the final outlines you like with a black pen or marker and let the ink dry.
Step 12
Gently erase the pencil guidelines and any extra sketch marks.
Step 13
Color the tree green and the trunk brown using your coloring materials.
Step 14
Add darker shading under each layer and near the trunk to create depth.
Step 15
Share your finished creation on DIY.org
Help!?
What can we use instead of a black pen or marker and green/brown coloring if we don't have them?
If you don't have a black pen or marker, use a dark pencil or crayon to 'Trace the final outlines you like with a black pen or marker', and substitute green and brown paints with colored pencils, crayons, or mix blue and yellow to make green for the 'Color the tree green and the trunk brown' step.
My triangles look lopsided—how can I keep the three tree layers centered and overlapping properly?
Use the 'Lightly draw a vertical center line to mark the tree’s height' as a symmetry guide and mark equal base points with a ruler or fold the paper so each triangle centers over the small rectangle trunk and overlaps evenly.
How can I adapt this activity for younger kids or older kids?
For younger children, pre-draw the trunk and triangle layers or let them place stickers for 'Draw round and star-shaped ornaments', while older kids can add the short angled branch strokes, darker shading under each layer, and detailed ornament patterns for extra challenge.
What are some ways to make the finished tree more special or more complex?
Personalize the tree by adding glitter glue or sequins to the 'Draw round and star-shaped ornaments', paint a patterned background after tracing outlines, or cut out the finished tree to glue onto construction paper as a homemade card to share on DIY.org.
Watch videos on how to draw a decorated Christmas tree
How to Draw a Cute Christmas Tree - Easy Step-by-Step for Kids!
4 Videos
How to Draw a Cute Christmas Tree - Easy Step-by-Step for Kids!
How to Draw a Christmas Tree Easy 🎄 New
How to Draw a SUPER EASY Christmas Tree 🎄
How to Draw a Cute Christmas Tree Easy Drawing and Coloring for Kids and Toddlers
Facts about drawing for kids
🎄 The modern decorated Christmas tree tradition began in 16th-century Germany.
🎁 The first glass Christmas ornaments were hand-blown in Lauscha, Germany in the 1800s.
🌲 Common real trees used for decorating include fir, spruce, and pine because of their shape and scent.
✏️ Artists often start drawings with simple shapes like triangles and circles to get proportions right before adding details.
💡 Before electric lights, people lit Christmas trees with candles — electric string lights became popular in the late 19th century.
How do I draw a decorated Christmas tree step by step?
What materials do I need to draw and color a decorated Christmas tree?
What ages is drawing a decorated Christmas tree suitable for?
What are the benefits and fun variations of drawing a decorated Christmas tree?
