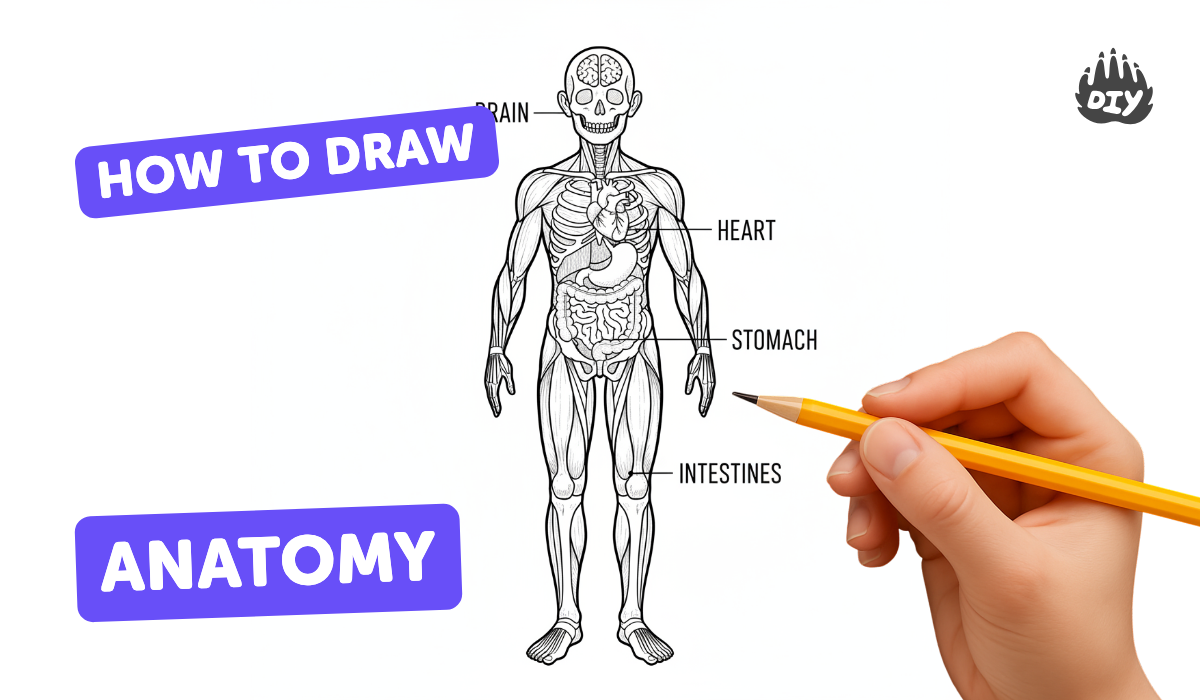
How to draw anatomy - a free anatomy drawing guide
Draw a simplified human skeleton and add basic muscle shapes to learn proportions, landmarks, and labels through step-by-step drawing and tracing exercises. Download the PDF for complete instructions.

Step-by-step guide to draw a simplified human skeleton and basic muscles
Fun & Easy Drawing Tutorial For Beginners
Step 1
Clear a flat workspace and put all the materials where you can reach them easily.
Step 2
Place the printed human reference on the table so you can see the whole figure.
Step 3
Lay a sheet of tracing paper over the printed reference so the picture shows through.
Step 4
Lightly trace the main landmarks on the tracing paper by drawing a circle for the skull an oval for the ribcage a shape for the pelvis and a straight line for the spine.
Step 5
Put a fresh sheet of plain paper in front of you to use as your drawing paper.
Step 6
Use the landmarks on the tracing paper as a guide and draw a simplified skeleton on the plain paper with lines for the spine arms and legs and basic shapes for the ribcage pelvis and skull.
Step 7
Add small circles at the shoulders elbows hips and knees to mark the joints.
Step 8
Use your pencil as a measuring tool to check proportions by seeing how many head lengths tall your figure is.
Step 9
If the proportions look off erase and adjust the torso or leg lengths so the figure looks balanced.
Step 10
Draw simple rounded muscle shapes over the skeleton to show chest shoulders biceps thighs and calves.
Step 11
Erase extra construction lines so only the clear bones muscle shapes and joint marks remain.
Step 12
Neatly label the main landmarks by writing names like skull ribcage spine pelvis shoulders elbows knees and the major muscles next to them.
Step 13
Colour the muscle shapes a different colour than the bones so the muscles stand out.
Help!?
What can I use instead of tracing paper or a printed human reference if I can't find them?
If you don't have tracing paper, use a sheet of translucent parchment/baking paper or place the printed human reference on a window and lay a plain sheet over it to trace the landmarks through the light.
My drawing proportions look wrong after tracing — how do I fix them?
When the proportions look off, use your pencil as a measuring tool to count head lengths, then erase and adjust the torso or leg lengths as the instructions say until the figure looks balanced.
How can I adapt this activity for different age groups?
For younger children simplify by tracing only the skull and ribcage circles and drawing thick blocky limbs, while older kids can add the small joint circles, detailed rounded muscle shapes, neat labels, and color the muscles a different colour than the bones.
How can we extend or personalize the finished anatomy drawing?
To enhance the activity choose a new printed reference with a dynamic pose, redraw the skeleton in that pose, add shading and contrasting colours for muscles versus bones, label extra parts with notes, and share the finished drawing on DIY.org.
Watch videos on how to draw a simplified human skeleton and basic muscles
Drawing for kids easy #3 - Drawing tutorial easy - Drawing animals for kids
4 Videos
Drawing for kids easy #3 - Drawing tutorial easy - Drawing animals for kids
Easy Drawing And Painting Tutorials For Beginners

Drawing A Person With My 2-Year-Old (Preschool Lesson)

3D Shapes Lesson for Children | Classroom Video
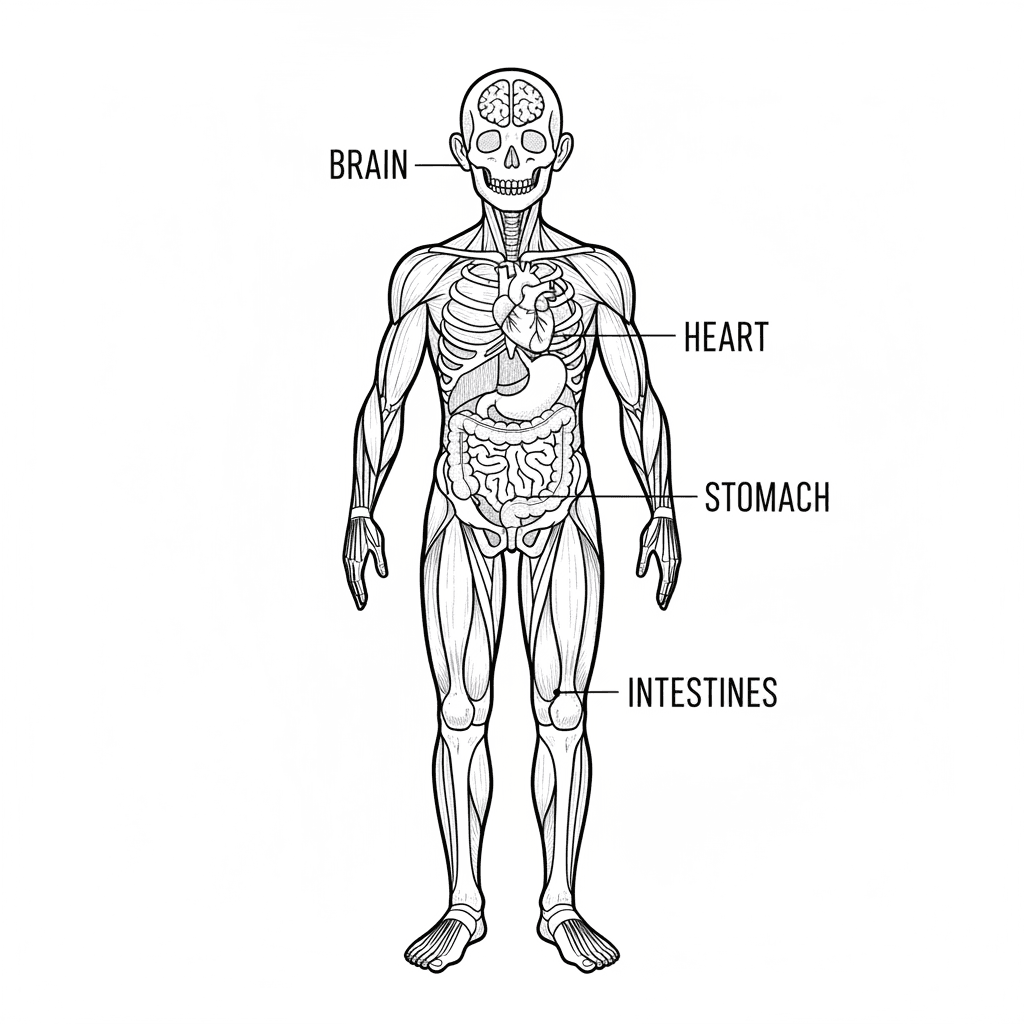
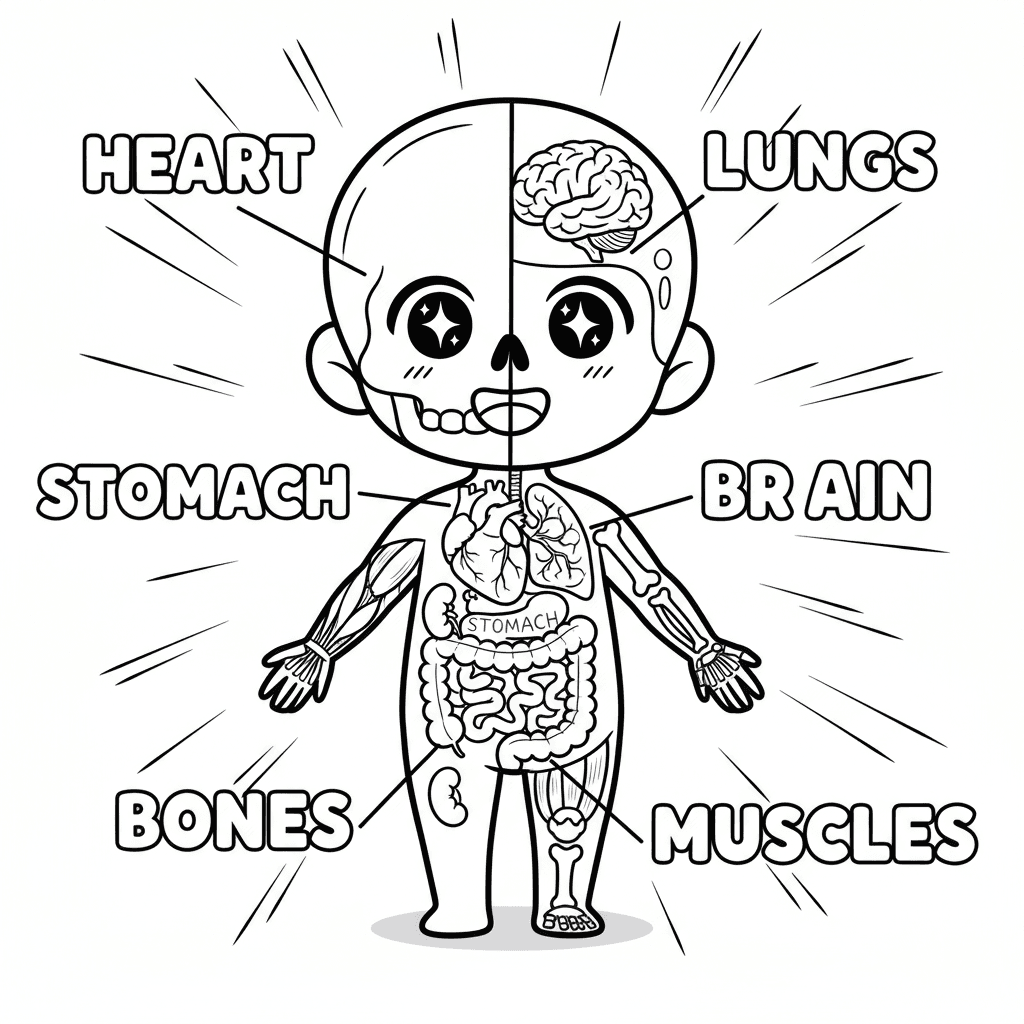
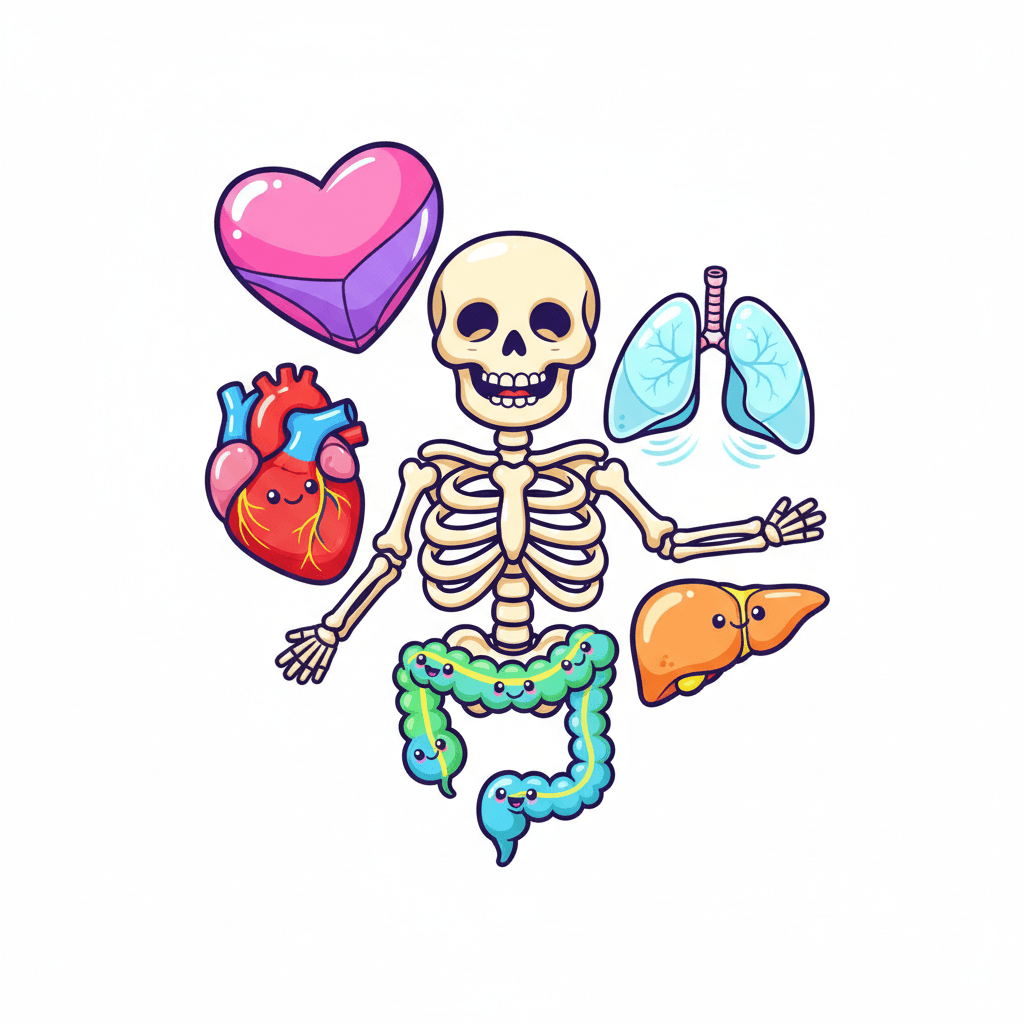
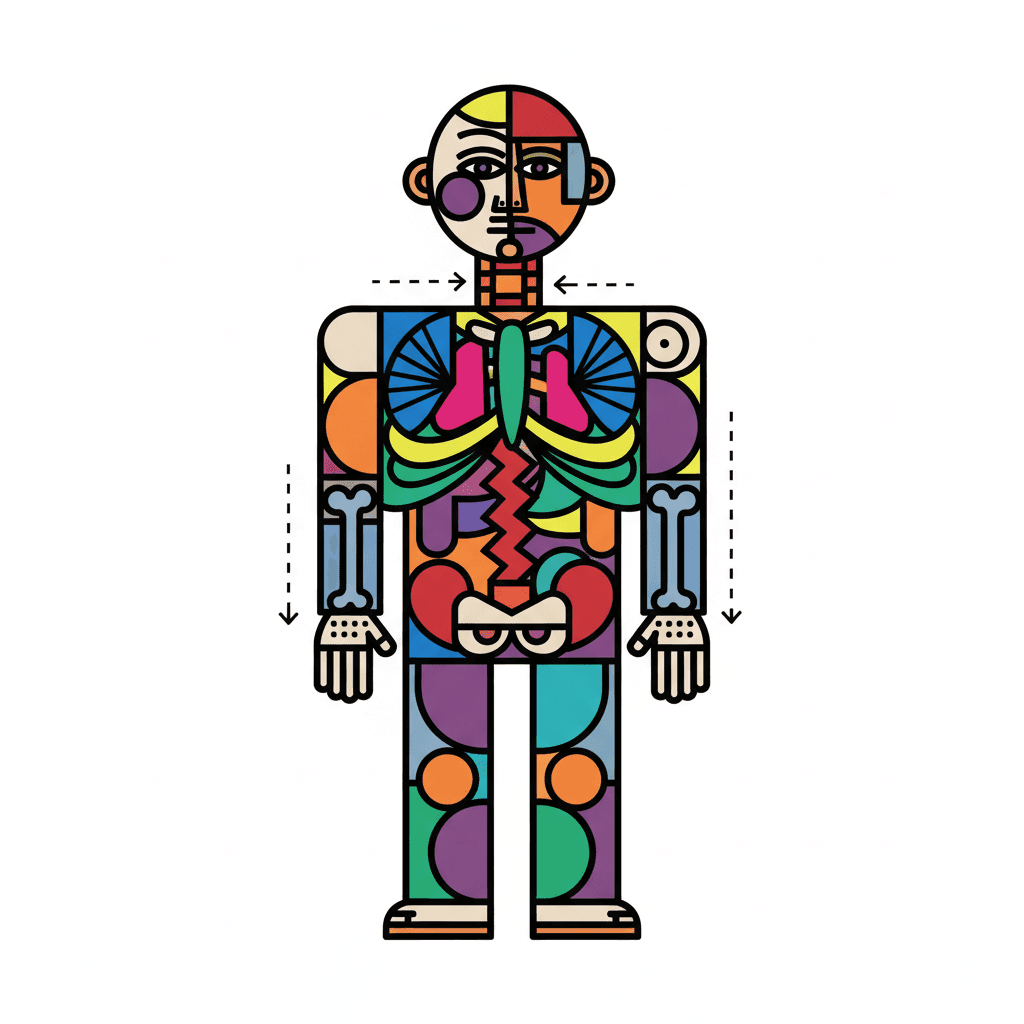
Photos of simplified human skeleton and muscle drawing examples


Facts about basic human anatomy and figure drawing
🦴 The adult human skeleton has 206 bones — newborns start with about 270 that fuse as they grow.
💀 The skull is actually 22 bones joined together to protect your brain like a built-in helmet.
💪 Muscles account for roughly 40% of body mass in adults and can only pull, not push.
📏 Many artists use the head as a measuring unit; a typical adult figure is about 7.5 heads tall.
✏️ Drawing bones as simple lines/cylinders and muscles as blocks/ovals makes anatomy quick and fun to learn.
How do I teach my child to draw a simplified human skeleton and add basic muscle shapes?
What materials do I need for a child-friendly skeleton-and-muscle drawing activity?
What ages is drawing a simplified skeleton and basic muscles suitable for?
What are the benefits of having kids draw simplified skeletons and basic muscles?
