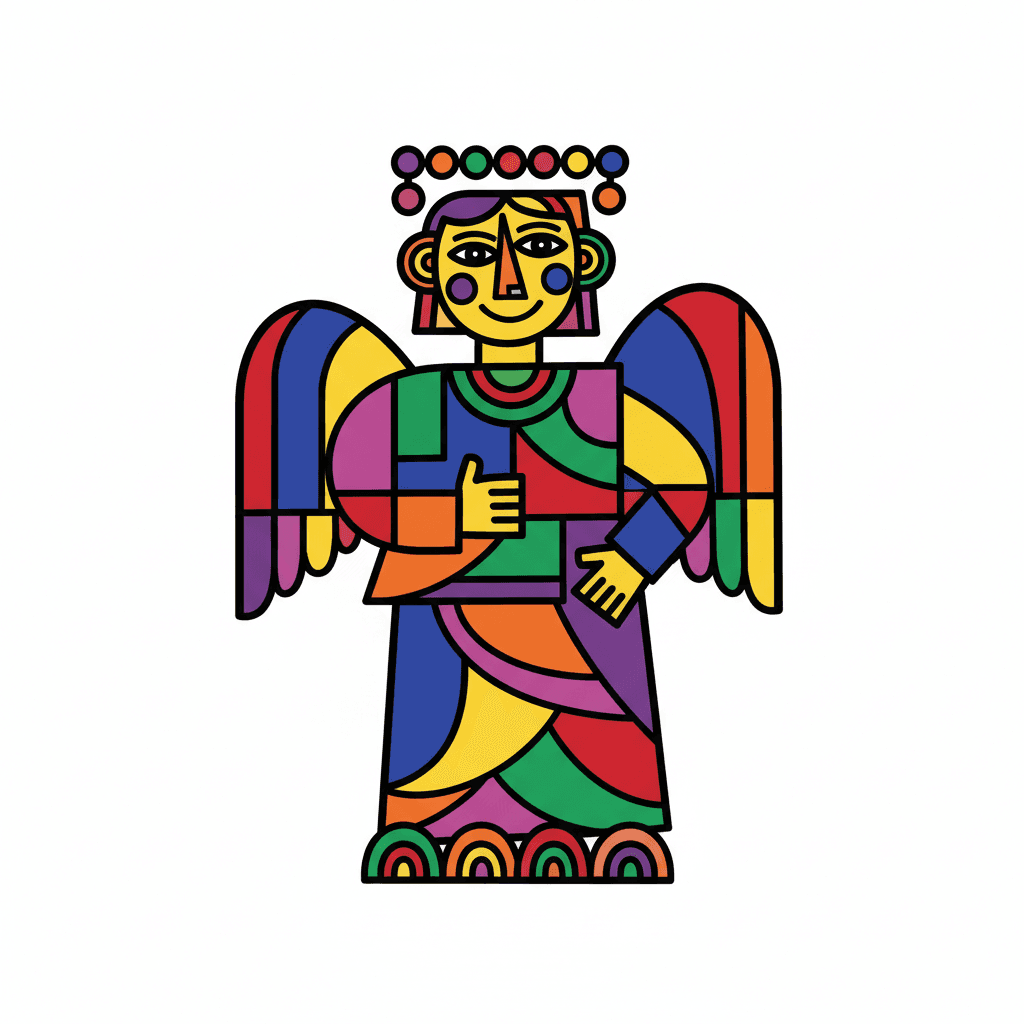
How to draw an angel - a free angel drawing guide
Draw a friendly angel step by step using simple shapes, add wings, a halo, facial details, and color. Practice proportions and creativity.


Drawing Apps
Get inspired with these

Instructions
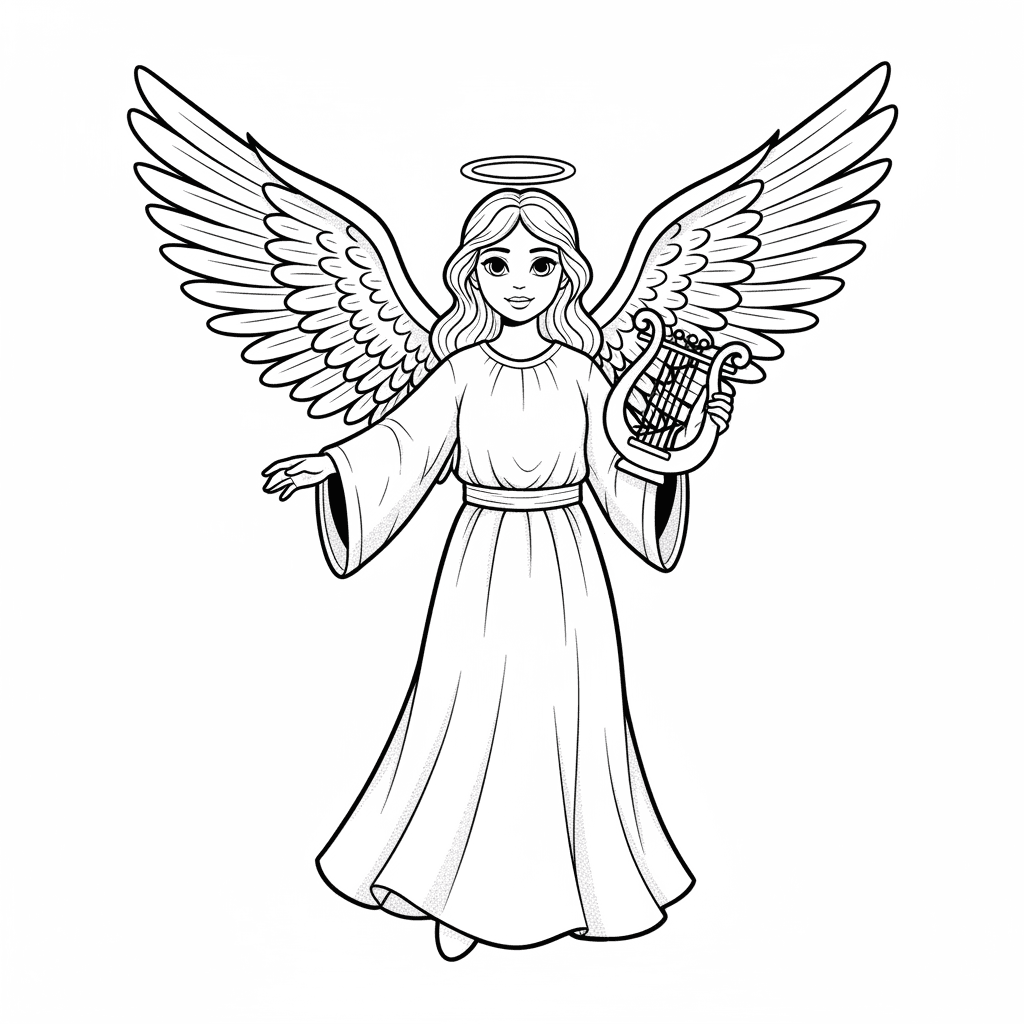
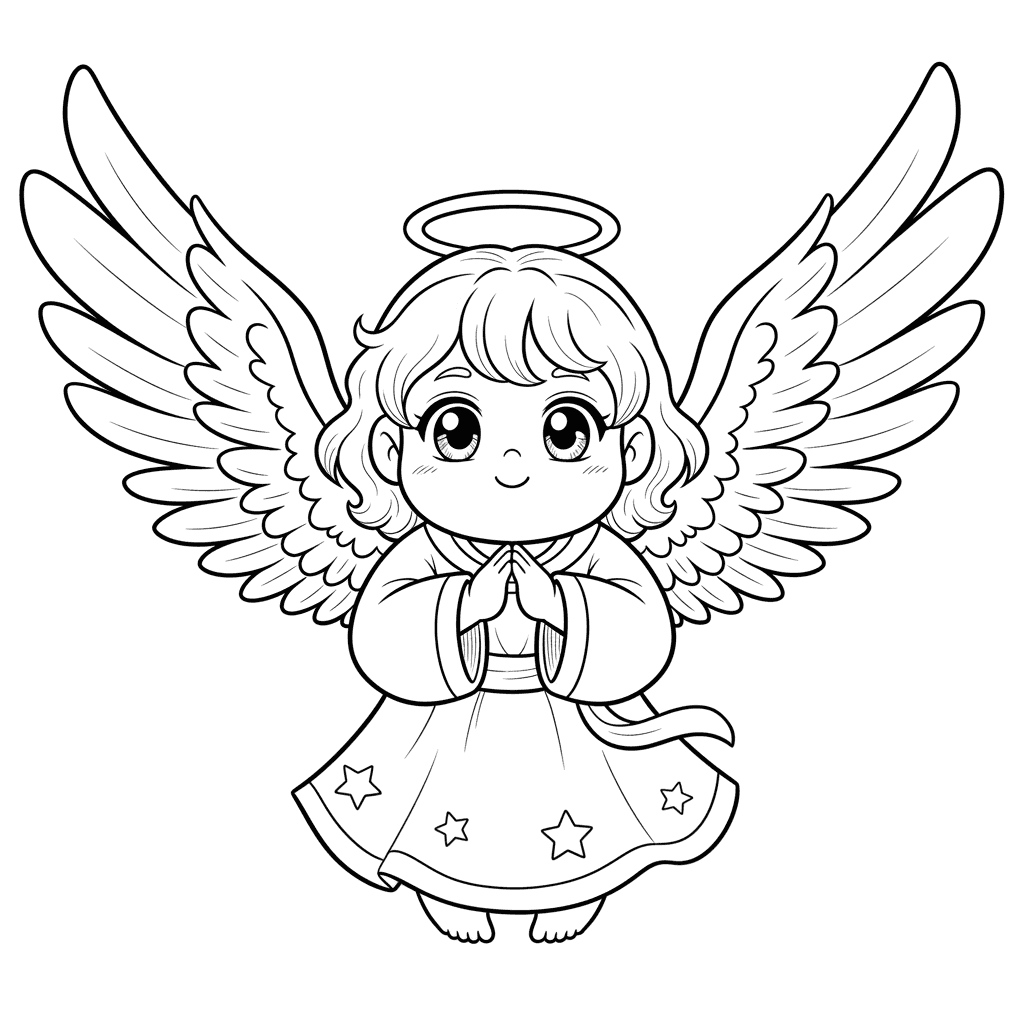
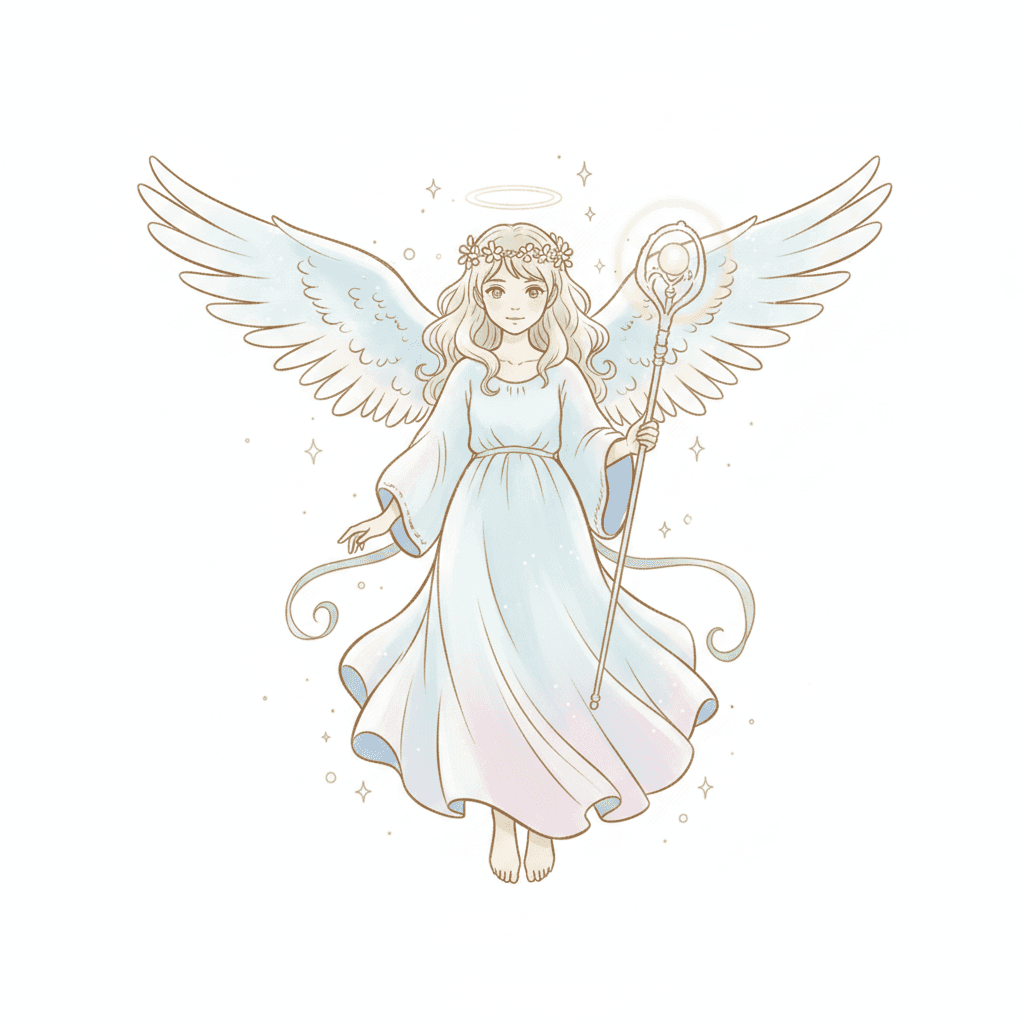
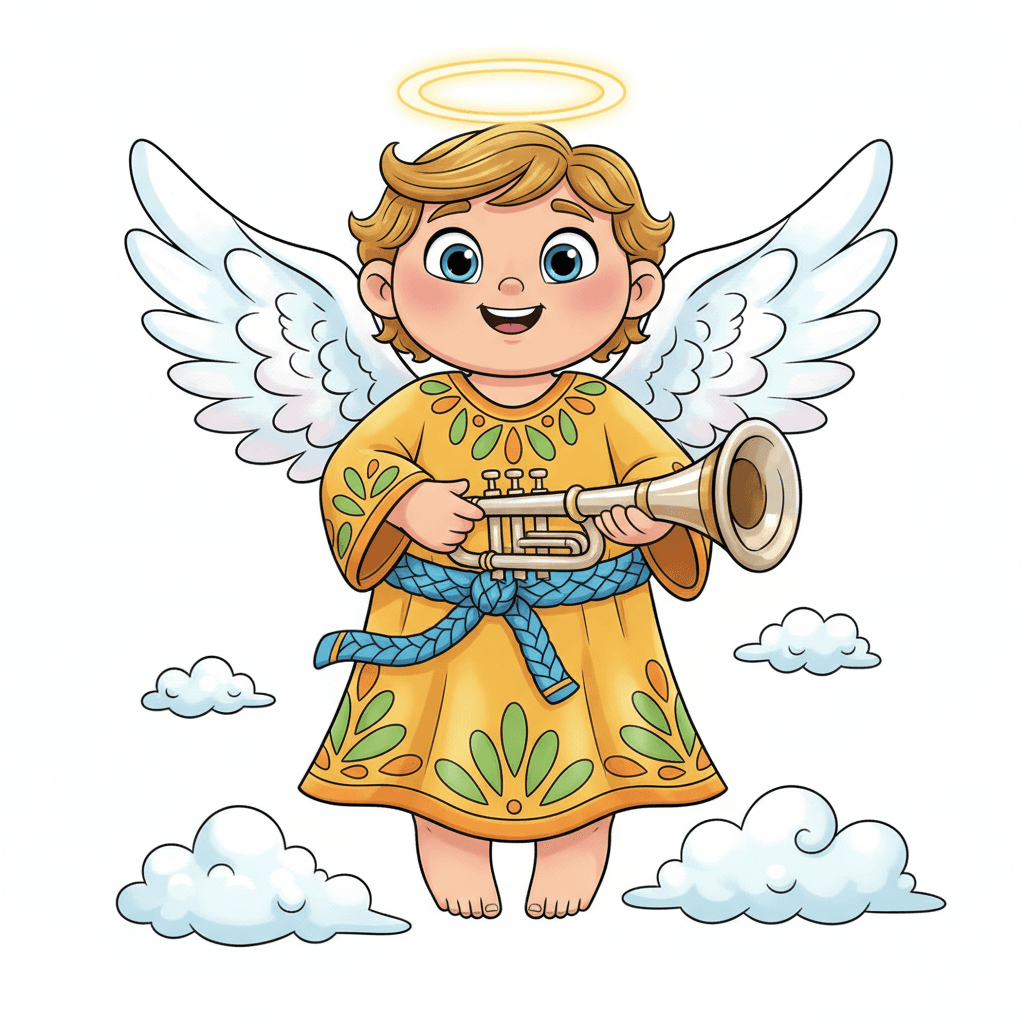
Angel - Step by Step Drawing Easy
Step 1
Gather all materials.
Step 2
Place your paper and tools on a flat workspace.
Step 3
Lightly draw a circle near the top center of the paper for the angel's head.
Step 4
Draw a light vertical guideline from under the head down the middle of the page to mark the body's center.
Step 5
Sketch a simple triangle or long oval under the head to make the angel's robe.
Step 6
Draw two small curved lines from the top sides of the robe for the shoulders and arms.
Step 7
Add two large wing shapes on each side of the robe using curved scalloped lines.
Step 8
Draw a small oval above the head to make the halo.
Step 9
Draw simple facial features by adding two round eyes a small nose and a smiling mouth.
Step 10
Sketch hair around the top and sides of the head using soft curved lines.
Step 11
Add small decorative details on the chest and a few fold lines on the robe.
Step 12
Trace the important lines with the black marker to make your drawing bold.
Step 13
Erase the pencil guidelines once the marker is dry.
Step 14
Color your angel using your colouring materials.
Step 15
Share your finished creation on DIY.org.
Help!?
What can we use if we don't have a black marker or specific colouring materials listed?
If you don't have a black marker for step 12, substitute a dark ballpoint or gel pen, a fine-tip felt pen, or a small brush with black watercolor or acrylic paint and let it dry before erasing the pencil guidelines, and use crayons, colored pencils, or diluted paint if specific colouring supplies are missing.
My wings look uneven and my pencil smudged when I erased—how do I fix that?
To prevent uneven wings and smudging, practice the scalloped wing shapes on scrap paper first, draw all guidelines very lightly during steps 3–5, wait until the traced marker lines are completely dry in step 12, then erase gently with a soft eraser in step 13.
How can I adapt this angel drawing for different ages or skill levels?
For toddlers, provide a pre-drawn circle and robe outline to color with chunky crayons during steps 3–14, for early elementary let them draw simplified wings and face, and for older kids add detailed hair, decorative chest designs, fold lines, shading, or patterned wings before tracing in step 12.
What are some ways to extend or personalize the finished angel drawing?
You can personalize the angel by adding a glitter glue halo after step 11, collage fabric or patterned paper on the robe and wings, paint a background sky around the robe, sign your name on the page, and photograph it to share on DIY.org as instructed in step 14.
Related videos
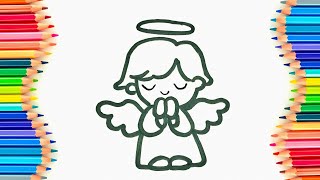
How to Draw an Angel step by step Cute and Easy
4 Videos

How to Draw an Angel step by step Cute and Easy
Step-by-Step Guide to Angel Cartooning and Painting for Kids
Stunning Colorful Angel Drawing | Step by Step Tutorial
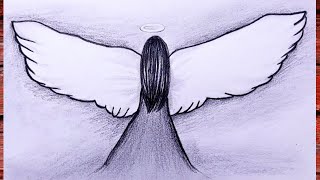
How to draw an angel face step by step/ Learn to draw - drawing tutorials for beginners
Fun Facts
😇 The halo has been used in art for over 2,000 years to show holiness or importance.
🕊️ Many bird wings have hundreds of feathers — grouping feathers into layers makes angel wings quicker to draw.
✏️ Artists often begin with simple shapes (circles, ovals, triangles) to build a friendly character step by step.
🎨 Soft pastel colors and gentle glows are commonly used in angel art to create a calm, heavenly look.
📏 Making the head larger relative to the body (about 1:4 or 1:5) gives an angel a cute, childlike appearance.
How do I teach my child to draw a friendly angel step by step?
What materials do I need to draw an angel with my child?
What ages is drawing a simple angel suitable for?
What are the benefits of drawing angels for kids?
