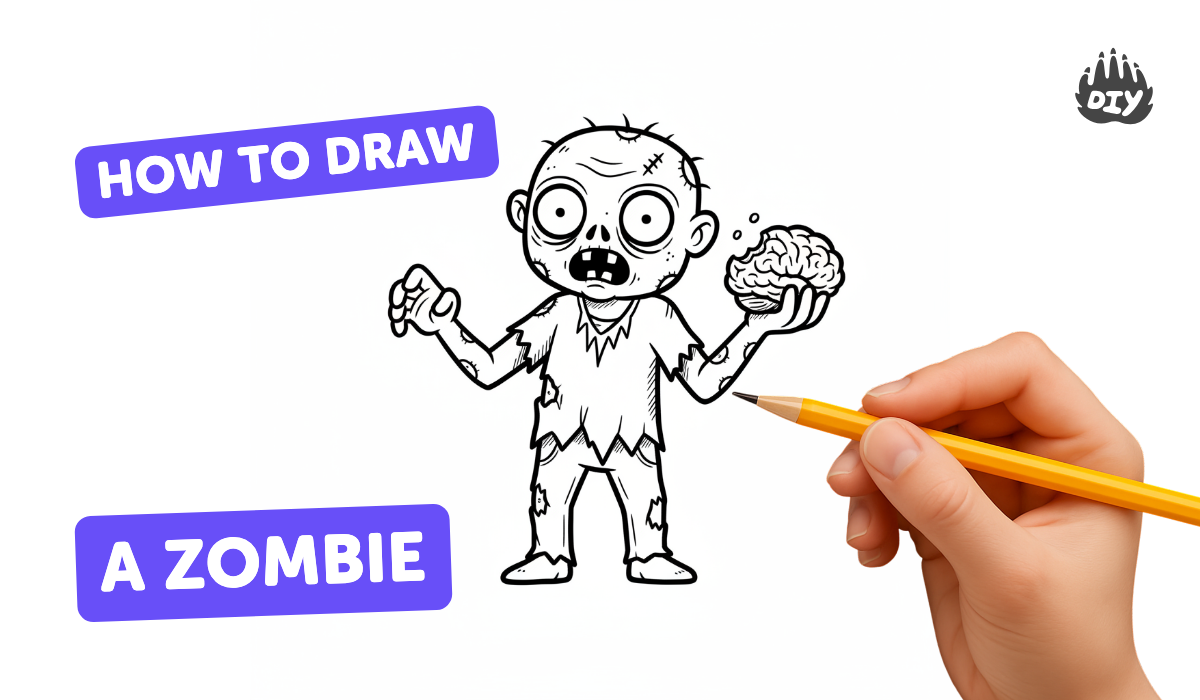
How to draw a zombie - a free zombie drawing guide
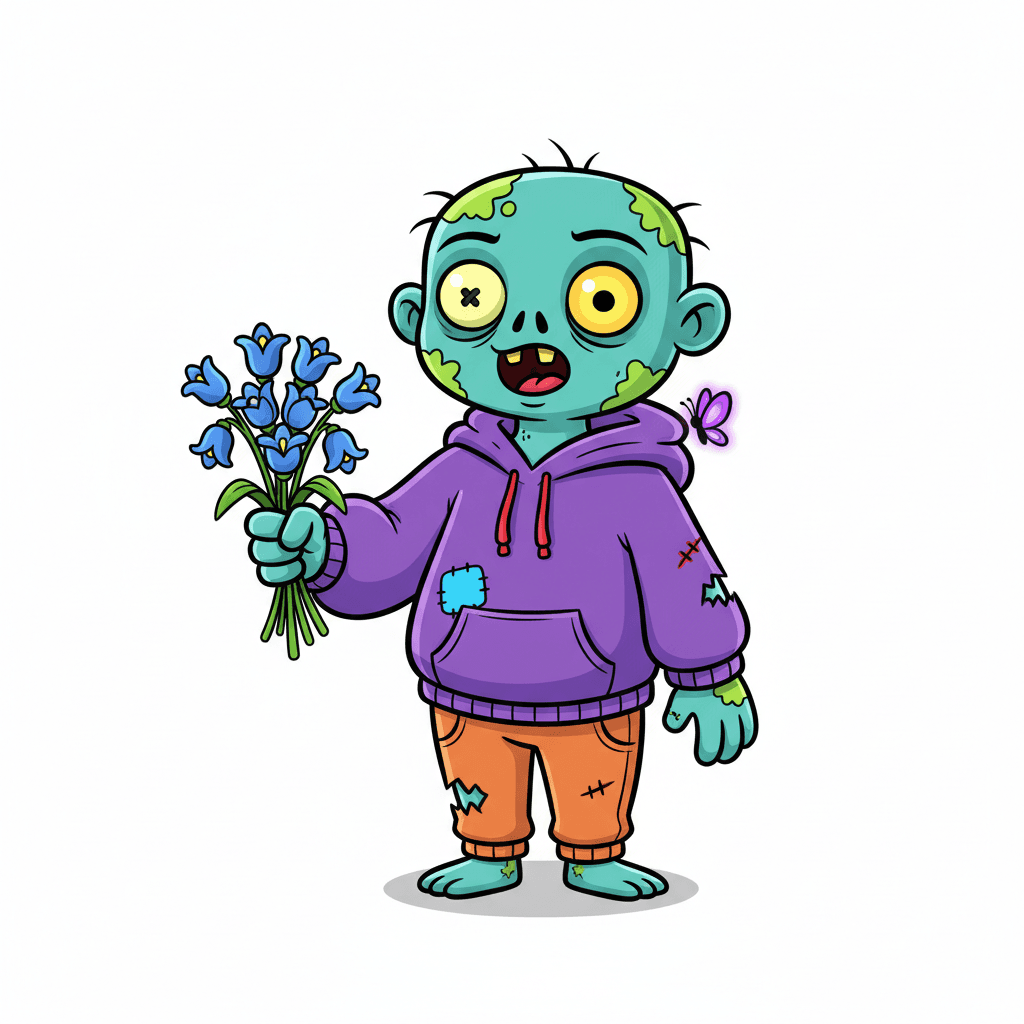
Draw a cartoon zombie step by step using basic shapes, proportion, shading, and color. Practice observation and creative detail to personalize your character.

Drawing Apps
Get inspired with these

Instructions
How To Draw Zombie Head For Halloween
Step 1
Clear a flat workspace and place your paper and drawing tools in front of you.
Step 2
Lightly draw a big oval near the top of the paper for the zombie's head.
Step 3
Draw a vertical line and a horizontal line across the oval to help place the face features.
Step 4
Sketch a small rectangle under the head for the torso so the body lines up with the head.
Step 5
Draw simple stick lines from the torso for the arms and legs to set the pose and proportion.
Step 6
Thickly outline the stick arms and legs into tube shapes to turn them into limbs.
Step 7
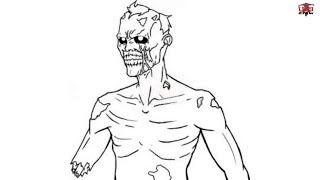
Draw two eyes on the horizontal guideline using circles and make one uneven to look spooky.
Step 8
Draw a jagged mouth with a few missing teeth and a small line for the nose.
Step 9
Add creative details like scars stitches holes and torn clothes to make your zombie unique.
Step 10
Use the ruler to check proportions and adjust any lines lightly with your pencil.
Step 11
Trace over your final pencil lines with the black pen to make the drawing bold.
Step 12
Gently erase the pencil guidelines so only the inked zombie remains.
Step 13
Shade areas such as under the chin eye sockets and folds of clothing with your pencil to add depth.
Step 14
Color your zombie with your colored pencils or markers and add final personal touches.
Step 15
Share your finished zombie creation on DIY.org.
Help!?
What can we use if we don't have a ruler, black pen, or colored pencils as listed in the instructions?
Use a straight edge like a book or cereal box edge instead of the ruler, a dark HB pencil or fine-tip marker if you don't have a black pen, and crayons or watercolor paints in place of colored pencils or markers.
My ink smudged when I tried to erase the pencil guidelines after tracing — how can I avoid that?
To prevent smudging after tracing with the black pen, let the ink dry completely and then gently lift only the pencil lines with a clean soft eraser as described in the 'gently erase the pencil guidelines' step.
How can I adapt this zombie drawing activity for younger or older children?
For younger kids, pre-draw the big oval head, torso rectangle, and stick limb lines for them to outline and color, while older kids can follow all steps including thickening limbs into tubes, adding scars and stitches, and shading under the chin and eye sockets for depth.
What are some ways to enhance or personalize our finished zombie drawing beyond the basic instructions?
You can glue fabric or tissue onto the 'torn clothes' areas, add a spooky background with markers or watercolor, and take a photo of the colored, inked zombie to share on DIY.org.
Related videos
How to Draw a Zombie Easy Step By Step Drawing Tutorials for Kids - UCIDraw
4 Videos
How to Draw a Zombie Easy Step By Step Drawing Tutorials for Kids - UCIDraw
How To Draw A Funny Zombie
How To Draw A Zombie Hand Coming Out Of The Ground
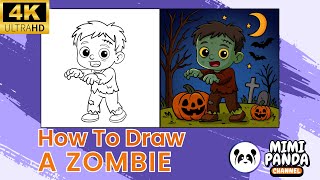
How to Draw a Zombie Step by Step | Mimi Panda
Fun Facts
🧟♂️ Zombies first appeared in Haitian folklore and later became a staple monster in films, TV, and cartoons.
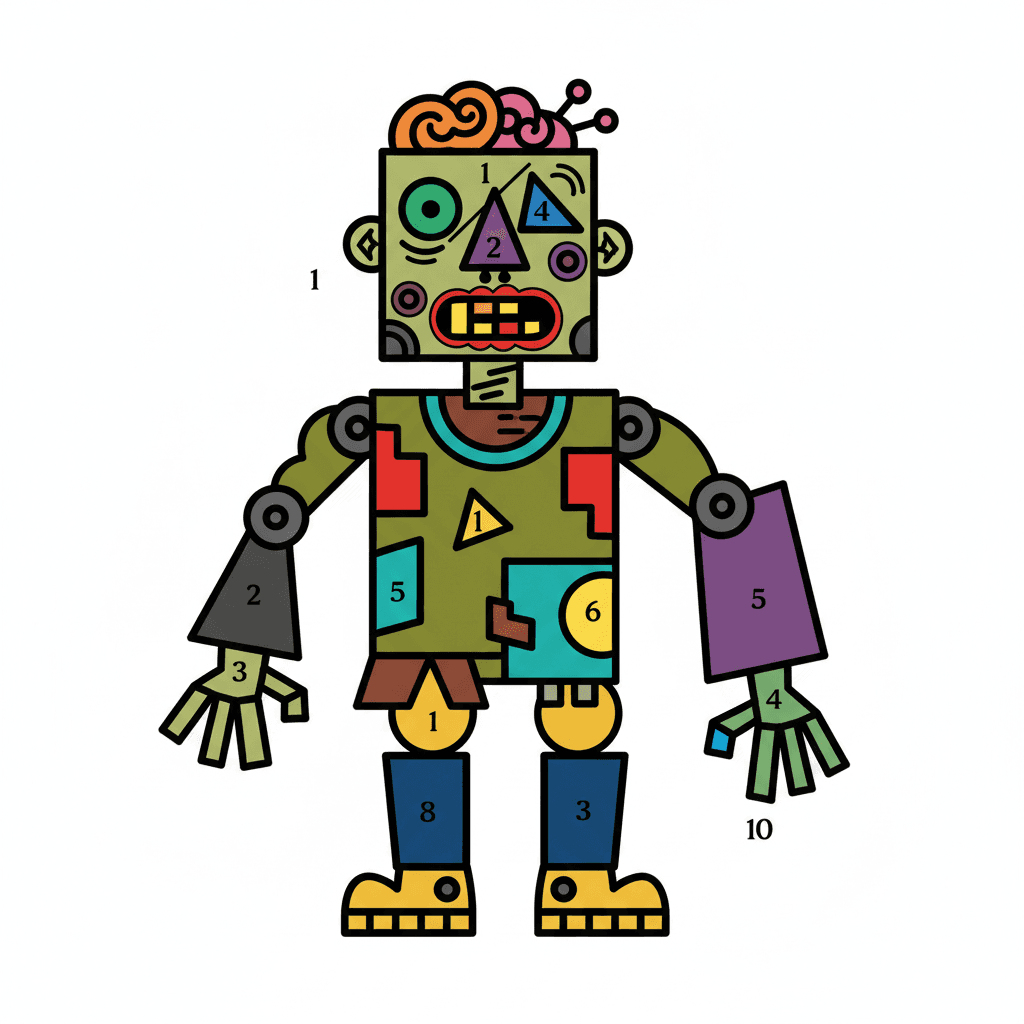
✏️ Cartoon characters are usually started from simple shapes — circles, squares and triangles — to make drawing easier.
🎨 Just two or three shades of a color can give your zombie volume and make it look three-dimensional.
📐 Cartoon proportions use head-to-body ratios (kids ~3–4 heads tall, adults ~6–8) to quickly change a character's age and style.
🌈 Pairing complementary colors (like sickly green skin with red accents) makes details pop and feel spooky.
How do I draw a cartoon zombie step by step?
What materials do I need to draw a cartoon zombie?
What ages is drawing a cartoon zombie suitable for?
What are the benefits of drawing a cartoon zombie?
