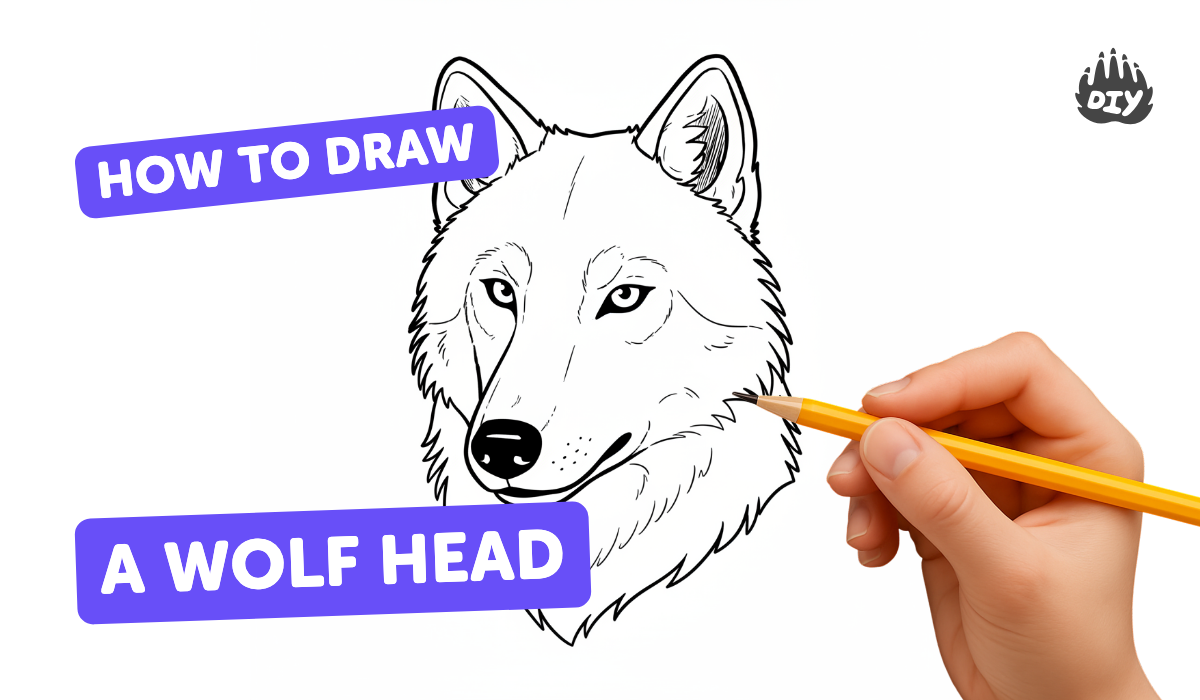
How to draw a wolf head - a free wolf head drawing guide
Draw a detailed wolf head using pencil, guidelines, and shading. Practice proportion, fur textures, and facial features through step by step observation.

Drawing Apps
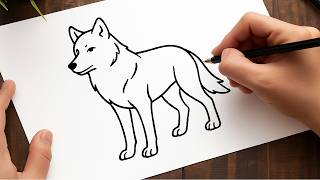
Photos of wolf head drawing examples


Step-by-step guide to draw a detailed wolf head
How to draw a Wolf's Head - easy step by step tutorial for beginners
Step 1
Place your reference picture of a wolf head next to your paper so you can look at it easily.
Step 2
Lightly draw a circle on your paper to mark the wolf’s skull.
Step 3
Draw a vertical centerline through the circle and extend it downward to map the muzzle.
Step 4
Draw a horizontal guideline across the circle to mark the eye level.
Step 5
Mark two small dots on the horizontal guideline where the eyes will sit.
Step 6
Place a small oval at the lower end of the centerline to show where the nose will go.
Step 7
Lightly sketch the muzzle shape by connecting the bottom of the circle to the nose oval with smooth lines.
Step 8
Lightly draw two triangular ear shapes on top of the circle following the head’s angle.
Step 9
Sketch almond-shaped eyes around the eye dots and add small circles for the pupils.
Step 10
Refine the nose by drawing its tip and nostril shapes inside the nose oval.
Step 11
Draw a curved mouth line and chin under the nose to define the jaw.
Step 12
Add fur texture with short directional pencil strokes that follow the hair growth on the face and ears.
Step 13
Shade the darker areas like the inside of the ears around the eyes and under the chin using softer pencil strokes.
Step 14
Gently blend shaded areas with a blending stump or tissue and lift tiny highlights with your eraser where light hits the eyes nose and fur tips.
Step 15
Share your finished wolf head drawing on DIY.org
Help!?
What can we use instead of a blending stump or soft pencils if those are hard to find?
Use a clean tissue or cotton swab to blend the shaded areas and press lightly with an HB pencil for the soft pencil strokes, plus a kneaded or rubber eraser to lift highlights from the eyes, nose, and fur tips.
My wolf's muzzle or eyes look off—how can I fix proportions during drawing?
Keep the initial skull circle, vertical centerline, and horizontal eye guideline very light, compare distances to your reference picture, and erase and adjust the muzzle oval and eye dots until the almond-shaped eyes and nose oval line up correctly.
How can I adapt this drawing activity for different ages?
For younger children simplify by using the circle, triangle ears, eye dots and nose oval only, while older kids can refine the muzzle, add directional fur strokes, shading with a blending stump or tissue, and erase highlights for more realism.
How can we enhance or personalize the finished wolf head drawing before sharing it on DIY.org?
Personalize it by adding unique fur markings or colors with colored pencils, a simple forest background or a nameplate, and deepen contrast by shading darker areas like inside the ears and under the chin before blending and lifting highlights.
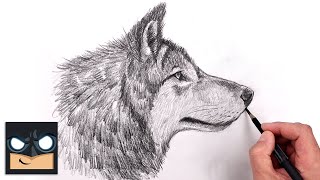
Watch videos on how to draw a detailed wolf head
How to Draw a Cute Wolf Step by Step! 🐺✏️ Easy Animal Drawing Tutorial for Beginners
4 Videos
How to Draw a Cute Wolf Step by Step! 🐺✏️ Easy Animal Drawing Tutorial for Beginners
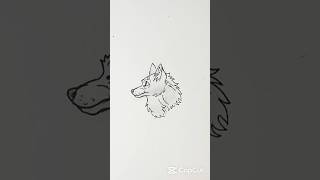
How to Draw a Wolf Head Step by Step | Easy Sketch
How To Draw a Wolf for Beginners | Sketch Art Lesson (Step by Step)
How to Draw a Wolf (Easy Step-by-Step Tutorial for Beginners)
Facts about pencil drawing techniques for kids
🐺 Wolves have forward-facing eyes that give them strong binocular vision — great for judging distance.
🐾 A wolf's coat has two layers: a warm underfur and longer guard hairs that shape the fur's texture.
✏️ Artists often use a light HB or 2H for guidelines and softer 2B–6B pencils for deep shading.
🎯 Many artists start with simple shapes and guidelines (circles, lines) to get head proportions right.
🖊️ Realistic fur is created with short, directional strokes that follow hair growth and vary in pressure.
How do I teach my child to draw a detailed wolf head step by step?
What materials do I need to draw a wolf head with my child?
What ages is drawing a detailed wolf head suitable for?
What are the benefits, safety tips, or fun variations for drawing a wolf head?
