How to draw a witch - a free witch drawing guide
Follow simple step by step shapes to draw a friendly witch with hat, broom, cape, and face details, then color your drawing.

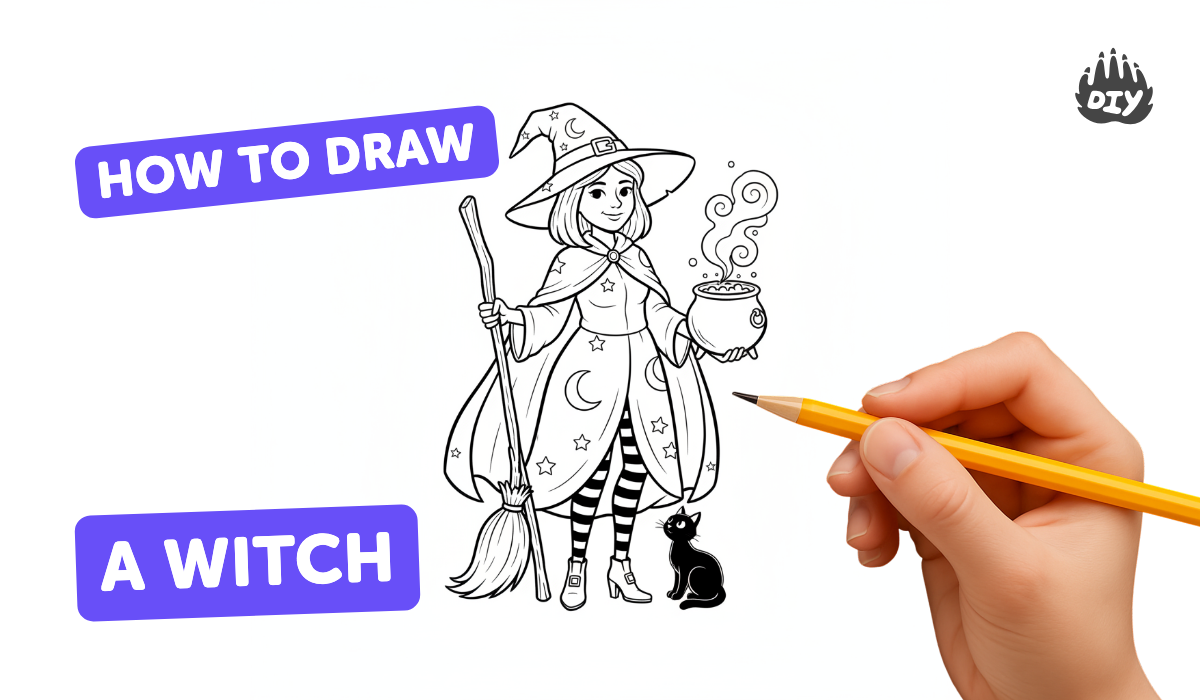
Step-by-step guide to draw a friendly witch
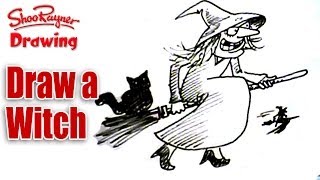
How To Draw A Witch🧙| Drawing and Coloring for Kids | Chiki Art | HooplaKidz How To
Step 1
Draw a medium circle near the top center of the paper for the witch's head.
Step 2
Draw a rounded triangle shape under the head for the witch's cloak and body.
Step 3
Draw the witch's hat by making a curved brim across the top of the head and a tall point above it.
Step 4
Place two small circles on the face for eyes about halfway down the head.
Step 5
Draw a small curved line between the eyes for the nose.
Step 6
Draw a smiling curved line below the nose for the mouth.
Step 7
Add hair by drawing curved lines around each side of the head.
Step 8
Draw one arm coming out from the cloak with a small circle at the end for a hand.
Step 9
Draw a long stick from the hand across the page to make the broom handle.
Step 10
Draw fan-shaped short strokes at the end of the stick to make the broom bristles.
Step 11
Draw two simple legs under the cloak and add pointy shoes at the ends.
Step 12
Add fun decorations like stars on the hat or patches on the cape.
Step 13
Carefully trace over your pencil drawing with the black marker to make bold outlines.
Step 14
Gently erase the pencil lines so only the marker lines remain and then color your witch with your coloring materials.
Step 15
Take a photo or scan your finished witch and share your creation on DIY.org.
Help!?
What can I use if I don't have a black marker or a scanner to share the finished witch?
If you don't have a black marker, trace over your pencil lines with a dark pen, Sharpie, or crayon and instead of scanning take a well-lit phone photo of your finished witch to share on DIY.org.
My lines look wobbly or the marker smudges when I trace—how can I fix that?
Practice the hat brim and rounded triangle cloak on scrap paper, then trace slowly in short strokes with your black marker and let the ink dry completely before gently erasing pencil lines with your eraser.
How can I adapt this drawing activity for different ages?
For younger kids, lightly draw the medium circle, rounded triangle, hat brim, and simple legs in pencil as tracing guides so they can finish and color, while older kids can add detailed hair strands, broom bristle texture with short fan-shaped strokes, and extra hat decorations before inking and erasing.
What are some ways to enhance or personalize the witch drawing once the basic steps are done?
Add a moon and stars background, use collage pieces or colored paper for the cloak and fan-shaped broom bristles, and create patches or patterns on the cape before tracing with marker and coloring to personalize your witch.
Watch videos on how to draw a friendly witch
How To Draw a Witch | Drawing and Coloring for Kids | Chiki Art | HooplaKidz How To
4 Videos
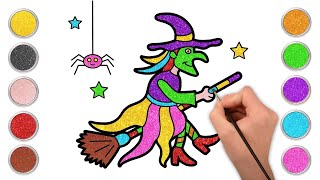
How To Draw a Witch | Drawing and Coloring for Kids | Chiki Art | HooplaKidz How To
How to Draw a Witch: Step-By-Step Drawing with Candice and Theo
Learn how to draw a Halloween Witch real easy | Step by Step with Easy - Spoken Instructions
Draw a witch for halloween - spoken tutorial
Facts about drawing and coloring for kids
🧙♀️ The classic picture of a witch with a pointed hat and broomstick became popular in story illustrations during the 1800s!
🧹 Brooms were linked to witches as flying tools in European folklore and prints dating back to the Middle Ages.
🎃 Witches are one of the most common costumes at Halloween — that tradition of dressing up comes from old harvest festivals.
✍️ Many artists start drawings by sketching simple shapes (circles, ovals, triangles) — it makes tricky characters like witches much easier!
🎨 Coloring brings a drawing to life: changing hat, cape, and broom colors can totally change a witch’s personality (spooky, friendly, or funny)!
How do I draw a friendly witch step by step?
What materials do I need to draw and color a witch?
What ages is this step-by-step witch drawing suitable for?
What are the benefits of drawing a friendly witch and fun variations?
