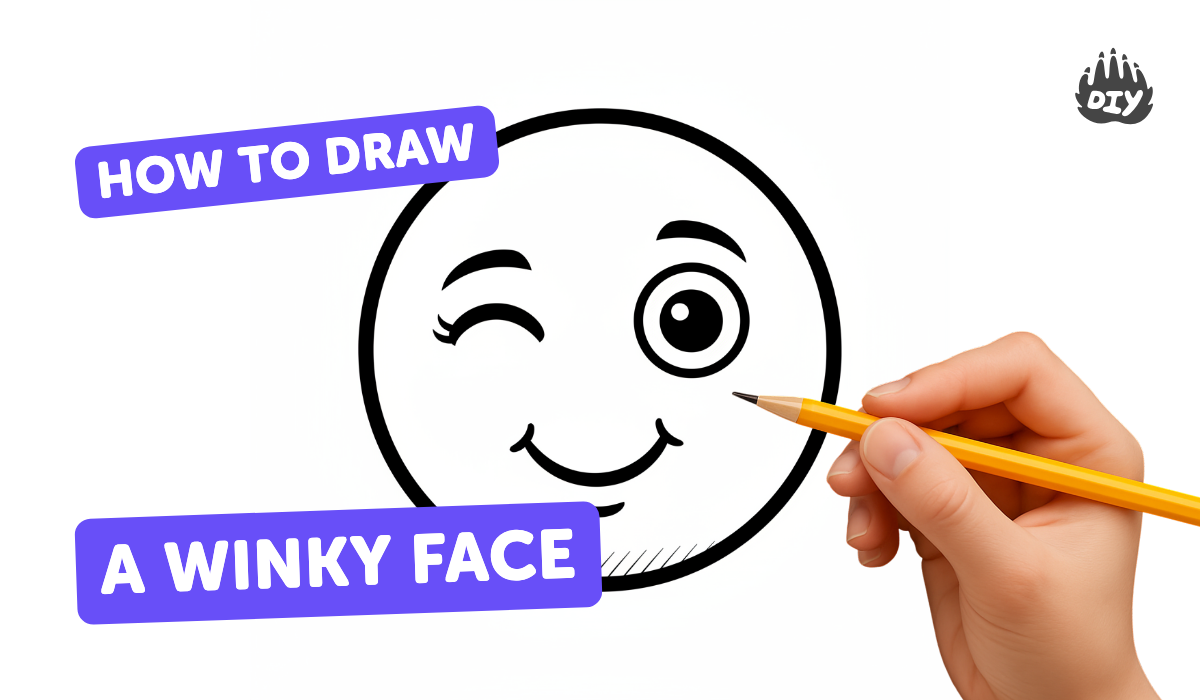
How to draw a winky face - a free winky face drawing guide
Draw a winky face using simple shapes: a circle head, one closed eye, one open eye, curved mouth, and add color and expressions.

Step-by-step guide to draw a winky face
How to Draw Emojis - Winking with Tongue Sticking Out - Step by Step for Beginners | BP
Step 1
Gather your paper pencil eraser black marker and colouring materials and place them on a flat surface.
Step 2
Lightly draw a big circle in the middle of the paper to make the winky face head.
Step 3
Make two small guide dots halfway across the circle where the eyes will go.
Step 4
Draw the open eye on one guide dot as a small oval and add a filled pupil inside it.
Step 5
Draw the closed winking eye on the other guide dot as a curved line like a tiny sideways smile.
Step 6
Draw a curved mouth near the bottom center of the circle to make a happy smile.
Step 7
Add eyebrows above each eye to show expression by drawing short curved lines.
Step 8
Draw two small circles or ovals on the cheeks for rosy cheeks and add freckles if you like.
Step 9
Trace your favorite lines with the black marker to make the face bold and fun.
Step 10
Gently erase the pencil guide marks so only the clean marker lines remain.
Step 11
Colour the face and details using your colouring materials to make your winky face bright and cheerful.
Step 12
Share your finished winky face on DIY.org.
Help!?
What can I use instead of a black marker if I don't have one?
If you don't have a black marker for the 'Trace your favorite lines with the black marker' step, use a dark gel pen, fine-tip felt pen, or a sharpened black colored pencil to make bold lines before erasing the pencil guides.
My circle or eyes look messy after erasing—how do I fix that?
If the ink smudges or the pencil lines smear when you erase, wait for the black marker to dry fully and then gently rub the pencil marks with the eraser in light strokes or erase unwanted pencil lines before tracing with the marker.
How can I change this activity for different ages?
For toddlers, pre-draw the big circle and guide dots and let them add stickers for eyes and colour, while older kids can add freckles, shading, more eyebrow styles, and carefully follow the erasing and marker-tracing steps for a polished winky face.
What are some fun ways to personalize and extend the winky face drawing?
Use your colouring materials to add hair, a hat, background patterns, or change the mouth curve and eyebrow shapes for new expressions, then finish the 'Trace your favorite lines,' 'Erase,' and 'Colour' steps and share the result on DIY.org.
Watch videos on how to draw a winky face
How to Draw Tinky Winky, Dipsy, Laa-Laa & Po | Easy Drawing for Kids - Part 1
4 Videos
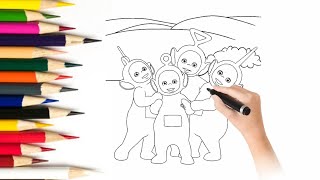
How to Draw Tinky Winky, Dipsy, Laa-Laa & Po | Easy Drawing for Kids - Part 1
How to Draw a Face for Kids
How to Draw Faces for Beginners - Complete Tutorial in 8 Minutes
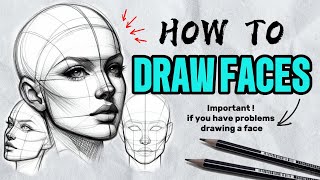
DRAW FACES Like a PRO in 5 Minutes! (FUll Tutorial)
Facts about drawing facial expressions
😉 The winking face emoji is U+1F609 in Unicode and is widely used to show playfulness or a joke.
🧑🎨 Cartoon faces often begin with a simple circle because circles are easy to draw and look friendly to kids.
🎨 Yellow is the go-to color for many smiley and emoji faces because it feels cheerful and stands out visually.
🤫 A real wink can mean a secret, a joke, or friendly approval — perfect for storytelling and comics.
🖍️ Tiny changes — eyebrow tilt, mouth curve, or eye shape — can turn one simple face into many different expressions.
How do I draw a winky face step by step?
What materials do I need to draw a winky face?
What ages is drawing a winky face suitable for?
What are the benefits of drawing a winky face?
