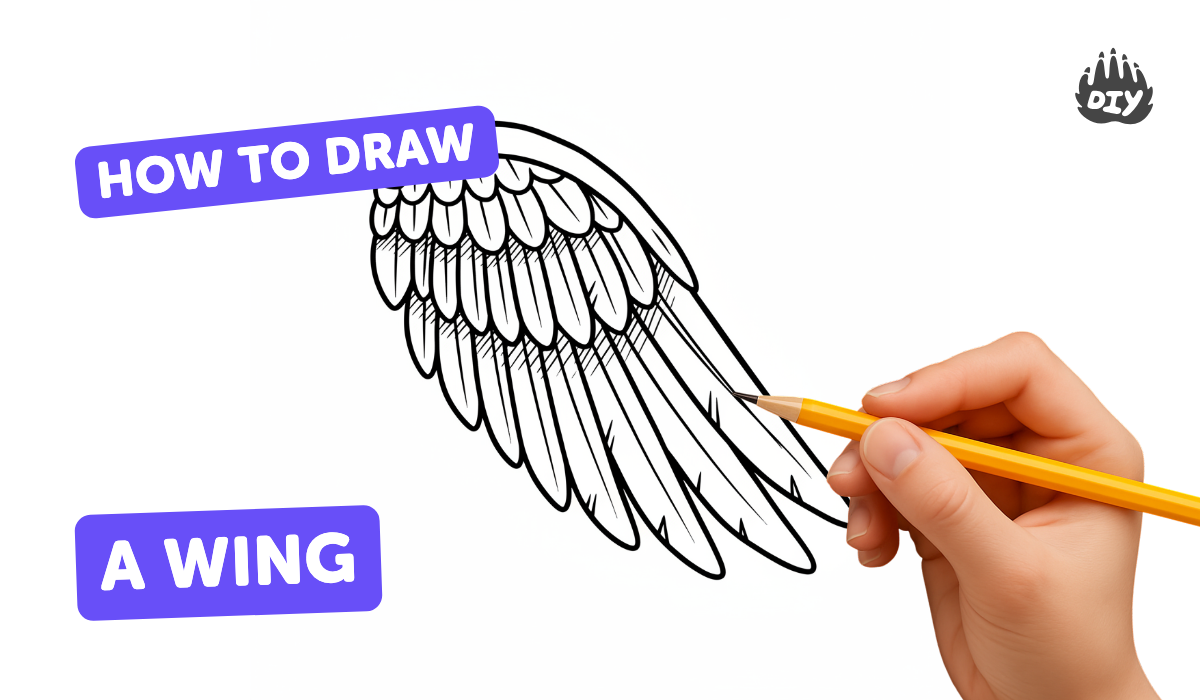
How to draw a wing - a free wing drawing guide
Learn to sketch a bird wing in steps using simple shapes, feather guidelines, and shading. You will draw a detailed wing with realistic feather textures.

Drawing Apps
Photos of bird wing drawings and sketches


Step-by-step guide to draw a bird wing
How to Draw A Wing - A Step-by-Step Guide ✍️
Step 1
Lightly draw a small circle where the wing will attach to the bird so you know the starting point.
Step 2
Draw a long curved line from the circle to mark the top edge of the wing.
Step 3
Draw a parallel curved line below the first to mark the bottom edge and form the wing outline.
Step 4
Draw two light arced guidelines across the wing to divide it into three feather zones.
Step 5
Sketch a fan of long tapered shapes along the outer edge to make the primary feathers.
Step 6
Add shorter curved feather shapes in the middle zone to form the secondary feathers.
Step 7
Draw small rounded feather shapes near the wing base for the coverts.
Step 8
Lightly erase the circle and any extra construction lines so the feather shapes stand out.
Step 9
Make feather tips slightly irregular by softening some edges for a natural look.
Step 10
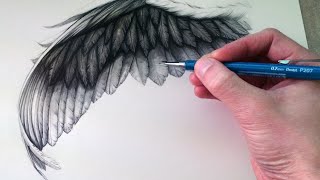
Use short, quick pencil strokes along each feather to draw the barbs and texture following the feather direction.
Step 11
Shade the underside of the wing and the overlapping feather edges to create depth.
Step 12
Gently blend the shaded areas with your tissue or cotton bud to smooth tones while keeping texture.
Step 13
Darken the main outlines and add a few stray feather lines for realism.
Step 14
Share your finished wing drawing on DIY.org
Help!?
I don’t have a cotton bud — what can I use to blend the shading?
Use a tissue, your fingertip, a Q‑tip, or a blending stump to gently blend the shaded areas as instructed in "Gently blend the shaded areas with your tissue or cotton bud".
My wing looks flat or the feather layers aren’t showing — what should I fix?
If the wing looks flat or overlapping feathers don’t read, darken the underside of the wing and the overlapping feather edges as in "Shade the underside of the wing and the overlapping feather edges" and then gently blend with your tissue or cotton bud to create depth.
How can I make this activity easier for little kids or more challenging for older kids?
For younger children simplify by keeping just the circle, the two curved outline lines, and the fan of primary feathers, while older kids can add short quick pencil strokes for barbs, irregular feather tips, and extra stray feather lines from the texture and realism steps.
What are some ways to extend or personalize the wing drawing once it’s done?
After you lightly erase construction lines, darken main outlines, and add stray feather lines, you can color the wing with colored pencils or watercolor, vary the number and shape of primaries and secondaries to create different species or poses, and then share your finished wing drawing on DIY.org.
Watch videos on how to draw a bird wing
How to Draw Wings - 15 Easy to Follow Steps
4 Videos
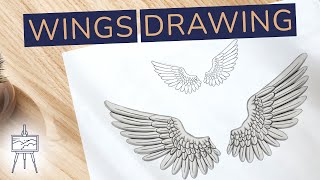
How to Draw Wings - 15 Easy to Follow Steps
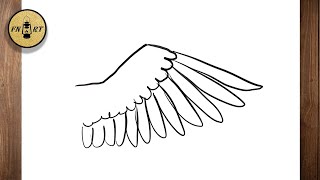
How to draw bird wings easy step by step
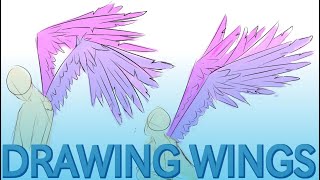
Drawing Wings | Easy How To Draw Tutorial
How to Draw a Wing
Facts about bird wings
🐦 Bird wing bones correspond to our arm bones (humerus, radius, ulna), which helps artists map joint movement.
🪶 Flight feathers are asymmetrical—one side is narrower—to help control airflow and lift.
✏️ Many artists block in a wing using simple shapes (ovals for joints, long triangles for feather groups) before adding details.
🌬️ The wandering albatross has the longest wingspan of any living bird—about 3.5 m (11 ft)—perfect for soaring.
🔁 Hummingbirds rotate their wings in a figure-eight pattern so they can hover and even fly backward.
How do I draw a realistic bird wing step by step?
What materials do I need to sketch and shade a bird wing?
What ages is learning to draw a bird wing suitable for?
What are the benefits of teaching children to draw bird wings?
