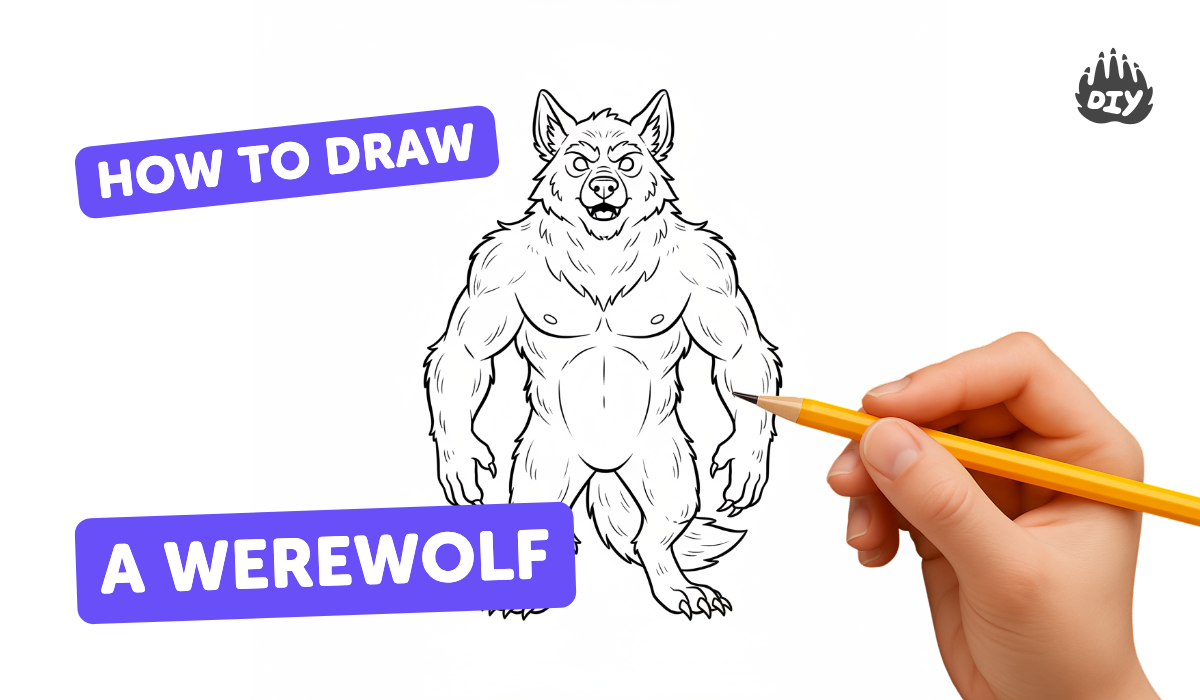
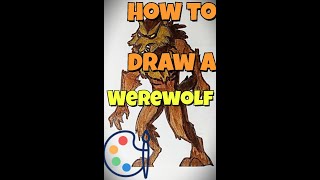
How to draw a werewolf - a free werewolf drawing guide
Draw a detailed werewolf step-by-step using simple shapes, proportions, and shading; practice facial expressions, fur texture, and pose to create your final illustration.

Drawing Apps
Photos of werewolf drawing examples


Step-by-step guide to draw a werewolf
🐺 Drawing a Cute Werewolf FUN! A Step by Step Guide for Kids!
Step 1
Find a clean sheet of paper and a sharpened pencil and place them on a flat table.
Step 2
Lightly draw a circle in the upper-middle of the paper for the werewolf’s head.
Step 3
Draw a vertical centerline and a horizontal eye line inside the circle as cross guidelines.
Step 4
Add a pointed jaw and muzzle shape attached to the bottom of the head circle.
Step 5
Draw two ovals below the head: a larger chest oval and a smaller hip oval to set the torso.
Step 6
Draw a curved line connecting the chest and hip ovals to mark the spine and pose.
Step 7
Mark shoulder elbow hip and knee joints with small circles to set limb positions.
Step 8
Connect the joint circles with straight or slightly curved lines to form the basic arm and leg bones.
Step 9
Add oval shapes at the limb ends for paws and small triangles for claws.
Step 10
Sketch the eyes nose and mouth along the facial guidelines to create your werewolf’s expression.
Step 11
Draw pointy ears and tufts of hair on the head to make it wolf-like.
Step 12
Trace a clean final outline over your sketch using your pencil or a pen.
Step 13
Erase extra construction lines gently so only the final lines remain.
Step 14
Use short directional pencil strokes to add fur texture and add shading where shadows fall to make your werewolf look three-dimensional.
Step 15
Share your finished werewolf illustration on DIY.org.
Help!?
What can I use if I don't have a sharpened pencil or eraser?
Use a mechanical pencil or a well-sharpened colored pencil for light sketching and a soft white or kneaded eraser to gently remove construction lines before shading.
My drawing looks messy because I can't erase construction lines cleanly — what should I do?
Draw the head circle, centerline, eye line and joint marks very lightly so you can lift them easily with a soft eraser, then only trace the clean final outline with firmer strokes or pen and erase the extras.
How can I adapt this werewolf activity for different age groups?
For younger kids simplify to just the head circle, one chest oval and big paws and skip fur shading, while older kids can refine joint placement (steps 6–8), add detailed directional pencil fur strokes and advanced shading (step 15).
How can we extend or personalize the werewolf drawing after finishing the basic steps?
After tracing the final outline and adding fur texture and shading, personalize your werewolf by coloring it with markers, adding a night-time background or outfits, drawing multiple poses for a mini-comic, and then share it on DIY.org.
Watch videos on how to draw a werewolf
🌕 How to Draw a Werewolf - Step-by-Step Guide to Master a Beastly Transformation! 🐺
4 Videos
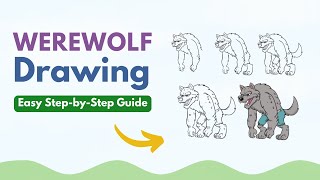
🌕 How to Draw a Werewolf - Step-by-Step Guide to Master a Beastly Transformation! 🐺
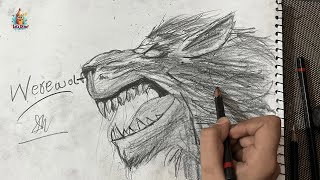
🌕 Abdullah (11) Draws a Werewolf! How To Draw A Werewolf (Easy & Fun for Kids & Beginners)
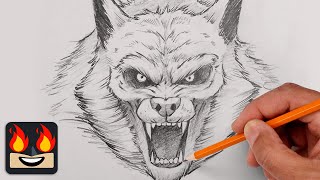
How To Draw a Werewolf | Sketch Tutorial
How to Draw a Cartoon Werewolf | Step by Step Drawing Tutorial
Facts about character drawing and shading for kids
🐺 Werewolf legends appear in many cultures — some stories link transformations to the full moon!
✏️ Artists start complex creatures by blocking in simple shapes (circles, ovals, rectangles) to get proportions right.
🎭 Tiny changes to eyebrow angle, eye size, or mouth shape can turn a neutral face into a fierce snarl.
🐾 Drawing fur with lots of short strokes that follow the hair growth direction makes it look textured and realistic.
🌕 The big, hulking werewolf popular in movies is a modern image shaped by 20th-century films, not ancient folklore.
How do I draw a detailed werewolf step-by-step using simple shapes and shading?
What materials do I need to draw a detailed werewolf with fur texture and shading?
What ages is drawing a detailed werewolf suitable for and who needs supervision?
What are safe variations and benefits of drawing a werewolf for kids?
