How to draw a web - a free web drawing guide
Draw a spider web step by step using pencil, ruler, and eraser. Practice symmetry, spacing, and smooth curved lines to make a realistic web.

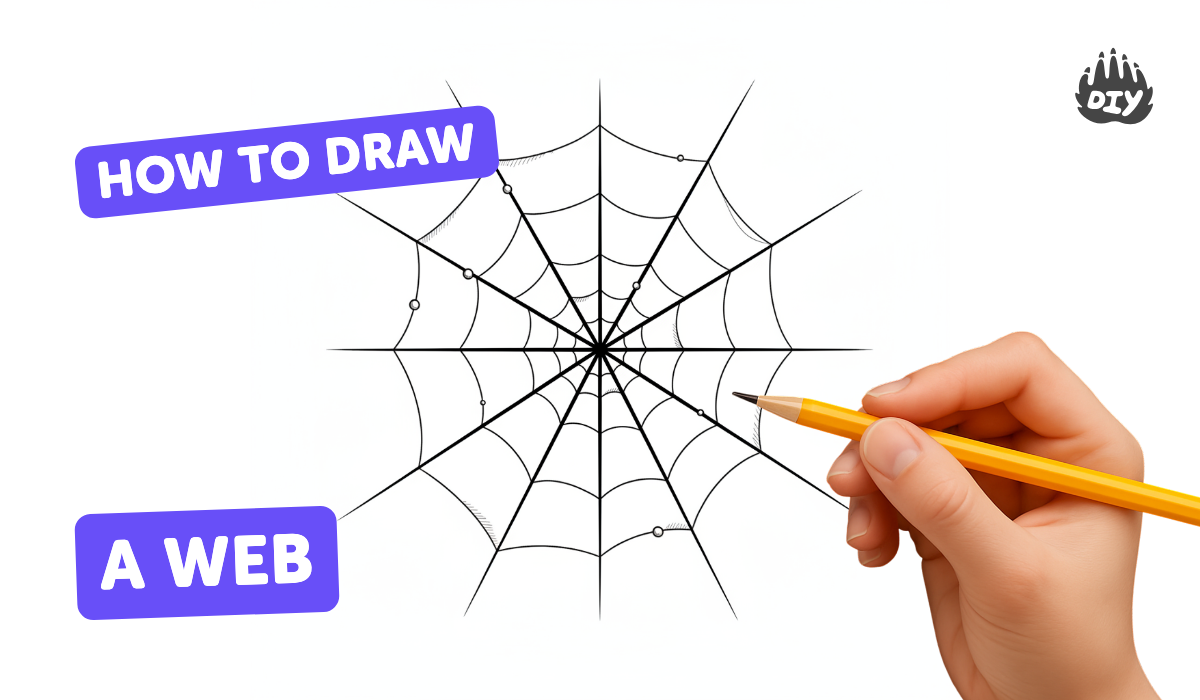
Step-by-step guide to draw a spider web
How to draw a Spider Web Step by Step | Easy drawings
Step 1
Place your paper on a flat surface and put your pencil ruler and eraser beside it.
Step 2
Lightly make a small dot in the middle of the paper to mark the web’s center.
Step 3
Use the ruler to draw one light straight vertical line through the center dot.
Step 4
Use the ruler to draw one light straight horizontal line through the center dot.
Step 5
Use the ruler to draw a light diagonal line through the center to make one spoke.
Step 6
Use the ruler to draw the opposite diagonal line through the center to make the last spoke so you have eight spokes total.
Step 7
Decide how far apart you want the web rings to be and use the ruler to mark small equal dots along one spoke starting from the center.
Step 8
Use the ruler to copy those same spaced dots onto each of the other spokes so every spoke has matching dots.
Step 9
Draw a smooth curved line connecting the innermost dots on each spoke to make the web’s center ring.
Step 10
Draw the next smooth curved ring connecting the second set of dots around the web.
Step 11
Continue drawing smooth curved rings outward until you reach the outer dots.
Step 12
Gently erase extra guide lines and darken the final web lines to make your web tidy and clear.
Step 13
Share your finished spider web drawing on DIY.org.
Help!?
What can we use if we don't have a ruler, pencil, or eraser for this spider web activity?
Use a straight book edge or a piece of cardboard to draw the spokes, a pen or crayon if you don't have a pencil, and the clean corner of a tissue or a spare sticky note to gently erase extra guide lines from step 12.
My curved rings look wobbly or the spokes don't meet at the center—how can I fix that?
Make sure you lightly drew the initial center dot and all eight ruler-spokes in steps 2–6, copy matching dot marks carefully on each spoke in step 7 using the ruler for spacing, then redraw the curved rings with a steady hand and erase only the light guide lines in step 12.
How can I change the activity for a 4-year-old versus a 10-year-old?
For younger kids, an adult can pre-draw the spokes and dots through step 7 and let them connect the rings in step 9 with a thick marker, while older kids can add more spokes in steps 4–5, space more rings in step 8, or use a compass for precision.
How can we personalize or extend the finished web before sharing on DIY.org?
After darkening the final web lines in step 12, add a small drawn or cut-out spider, color or paint the web rings, or glue glitter along the lines to personalize it before photographing to share on DIY.org.
Watch videos on how to draw a spider web
How to Draw a Spider Web - drawing tutorial for beginners and kids
4 Videos
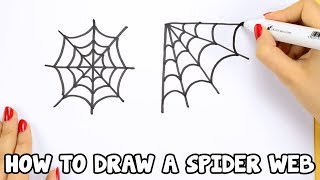
How to Draw a Spider Web - drawing tutorial for beginners and kids
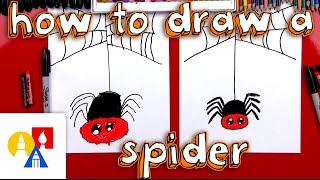
How To Draw A Cartoon Spider And Spider Web
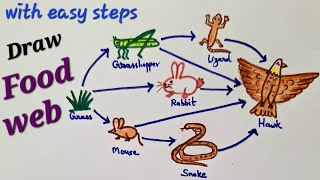
Food web drawing easy, Grassland ecosystem drawing easy, How to draw food web, food web drawing 5

Learning to Draw Digitally for Beginners
Facts about drawing basics for kids
🕸️ Some orb webs are made of hundreds of radial and spiral threads — together they can add up to hundreds of silk lines.
🕷️ Spider silk is stronger than steel by weight and can stretch a lot before breaking, making it perfect for flexible webs.
📐 Many orb webs show radial symmetry, which helps spiders detect where prey hits the web quickly and accurately.
✏️ Artists often draw light construction lines and use a ruler for straight radials, then erase guides to keep smooth curved spirals.
🎯 Spiders space their spiral threads to save silk while maximizing the chance of catching flying insects, a smart natural design.
How do I draw a spider web step by step?
What materials do I need to draw a spider web?
What ages is this spider web drawing activity suitable for?
What are the benefits and safe variations of drawing spider webs?
