How to draw a waterfall - a free waterfall drawing guide
Draw a realistic waterfall scene using pencil, ink, and watercolor. Learn layering, shading, and motion techniques to depict flowing water and rocks. Download the PDF for complete instructions.

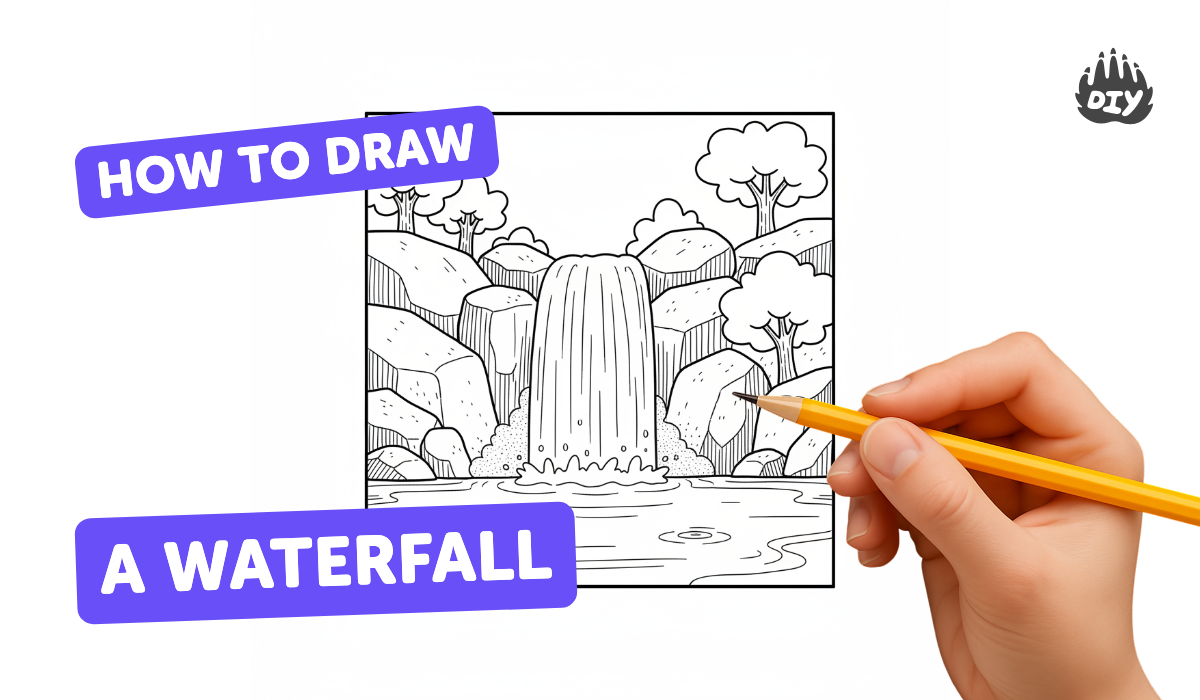

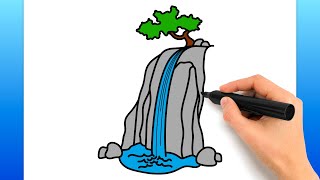
Step-by-step guide to draw a realistic waterfall scene
How to Draw a Waterfall for Kids and Beginners | Easy Scenery Drawing Tutorial Step-by-Step
Step 1
Tape your watercolor paper flat to a table or board with masking tape.
Step 2
Lightly draw a horizon line and the rough vertical shape of the waterfall with your pencil.
Step 3
Sketch large rock shapes and simple trees or bushes around the waterfall.
Step 4
Add light pencil shading to mark shadow areas on rocks and under the water.
Step 5
Use your fine ink pen to ink the main rock edges and a few flowing lines for the water.
Step 6
Let the ink dry completely before you do anything else.
Step 7
Gently erase any remaining pencil lines you no longer need.
Step 8
Mix a light wash color on your palette for the sky and distant water.
Step 9
Paint the sky and background water with the light wash and let it dry.
Step 10
Mix darker washes for rocks and deep water and paint the rock areas.
Step 11
Paint layered vertical washes down the waterfall from top to bottom to show movement.
Step 12
Use a clean damp brush or a paper towel to lift tiny streaks in the waterfall to make highlights.
Step 13
Let the whole artwork dry and then carefully remove the masking tape.
Step 14
Share your finished waterfall drawing on DIY.org.
Help!?
What can we use instead of masking tape, watercolor paper, or a fine ink pen if we don't have them?
Use removable painter's tape or washi tape to tape your paper flat, heavyweight mixed-media or glued-down cold-press cardstock if you don't have watercolor paper, and a waterproof fineliner or India ink with a small round brush in place of a fine ink pen for the inking step.
My ink smudged and the washes are lifting weirdly—how can I fix or avoid that?
To avoid smudging, follow 'Let the ink dry completely before you do anything else' and test dryness with a fingertip or low hair dryer, and if lifting streaks goes wrong when you 'Use a clean damp brush or a paper towel to lift tiny streaks,' practice lifting on a scrap and blot gently rather than scrubbing.
How can I change the project for younger children or make it more challenging for older kids?
For younger kids simplify by skipping the fine ink pen step and letting them paint over the penciled horizon and rock shapes with washable tempera or watered-down acrylic, while older kids can use masking fluid, wet-on-wet layered vertical washes for the waterfall, and detailed inked rock edges and pencil shading.
What are some ways to extend or personalize the finished waterfall drawing?
After 'Let the whole artwork dry' consider adding white gouache highlights or using masking fluid before washes to preserve highlights, sprinkle salt into wet rock washes for texture, collage torn paper for foliage, and then sign and share your finished waterfall drawing on DIY.org.
Watch videos on how to draw a realistic waterfall scene
How to Draw a Waterfall Scenery for Kids and Beginners | Simple Step-by-Step Tutorial
4 Videos
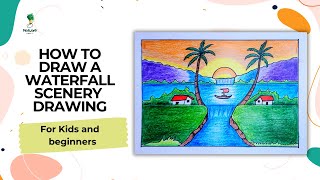
How to Draw a Waterfall Scenery for Kids and Beginners | Simple Step-by-Step Tutorial
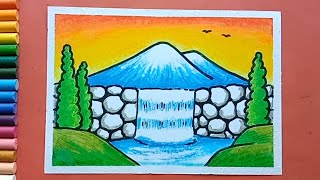
Easy & Simple Waterfall drawing | How to draw waterfall
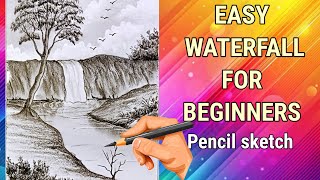
Easy Waterfall Drawing | Simple Pencil Sketch for Beginners (Step-by-Step)
How To Draw A Waterfall (Easy Drawing Tutorial)
Photos of realistic waterfall scene examples


Facts about watercolor and drawing techniques
💧 Angel Falls in Venezuela is the world's tallest uninterrupted waterfall at 979 meters (3,212 ft).
🎨 Watercolor painters often build color and depth by glazing—layering thin, transparent washes so light shines through the paint.
✏️ Drawing pencils are graded with H (hard) and B (black/soft); artists use H for fine lines and B for rich shadows on rocks.
🌊 Artists show flowing water with directional strokes—long vertical strokes for falling water and softer horizontal strokes for pools and currents.
🪨 Many waterfall rocks are smoothed by erosion over time—rounded boulders usually mean centuries of tumbling water.
How do I teach my child to draw a realistic waterfall scene with pencil, ink, and watercolor?
What materials do I need to draw a waterfall with pencil, ink, and watercolor?
What ages is this waterfall drawing activity suitable for?
What are the benefits of drawing a waterfall using pencil, ink, and watercolor?
