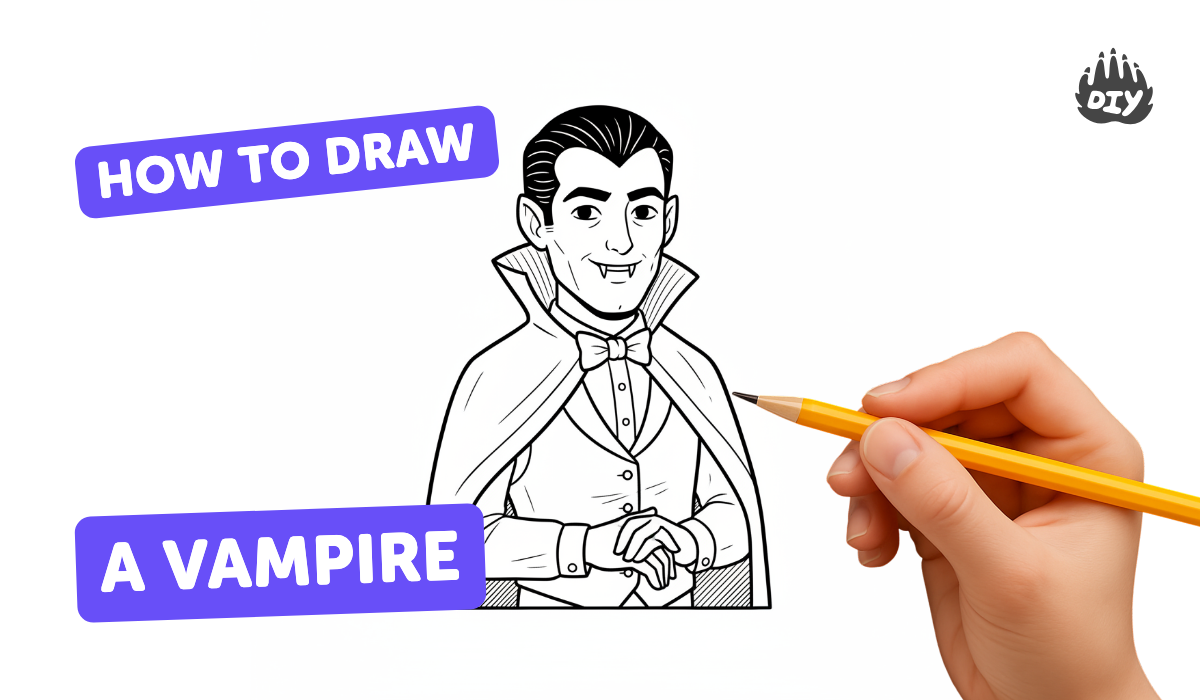
How to draw a vampire - a free vampire drawing guide
Draw a detailed cartoon vampire using pencil, ink, and color. Practice proportions, facial expressions, shading, and simple costume design to create your vampire.

Drawing Apps
Photos of vampire drawing examples


Step-by-step guide to draw a vampire
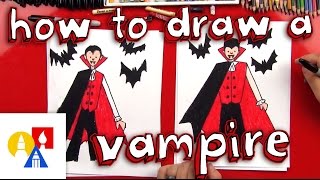
Quick Vampire Drawing for Kids 🧛♂️ | Easy Halloween Art in Minutes!
Step 1
Clear a flat workspace and place your paper and all materials within reach.
Step 2
Lightly draw a large oval for the head and a short neck using your pencil.
Step 3
Draw a vertical center line and a horizontal eye line across the oval to guide the face.
Step 4
Sketch a simple torso and shoulder shapes with basic ovals or rectangles to set body proportions.
Step 5
Mark small dots for the eyes on the eye line and place a dot for the nose halfway to the chin and a dot for the mouth below the nose.
Step 6
Draw the eyes and eyebrows with an expression that matches your vampire such as sly wide or sleepy.
Step 7
Draw a nose and a mouth and add two sharp fangs to show vampire teeth.
Step 8
Add hair and pointy ears to give your vampire personality.
Step 9
Draw a high collar and a flowing cloak and add simple shirt or vest lines for the costume.
Step 10
Refine your pencil sketch by cleaning up shapes and adding small details like wrinkles or folds.
Step 11
Carefully ink over the final pencil lines with your fine tip pen and wait for the ink to dry.
Step 12
Gently erase the pencil guidelines after the ink is completely dry.
Step 13
Shade areas like under the brows cheeks chin and inside the cloak with your pencil and blend with a tissue or stump.
Step 14
Color your vampire using your coloring materials adding darker tones where you shaded and lighter tones for highlights.
Step 15
Share your finished vampire drawing on DIY.org.
Help!?
I don’t have a fine tip pen or a blending stump—what can I use instead?
Use a ballpoint or gel pen to 'Carefully ink over the final pencil lines' and substitute a clean finger, folded tissue, or cotton swab for the blending stump when you 'shade... and blend with a tissue or stump'.
My vampire’s face looks lopsided after inking—how can I fix it?
Before you ink, re-check and correct the 'vertical center line and horizontal eye line' and the eye/nose/mouth dot placements during 'Refine your pencil sketch' so you can fix proportions in pencil and avoid smudging by waiting for the 'ink to dry' before erasing.
How can I adapt this drawing for different ages?
For younger kids skip 'Carefully ink' and use broad crayons or markers to fill in the big oval, collar, and cloak shapes, while older kids can add detailed 'wrinkles or folds', more refined 'shade... and blend with a tissue or stump', and thin ink lines for realism.
What are simple ways to extend or personalize the vampire drawing?
After you 'Color your vampire', add a spooky background, use a white gel pen for fangs and collar highlights, experiment with darker tones inside the cloak as suggested in 'Color your vampire' and 'Shade areas', or create a small comic by drawing the vampire in different poses.
Watch videos on how to draw a vampire
Learn To Draw Dracula: Easy Vampire Art Tutorial for Kids 🧛
4 Videos
Learn To Draw Dracula: Easy Vampire Art Tutorial for Kids 🧛
How To Draw A Vampire Using Shapes - Preschool
Quick Vampire Drawing Tips for Kids & Parents 🧛 | Easy Halloween Art!
How To Draw A Vampire
Facts about drawing and cartooning for kids
🧛♂️ The modern vampire look with capes and fangs was popularized by Bram Stoker's 1897 novel Dracula and later stage shows.
✏️ The graphite pencil became common after a large deposit of graphite was found in England in the 1500s — perfect for sketching vampires!
🖋️ Ink has been used for drawing and writing for thousands of years, and artists use it to make bold outlines and details.
🎨 Cartoonists use inking and shading tricks like hatching and cross-hatching to make flat drawings look 3D and dramatic.
😄 Tiny changes in a character's face — eyebrow angle, mouth shape, eye size — can totally change their expression and personality.
How do you draw a detailed cartoon vampire step-by-step?
What materials do I need to draw a cartoon vampire?
What ages is drawing a cartoon vampire suitable for?
What are some fun variations and benefits of drawing a vampire?
