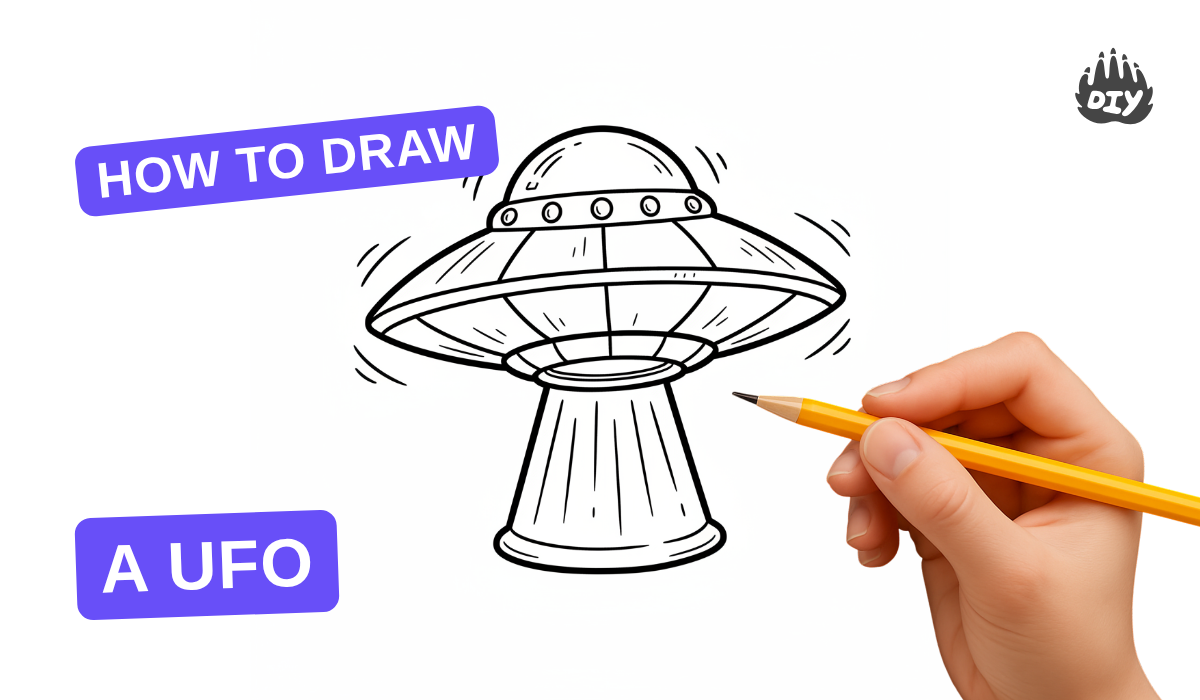
How to draw a UFO - a free UFO drawing guide
Draw a colorful UFO using simple shapes, perspective, and shading. Practice step by step sketching, adding lights, motion, and a starry background.

Drawing Apps
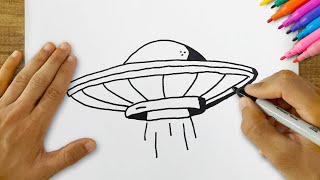
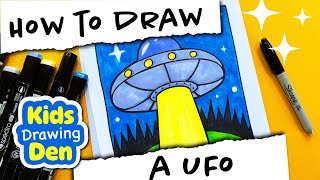
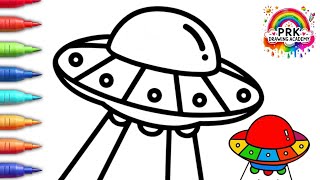
Photos of UFO drawing examples


Step-by-step guide to draw a UFO
How to Draw a UFO | Easy Step-by-Step for Kids
Step 1
Place your paper flat and draw a light horizontal horizon line across the middle to set where the UFO will be.
Step 2
Lightly sketch a small half-ellipse above the horizon for the UFO’s glass dome.
Step 3
Lightly draw a large flattened oval that crosses the horizon below the dome to make the UFO’s main body.
Step 4
Draw a thin curved plate under the oval to make the UFO’s undercarriage.
Step 5
Draw evenly spaced small circles along the rim of the UFO to be its glowing lights.
Step 6
Draw short curved motion lines behind the UFO to show it zooming through the sky.
Step 7
Choose a light direction and mark it with a tiny sun or arrow so you know where the highlights and shadows go.
Step 8
Lightly shade the dome and body on the side away from the light to make them look rounded.
Step 9
Use your eraser to pull tiny crescent highlights into the dome and inside a few rim lights to make them shine.
Step 10
Add small stars and a few star streaks all around the sky to create a starry background.
Step 11
Color the dome and body with bright colors and color the rim lights to look glowing.
Step 12
Trace your final outlines with the black marker to make your UFO pop.
Step 13
Erase any remaining pencil guidelines so your drawing looks clean.
Step 14
Share your finished creation on DIY.org
Help!?
What can we use if we don't have a black marker or bright markers for outlining and coloring?
If you don't have a black marker or bright markers, trace your final outlines with a dark pencil or pen and color the dome and body with crayons or colored pencils, using your eraser to pull the tiny crescent highlights described in the instructions.
My dome looks lopsided and my shading is too dark—how can I fix it?
If the dome or flattened oval look lopsided or the shading becomes too heavy, erase lightly to restore the half-ellipse above the horizon, re-sketch with gentler strokes, build up shading slowly on the side away from the tiny sun or arrow, and use the eraser to lift highlights in the dome and rim lights.
How can I adapt this UFO drawing for younger or older kids?
For preschoolers, simplify by pre-drawing the horizon and main flattened oval and let them color and add rim-light stickers instead of drawing small circles, while older kids can add extra star streaks, refined shading on the side away from the light, and trace with a fine black marker for crisp outlines.
What are some fun ways to extend or personalize the UFO drawing once it's finished?
To extend the project, add a second UFO or planet background, use metallic or glow-in-the-dark paint on the rim lights and tiny crescent highlights, blend colored pencils on the dome for a glassy effect, and photograph the finished piece to share on DIY.org.
Watch videos on how to draw a UFO
How to Draw a Ufo? Very Easy Ufo Drawing 🛸
4 Videos
How to Draw a Ufo? Very Easy Ufo Drawing 🛸
How to Draw a UFO 🚀 | Easy & Fun Alien Spaceship for Kids!
🛸 How to Draw UFO Step by Step | 🚀 UFO Drawing for Kids | 🌈 UFO Drawing with Colour

How to draw a UFO with Jonny: fun games, learn numbers, colours and shapes. Perfect for kids!
Facts about drawing and sketching for kids
🛸 The term "flying saucer" took off after a pilot described a disk-shaped object in 1947!
✨ The Milky Way contains roughly 100–400 billion stars — great inspiration for a dense starry sky!
🎨 Using one or two vanishing points helps make a flat UFO sketch look three-dimensional and flying away.
💡 Small white highlights and soft glows make your UFO's lights look shiny and realistic.
💫 Motion lines, blur smudges, or streaked shading are easy tricks to show your UFO zipping through space.
How do I draw a colorful UFO step by step using simple shapes, perspective, and shading?
What materials do I need to draw a colorful UFO with lights, motion, and a starry background?
What ages is drawing a UFO suitable for, and how can activities be adjusted by age?
What are the benefits, safety tips, and fun variations for drawing a colorful UFO?
