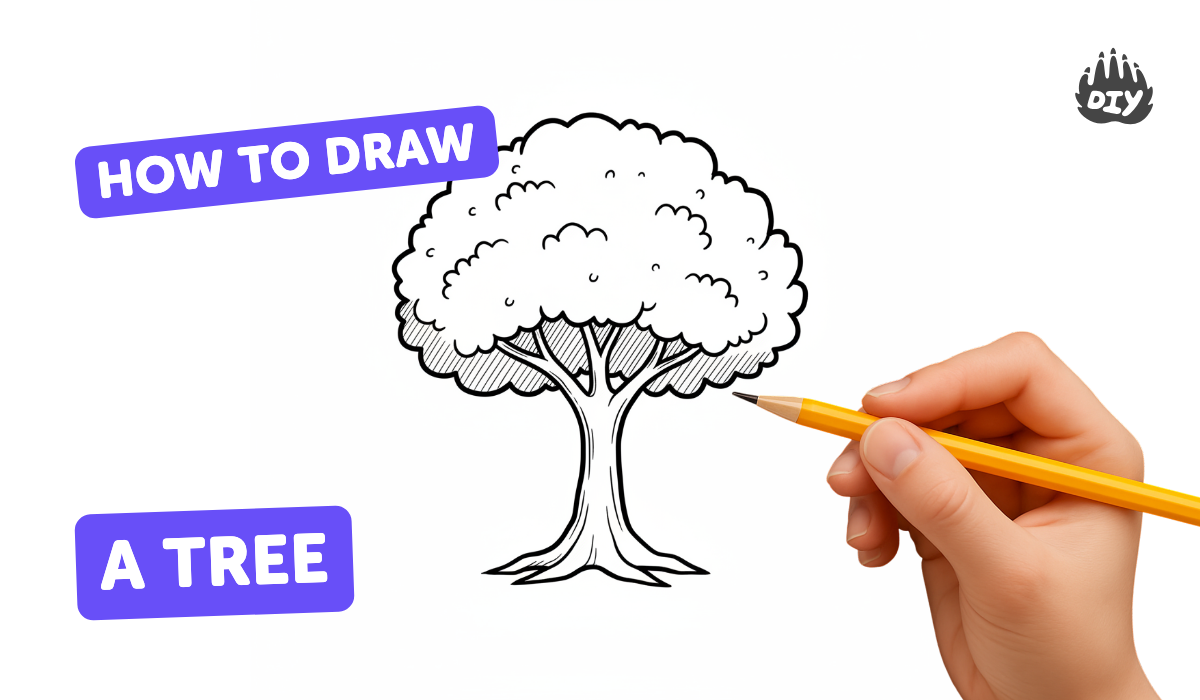
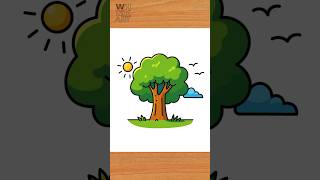
How to draw a tree - a free tree drawing guide
Draw a realistic tree step by step using simple shapes, shading, and texture. Create a complete tree drawing with trunk, branches, leaves, and shadows.

Drawing Apps
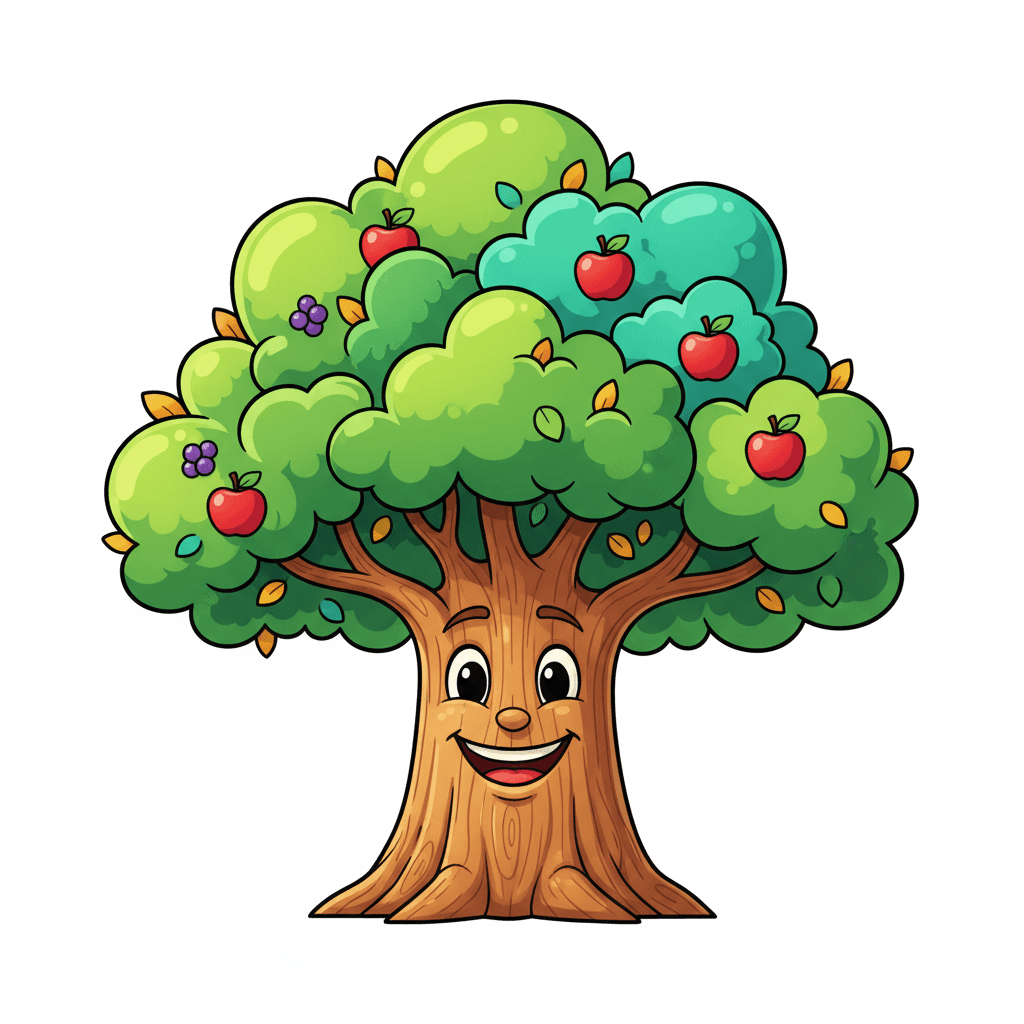
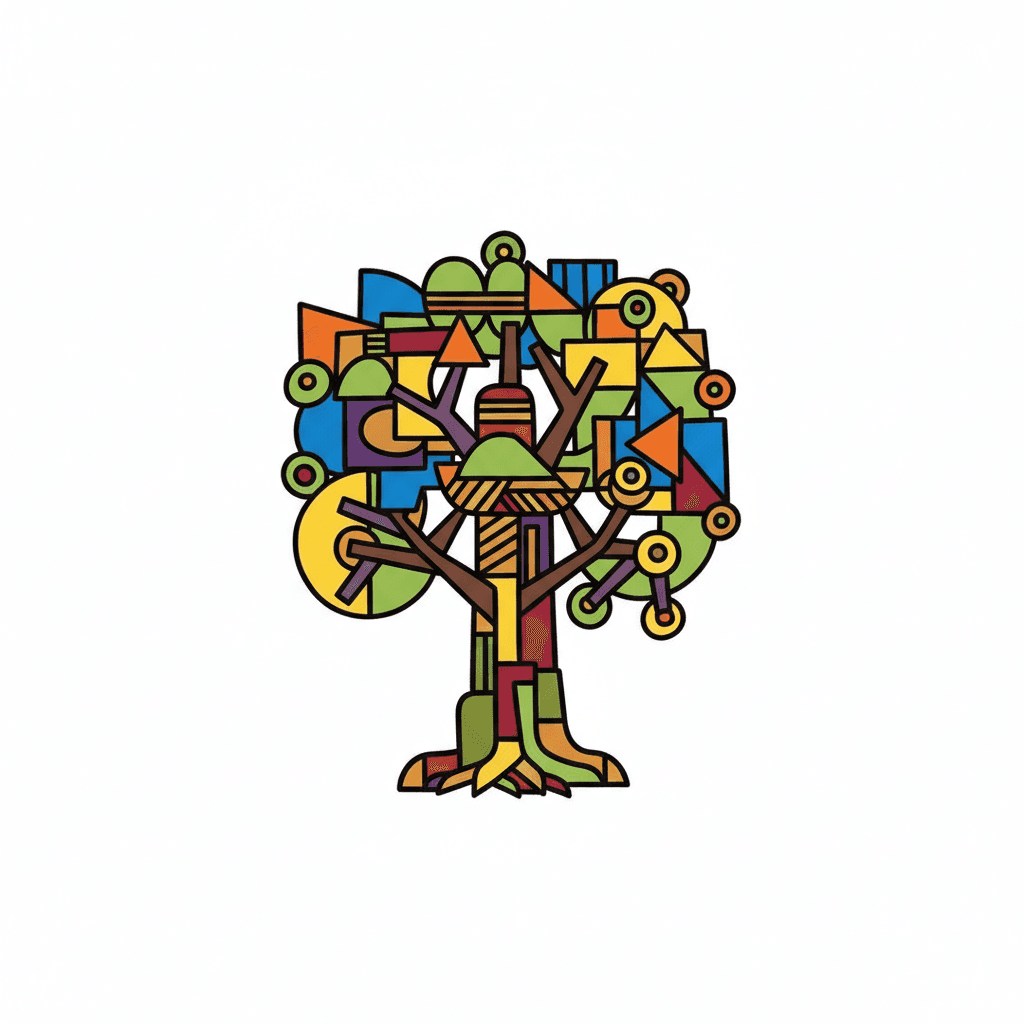
Get inspired with these

Instructions
How To Draw A Tree
Step 1
Gather all your materials and find a comfy flat place to draw.
Step 2
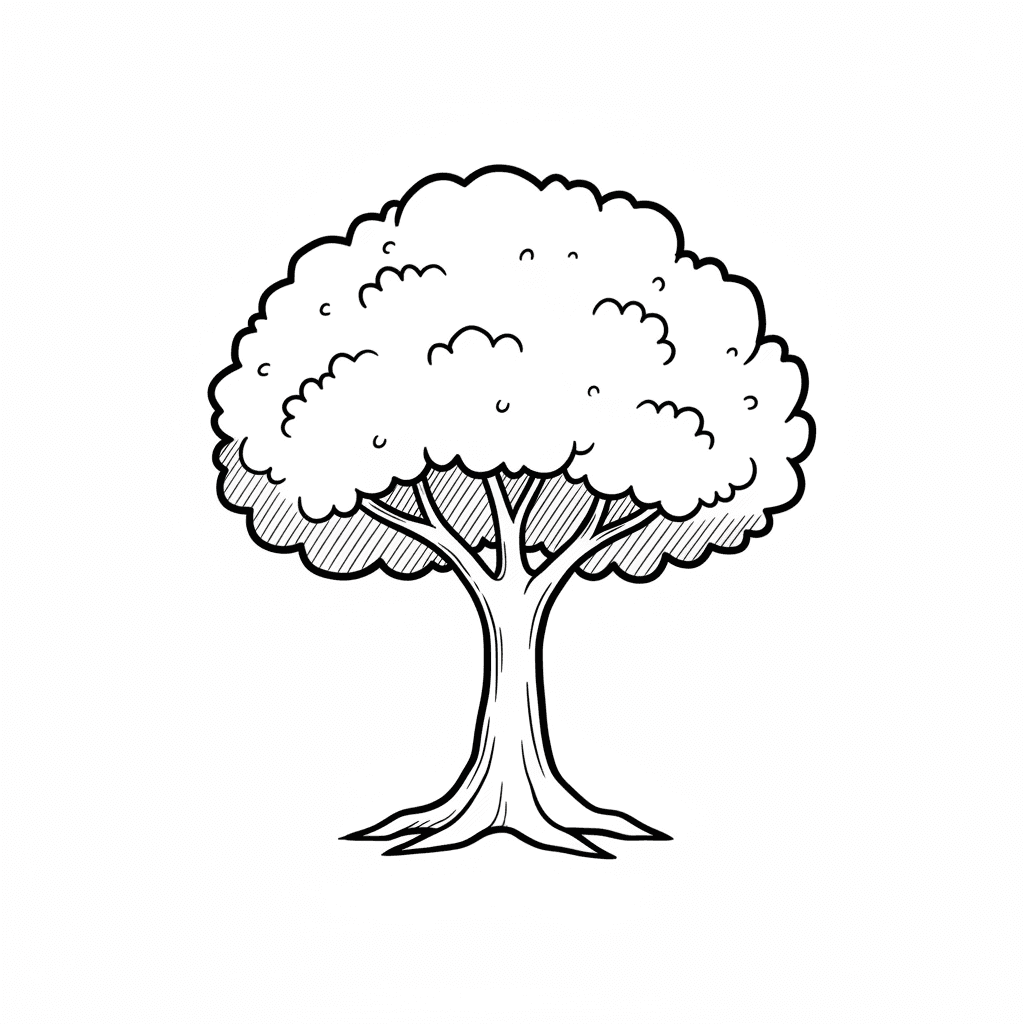
Lightly draw a simple trunk shape using two slightly curved vertical lines that meet at the base.
Step 3
Mark the light source with a small sun or arrow so you know where light comes from.
Step 4
Draw the main branches coming out of the trunk with a few thick curved lines.
Step 5
Add smaller twigs branching off the main branches with thinner lines.
Step 6
Sketch fluffy cloud-like leaf masses around the branch tips using loose rounded shapes.
Step 7
Define some individual leaves inside the leaf masses by drawing pointed ovals or teardrop shapes.
Step 8
Add bark texture to the trunk using short vertical strokes to suggest grooves.
Step 9
Shade the trunk on the side away from the light with darker pencil strokes to show roundness.
Step 10
Shade the branches and the underside of each leaf mass darker than the tops to match the light source.
Step 11
Add leaf texture by making quick small strokes and clustered marks inside the leaf masses for depth.
Step 12
Gently blend shaded areas with a tissue or blending stump to soften transitions.
Step 13
Erase any extra construction lines to clean up your drawing.
Step 14
Draw a soft cast shadow on the ground opposite the light source to anchor the tree.
Step 15
Share your finished tree drawing on DIY.org.
Help!?
What can I use if I don't have a blending stump or special pencils?
If you don't have a blending stump use a clean tissue, cotton swab, or fingertip to gently blend shaded areas and if you lack softer pencils use HB or 2B for the trunk, branches, and shading.
My trunk looks flat or lopsided—what step fixes this?
Go back to the 'Lightly draw a simple trunk shape' step to correct the two slightly curved vertical lines with your eraser, then darken and blend the side away from the light to show roundness as instructed.
How can I adapt the activity for different ages?
For younger children simplify to a trunk and fluffy cloud-like leaf masses and skip detailed bark and leaf texture, while older kids can add pointed ovals for leaves, bark texture strokes, and careful shading of branches and shadows.
How can we extend or personalize the tree drawing once it's finished?
Enhance your drawing by adding color with colored pencils or watercolor after erasing construction lines, vary individual leaves and bark texture, draw extra trees with their own cast shadows, and then share the finished piece on DIY.org.
Related videos
How to Draw a Tree | Simple Drawing Guide for kids and Beginners
4 Videos
How to Draw a Tree | Simple Drawing Guide for kids and Beginners
How to draw a TREE - Easy Tutorial for Kids, Toddlers, Preschoolers
How to Draw a Tree Easy for Beginners | Step-by-Step Tutorial 🌳
Easy Tree Drawing Step by Step for Kids
Fun Facts
🌳 The oldest known non-clonal tree (Methuselah) is over 4,800 years old!
🍃 A mature oak can have hundreds of thousands of leaves — great practice for drawing lots of shapes!
🎨 "Chiaroscuro" means "light and dark" — artists use it to make flat shapes look three-dimensional.
✏️ Artist pencils are graded H (hard/light) to B (soft/dark) — use B for deep shadows and H for fine twiggy lines.
☀️ Tree shadows change with the sun: long at sunrise/sunset and short at noon — pick a sun angle and keep shadows consistent.
How do I teach my child to draw a realistic tree step by step?
What materials do I need to draw a realistic tree with shading and texture?
What ages is this tree drawing activity suitable for?
What are the benefits of teaching children to draw realistic trees?
