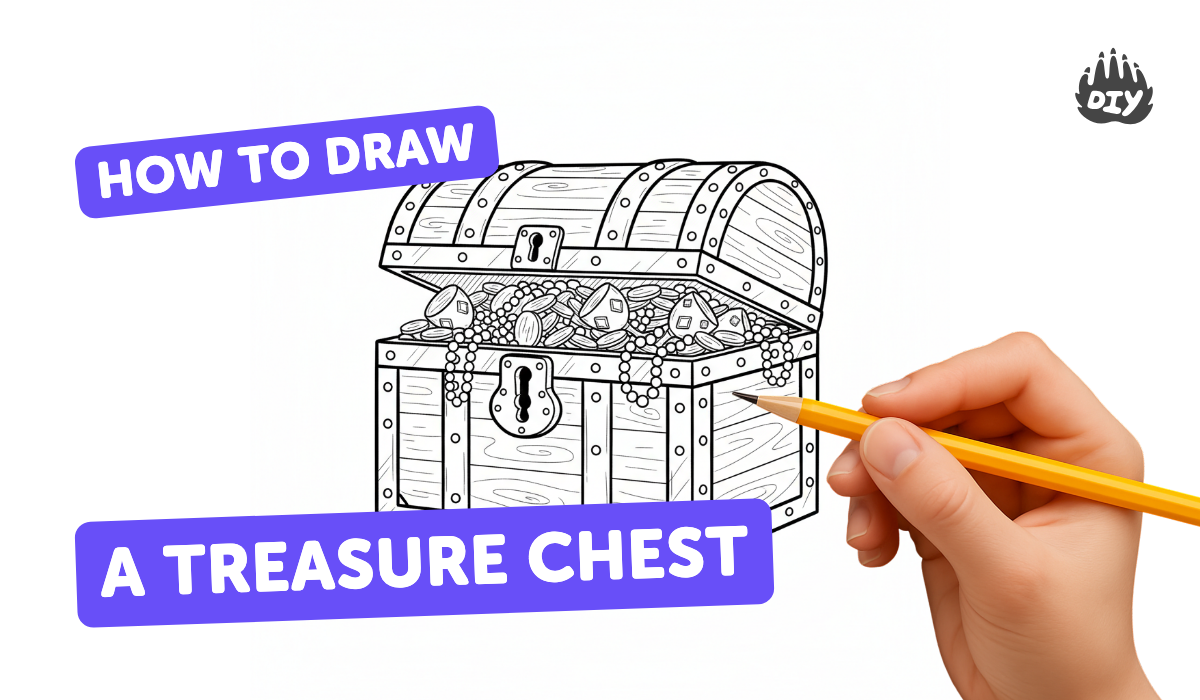
How to draw a treasure chest - a free treasure chest drawing guide
Draw a treasure chest step-by-step using basic shapes, details, and shading. Practice proportions, perspective, and adding wood texture plus metal lock highlights.

Drawing Apps
Photos of treasure chest drawing examples


Step-by-step guide to draw a treasure chest
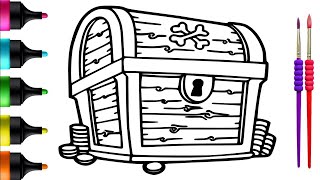
How To Draw A Treasure Chest (parallel lines)
Step 1
Draw a medium rectangle in the center of your paper for the front face of the chest.
Step 2
From the top two corners of the rectangle draw two short diagonal lines slanting to the right to show depth.
Step 3
Connect the ends of those diagonals with a vertical line to form the right side panel of the chest.
Step 4
Draw a gentle curved arc along the top edge of the front rectangle to make the front curve of the lid.
Step 5
Draw a second curved arc behind the first arc and connect the ends to create the lid thickness in perspective.
Step 6
Draw a thin horizontal strip where the lid meets the front to represent the metal rim.
Step 7
Draw a small rounded rectangle in the center front and add a tiny circle for the keyhole to make the lock plate.
Step 8
Draw evenly spaced vertical lines across the front panel to show wood planks.
Step 9
Add small circles along the plank lines near the edges to show nail heads.
Step 10
Add curved wood grain lines on each plank and along the lid following the plank shapes.
Step 11
Trace the final chest outlines with a darker pencil or marker to make the drawing pop.
Step 12
Erase any light construction lines and clean up smudges around the drawing.
Step 13
Make tiny thin crescent highlights on the lock and rim by gently erasing small shapes to show metal shine.
Step 14
Shade the right side panel darker than the front using light strokes to show perspective.
Step 15
Share your finished treasure chest on DIY.org
Help!?
What can I use if I don't have a darker pencil or marker to trace the final chest outlines?
If you don't have a marker, use a darker HB/2B pencil, a black colored pencil, or a fine-tip crayon to complete the step "Trace the final chest outlines with a darker pencil or marker".
My lid arcs or the right side panel look off—how do I fix perspective mistakes?
If the right side panel or lid looks skewed, lightly erase the two short diagonal lines and redraw them the same length before reconnecting with the vertical line and adding the lid arcs to restore correct perspective.
How can I adapt this treasure chest drawing for younger or older kids?
For younger kids, simplify by drawing fewer vertical planks and skipping tiny nail heads while using thick crayons for the steps that add wood planks and nail heads, and for older kids, add extra wood grain lines, the thin crescent highlights on the lock and rim, and darker right-side shading to practice value and detail.
How can we make the finished chest more interesting or personal after tracing and shading?
After tracing, shading the right panel, and adding highlights, personalize the drawing by coloring planks brown, drawing coins or gems spilling from an opened lid arc, decorating the lock plate, and then sharing the finished treasure chest on DIY.org.
Watch videos on how to draw a treasure chest
How to Draw a Treasure Chest in a Few Easy Steps: Drawing Tutorial for Beginner Artists
4 Videos
How to Draw a Treasure Chest in a Few Easy Steps: Drawing Tutorial for Beginner Artists
How To Draw A Treasure Chest Folding Surprise
How to draw a Treasure Chest- in easy steps for children. beginners
Draw a Treasure Chest: Fun Step-by-Step Tutorial for Kids 🎨💰🏴☠️
Facts about drawing and sketching for kids
🗝️ Treasure chests in stories are usually wooden with metal bands, but real historical chests came in many styles for different uses.
🪵 Wood grain comes from tree growth rings — drawing curved lines and knots helps make a wooden chest look realistic.
🎨 Chiaroscuro means strong contrasts of light and dark and helps flat drawings pop into 3D with simple shading.
📐 Linear perspective uses a horizon line and vanishing point — even 1-point perspective turns a box into a believable chest.
🏴☠️ The famous 'X marks the spot' treasure map was popularized by the novel Treasure Island, not by real pirates.
How do I draw a treasure chest step-by-step?
What materials do I need to draw a treasure chest?
What ages is this treasure chest drawing activity suitable for?
What are some variations or benefits of drawing a treasure chest?
