How to draw a torso - a free torso drawing guide
Learn to draw a human torso step-by-step using simple shapes, proportion tips, and shading practice to develop observational and drawing skills.

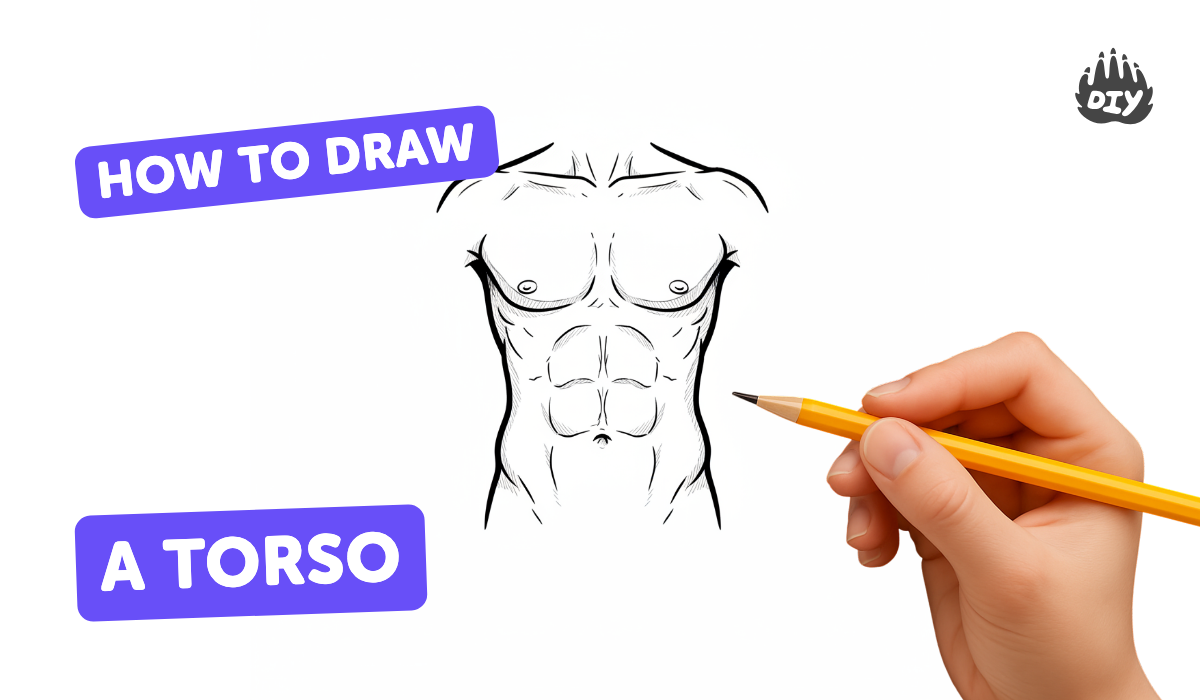
Step-by-step guide to draw a human torso
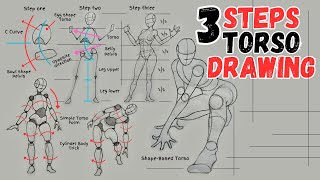
Learn to Draw a PERFECT Torso using BLOCKS and SHAPES in 3 Easy Steps | HOW To Twist a TORSO
Step 1
Place your paper on a flat surface and put your pencil and eraser next to it.
Step 2
Draw a light vertical center line down the middle of the paper.
Step 3
Draw a small circle near the top of the center line to use as a head-size measuring unit.
Step 4
Use that head circle to mark three equal segments along the center line to show the top and bottom of the torso.
Step 5
At the top torso mark measure and mark the shoulder width as about two head-widths across the center line.
Step 6
At the bottom torso mark measure and mark the hip width as about one and a half head-widths across the center line.
Step 7
Draw a light horizontal line at the shoulder marks and another horizontal line at the hip marks.
Step 8
Sketch a soft oval around the upper two head-lengths to represent the ribcage.
Step 9
Draw a smaller tilted box or rounded triangle at the lower head-length to represent the pelvis.
Step 10
Connect the ribcage oval and the pelvis shape with two smooth curved lines to form the sides of the torso.
Step 11
Draw two short gentle lines across the top of the ribcage to indicate the collarbones.
Step 12
Add sloped lines from the shoulder points to the collarbones to show shoulder slopes.
Step 13
Lightly erase extra construction marks and darken the final outline of the torso.
Step 14
Shade the torso with light pencil strokes following the curves and blend with a tissue or stump to show form.
Step 15
Share your finished torso drawing on DIY.org.
Help!?
What can we use if we don't have a blending stump or tissue?
Use a clean finger, a cotton swab (Q‑tip), or a small piece of soft cloth to blend the light pencil strokes instead of a tissue or stump.
My torso looks lopsided — how do I fix it?
Check your light vertical center line and the head-sized circle measurements, lightly erase the uneven construction lines, then re-measure shoulder width (about two head-widths) and hip width (about one and a half head-widths) before redrawing the side curves to balance the torso.
How can I change this activity for younger or older kids?
For younger kids, simplify by using a larger head circle and bold shapes (big oval for the ribcage and a triangle for the pelvis) with crayons, and for older kids, keep finer construction marks, more accurate collarbone and shoulder slope lines, and add detailed shading with pencil and a stump or tissue.
How can we personalize or extend the torso drawing?
After you darken the final outline and blend the shading, personalize by adding clothing, different torso tilts or arm guides, surface details or color, and then share the finished torso on DIY.org.
Watch videos on how to draw a human torso
The First, EASY Step To Draw Bodies (For Beginners)
4 Videos
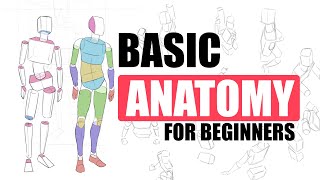
The First, EASY Step To Draw Bodies (For Beginners)
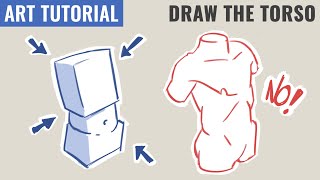
How to Draw the Torso | Simplify Anatomy
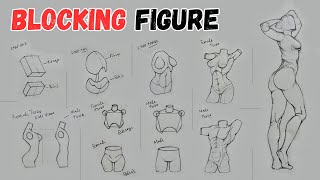
How to draw TORSO from basic Shapes to a full figure
3 Easy Steps to MASTER Torso Drawing with an EGG Shape | Beginner-Friendly Tutorial
Facts about figure drawing and human anatomy
🧍 Artists measure people in “head” units — a typical adult figure is about 7.5–8 heads tall, a handy trick for checking torso length!
✏️ Gesture drawing (30–120 seconds) helps you capture the torso’s movement and flow before adding details.
🎨 Chiaroscuro means “light–dark” — using light and shadow makes a flat torso look round and 3D.
🧩 Breaking the torso into simple shapes (a boxy ribcage, an oval pelvis, and a spine-cylinder) makes anatomy easier to draw.
🔎 Drawing from life sharpens observation: small changes in line or proportion can completely change posture and expression.
How do I teach my child to draw a human torso step-by-step?
What materials do I need to draw a torso with my child?
What ages is learning to draw a torso suitable for?
What are the benefits of practicing torso drawing and how can I vary the activity?
