How to draw a top hat - a free top hat drawing guide
Draw a classic top hat using simple shapes and shading. Follow step by step instructions to learn proportions and basic shading techniques.

Drawing Apps
Photos of top hat drawing examples


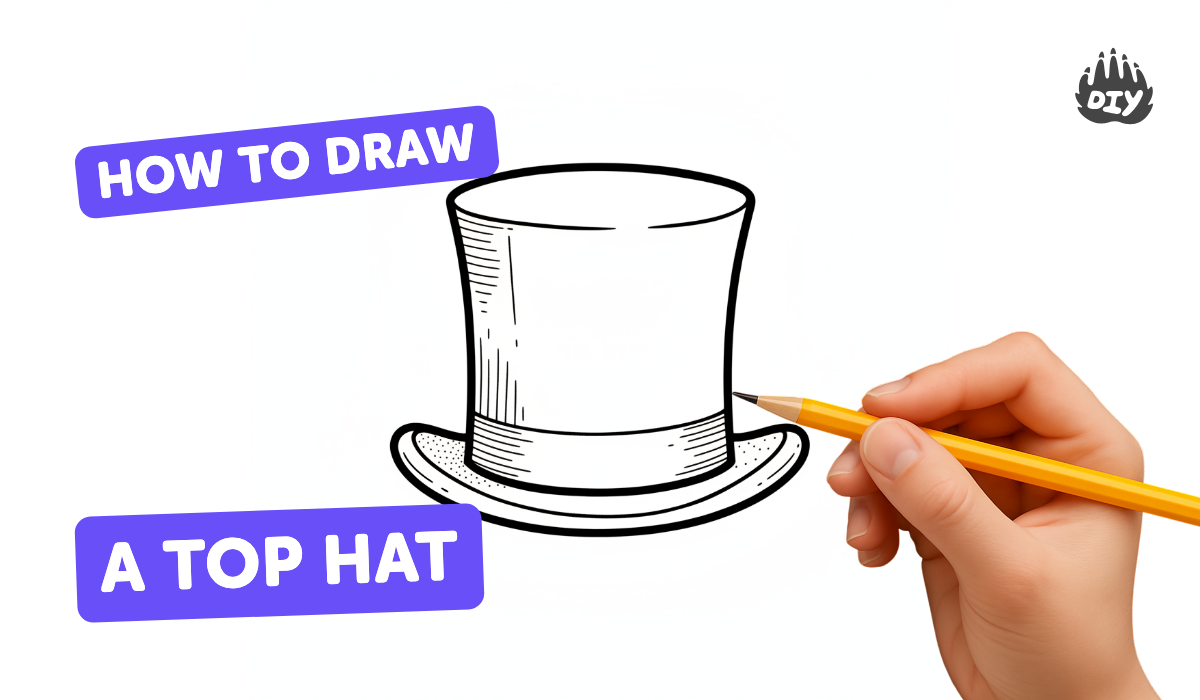
Step-by-step guide to draw a classic top hat
How to Draw a Top Hat | Hat Drawing | Step by Step For Beginners | Easy Drawings
Step 1
Place your paper landscape and lightly draw a horizontal guideline across the middle to show where the hat will sit.
Step 2
Draw a wide flattened oval centered on the guideline to make the outer edge of the hat brim.
Step 3
Inside that oval draw a thinner matching oval to show the brim's thickness.
Step 4
From the inner edges of the inner oval draw two short vertical parallel lines upward to mark the sides of the hat's body.
Step 5
Connect the top of the two lines with a slightly curved oval to create the top of the hat's cylinder.
Step 6
Lightly erase the center guideline and any stray sketch marks so the hat outline looks clean.
Step 7
Draw a hatband by sketching two close curved lines around the base of the cylinder and connect them at the sides.
Step 8
Decide where your light is coming from and draw a small arrow outside the hat pointing toward it.
Step 9
Lightly shade the side of the hat that is opposite the arrow using gentle pencil strokes to add a base shadow.
Step 10
Darken the pencil strokes near the edges and where the hat meets the brim to make the shadow stronger.
Step 11
Shade the underside of the brim and the inside of the top oval darker to show deeper shadow areas.
Step 12
Gently blend the shaded areas with a tissue or cotton bud to make the shadows smooth.
Step 13
Use your eraser to lift thin lines or spots on the side facing the light to create highlights.
Step 14
Add any final decoration like a ribbon or buckle and sign your name in a corner of the paper.
Step 15
Share your finished top hat drawing on DIY.org
Help!?
What can we use if we don't have a tissue or cotton bud to blend the shaded areas?
If you don't have a tissue or cotton bud for blending, gently rub the shaded areas with a clean fingertip, a cotton ball, or a crumpled scrap of paper to smooth the pencil strokes as described in the step about blending shaded areas.
My ovals and cylinder look lopsided—how can I fix that before I darken the lines?
If the wide flattened oval or the top cylinder looks off-center, lightly redraw them while rotating the paper for a steadier hand and erase stray sketch marks and the center guideline as instructed before darkening.
How can I adjust this activity for younger or older kids?
For younger children, simplify by drawing only the outer and inner ovals and a basic band with a marker and skip shading, while older kids should follow the full steps including gentle shading, blending with a tissue, and using the eraser to lift highlights for realism.
What are some ways to make the top hat drawing more creative or special?
To personalize the hat, add a decorated ribbon or buckle on the hatband using colored pencils, metallic foil, or a glued paper strip for a 3D effect, then sign your name and share the finished drawing on DIY.org as suggested.
Watch videos on how to draw a classic top hat
How to draw a top hat | Easy drawings
4 Videos
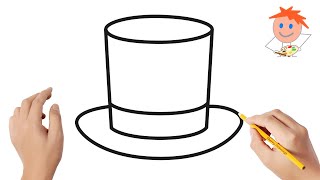
How to draw a top hat | Easy drawings
How To Draw Top Hat Step by Step #shorts #shortsfeed

Learn to Draw a Hat in 5 Minutes! 🎨✏️ (Beginner-Friendly)

How to Draw a Hat | Easy Step-by-Step Tutorial | Kids Drawing and Coloring
Facts about drawing and shading for kids
🎩 Top hats became popular in the late 18th century and stayed a symbol of formal fashion through the 19th century.
✏️ Artists often build drawings from simple shapes—ovals for the crown and rectangles for the body—to keep proportions accurate.
📐 A top hat is basically a cylinder with an elliptical brim; drawing ellipses helps show tilt and perspective.
🌗 Shading one side darker and leaving a bright highlight makes a flat shape look rounded and three-dimensional.
🕴️ Famous wearers include Abraham Lincoln and stage magicians—so the top hat silhouette is recognized worldwide.
How do I teach my child to draw a classic top hat step by step?
What materials do I need to draw a top hat with my child?
What ages is drawing a top hat suitable for?
What are the benefits and fun variations when drawing a top hat?
