How to draw a tooth - a free tooth drawing guide
Draw a realistic tooth using pencil, eraser, and shading techniques. Practice proportions, symmetry, and simple shading to create a three dimensional tooth.


Drawing Apps
Get inspired with these


Instructions
How to Draw a Tooth - Easy Step-by-Step Drawing Tutorial for Kids #howtodraw #drawingtutorial
Step 1
Place your paper on a flat table.
Step 2
Sharpen your pencil until the tip is fine.
Step 3
Lightly draw a vertical center line down the middle of the paper to help with symmetry.
Step 4
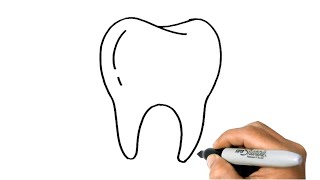
Sketch a rounded crown shape at the top and two tapered roots below to make the basic tooth outline.
Step 5
Look at both sides using the center line to check that left and right are similar.
Step 6
Erase any part of the outline that looks uneven.
Step 7
Redraw the erased parts so both sides match.
Step 8
Add a soft curved line near the top to show the gum ridge or crown contour.
Step 9
Decide where the light comes from and mark its direction with a small arrow outside the tooth.
Step 10
Shade gently on the side opposite the light using short pencil strokes to build up tone.
Step 11
Smooth the shaded area with a cotton swab or tissue to make the tooth look rounded and three dimensional.
Step 12
Darken the deepest shadows near the roots and along creases with firmer pencil strokes.
Step 13
Lift tiny highlights with the eraser along the light-facing edge and center curve for a shiny look.
Step 14
Clean stray marks and add your name in a small corner if you like.
Step 15
Share your finished tooth drawing on DIY.org.
Help!?
What can I use instead of a cotton swab or tissue to smooth the shading if I don't have them?
Use a blending stump, a cotton ball, a soft cloth, or your fingertip very lightly to smooth the shaded area in step 10.
My tooth looks uneven after erasing and redrawing—how do I fix the symmetry?
Fold the paper on the vertical center line or use that center line as a mirror guide, then redraw the rounded crown and tapered roots with light strokes before erasing uneven parts as in steps 3–6.
How can I adapt this drawing activity for different ages?
For younger kids, pre-draw the rounded crown and roots and let them trace with a crayon, while older kids should sharpen their pencil finely, mark the light direction (step 11), add layered shading, smooth with a blending tool, and lift highlights with an eraser for realism.
How can we extend or personalize the tooth drawing activity?
Turn it into a mini dental diagram by labeling the crown, gum ridge, and roots, try colored pencils or watercolor for a background, draw a row of teeth with varied shading, then sign and share your finished tooth on DIY.org as suggested in the final step.
Related videos
How to DRAW a TOOTH Easy Step by Step
4 Videos
How to DRAW a TOOTH Easy Step by Step
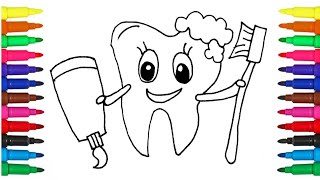
How to draw Tooth, Toothpaste and a Toothbrush | step by step easy drawing | Coloring for toddlers
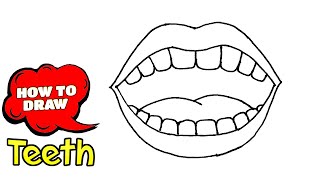
How to Draw Teeth | Teeth Drawing Cartoon (Step By Step Guides) | Easy Drawing with Pen
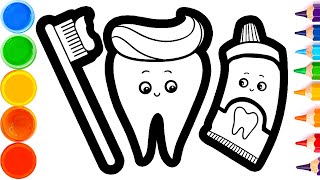
How to Draw Cute Tooth, Toothbrush and Toothpaste | Easy Step By Step Tutorial
Fun Facts
🦷 Most adults have 32 teeth — studying each type (incisors, canines, molars) helps you draw accurate shapes and proportions.
✏️ Graphite pencils are graded from H (hard/light) to B (soft/dark); artists often use HB for lines and 2B–6B for smooth shading.
🎨 Chiaroscuro is an art technique using strong light-and-dark contrast to make flat drawings appear three-dimensional — perfect for tooth shading.
🔍 Teeth are roughly symmetrical left-to-right, so comparing halves or using a mirror helps spot proportion mistakes fast.
🧽 A kneaded eraser can be shaped to lift small highlights from shaded areas, creating shiny enamel reflections without smudging.
How do you draw a realistic tooth step-by-step?
What materials do I need to draw a realistic tooth?
What ages is this tooth-drawing activity suitable for?
What are the benefits of drawing a realistic tooth?
