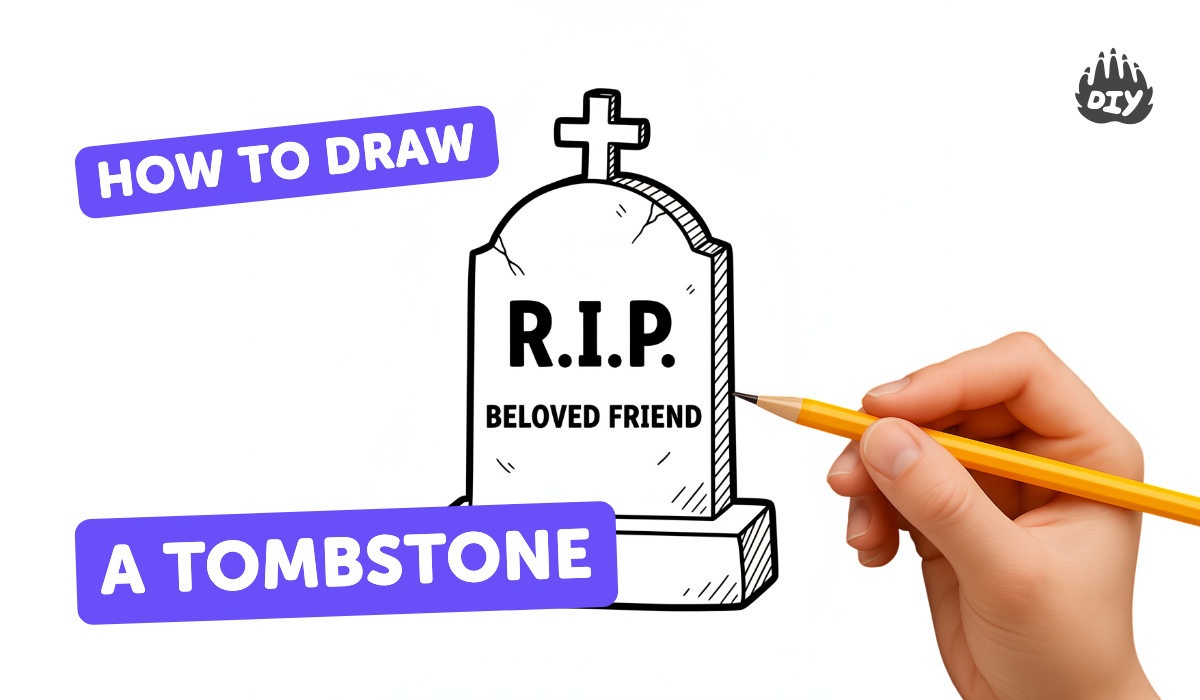
How to draw a tombstone - a free tombstone drawing guide
Draw a simple shaded tombstone using pencil and paper. Practice shapes, symmetry, and shading while creating a spooky yet respectful memorial illustration.

Drawing Apps
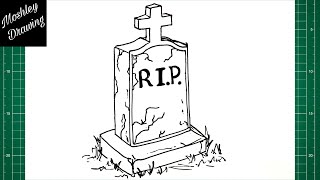
Photos of tombstone drawing examples


Step-by-step guide to draw a tombstone
👻 How to Draw a Simple Tombstone | Step-by-Step Lesson ☠️
Step 1
Gather all your materials and sit at a clean flat table so your paper won't slip.
Step 2
Place your paper in portrait position and make sure it is straight in front of you.
Step 3
Use the ruler and lightly draw a vertical center guideline from top to bottom in the middle of the paper.
Step 4
On the left side of the center line draw half of the tombstone shape starting with a straight bottom and a rounded top.
Step 5
Copy the same shape on the right side using the center line to match the left side so the tombstone looks symmetrical.
Step 6
Erase the center guideline gently so only the clean tombstone outline remains.
Step 7
Draw a simple rectangular base under the tombstone so it sits on a little stone slab.
Step 8
Add one small detail like initials or a simple cross in the center of the tombstone using light strokes.
Step 9
Choose where the light comes from and mark a tiny arrow near the top of the paper to remember your light direction.
Step 10
Shade the side and bottom of the tombstone opposite your light arrow using short pencil strokes to make shadow areas.
Step 11
Use your blending stump or finger to softly blend the shaded areas so the stone looks smooth.
Step 12
Add a few light cracks or little dots of texture on the stone to make it look aged if you like.
Step 13
Erase any stray lines and darken the final outline so your drawing looks neat.
Step 14
Take a photo of your finished shaded tombstone and share your creation on DIY.org.
Help!?
What can we use if we don't have a ruler or a blending stump?
If you don't have a ruler use the straight edge of a hardcover book to draw the center guideline in step 3, and if you lack a blending stump use a clean fingertip or folded tissue to softly blend the shaded areas in step 11.
My tombstone looks lopsided or my shading looks messy—how can I fix that?
If the shape is uneven after step 5, mark matching points across the center guideline from step 3 before erasing in step 6, and if shading smudges during step 10–11 put scrap paper under your hand and blend lightly with a tissue or wait for the graphite to settle.
How can I adapt this drawing for different ages or skill levels?
For younger kids, simplify steps 3–6 by tracing a pre-cut tombstone and skip detailed shading in step 10, for middle ages add the initials or cross in step 8 and basic shadows in step 10, and for older kids teach cross-hatching and more texture in steps 11–12.
How can we extend or personalize the tombstone drawing once it's finished?
To personalize the drawing, add a background scene or extra graves before darkening the final outline in step 13, carve a date or name in step 8, experiment with colored pencils after step 11, and write a short caption when you photograph it in step 14.
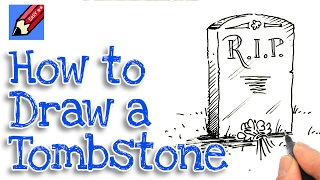
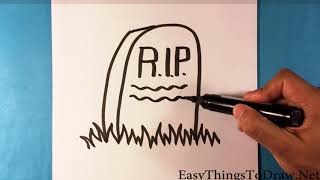
Watch videos on how to draw a tombstone
How to Draw a Tombstone Step by Step
4 Videos
How to Draw a Tombstone Step by Step
Learn how to draw a tombstone real easy | Step by Step with Easy - Spoken Instructions
How to Draw a Tombstone for Beginners - Halloween Drawings
How to Draw a Tombstone Real Easy
Facts about pencil drawing and shading for kids
🪦 Headstones have been used for thousands of years — ancient Greeks and Romans carved memorials to remember loved ones.
✏️ Pencils use graphite (not lead); artists use grades like HB, 2B, and 6B to get lighter or darker shading.
🎨 Cross-hatching makes darker shadows by layering lines at different angles — no smudging needed!
⚖️ Symmetry gives tombstones a calm, balanced look; folding a sketch in half helps check symmetry quickly.
👻 Tombstone silhouettes are mostly simple shapes (rectangles, rounded tops) — great for practicing outlines first.
How do you draw a simple shaded tombstone step by step?
What materials do I need to draw a shaded tombstone?
What ages is this tombstone drawing activity suitable for?
How is drawing a tombstone beneficial and how can I keep it respectful and safe?
