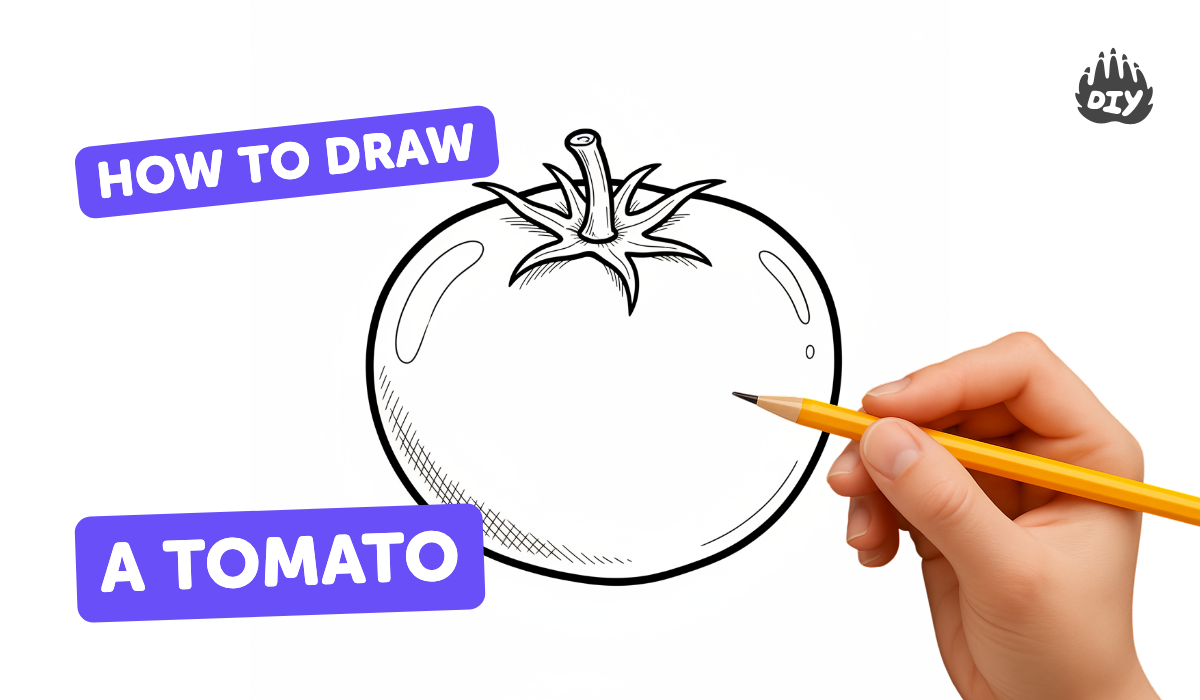
How to draw a tomato - a free tomato drawing guide
Draw a tomato step-by-step using basic shapes, shading, and color. Practice observation, proportion, and shading to create a realistic tomato.

Drawing Apps
Photos of tomato drawing examples


Step-by-step guide to draw a tomato
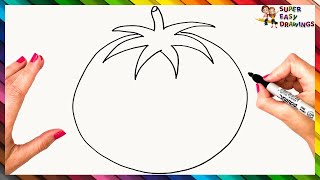
How To Draw A Tomato Step By Step 🍅 Tomato Drawing Easy
Step 1
Place your paper on a flat surface and put your pencil and eraser nearby so you are ready to draw.
Step 2
Lightly sketch a circle in the middle of the paper using gentle pencil strokes.
Step 3
Make the circle a little squashed by flattening the top and bottom with soft pencil curves.
Step 4
Draw a small shallow dip at the top center of the squash to show where the stem will sit.
Step 5
Sketch four or five pointed leaf shapes around the dip to make the tomato’s calyx.
Step 6
Add one or two gentle curved lines from the top toward the bottom to show the tomato’s round form.
Step 7
Pick where the light is coming from and mark that spot with a tiny dot outside the tomato.
Step 8
Shade the side of the tomato opposite the light dot with light pencil strokes to create a shadowed area.
Step 9
Gently blend the shaded area with a tissue or cotton swab to make the shading smooth.
Step 10
Color the main tomato area with red, keeping a small oval near the light dot free of color for a highlight.
Step 11
Add darker red or a little brown to the shaded side and the bottom to deepen the shadow.
Step 12
Color the leaf shapes at the top with green.
Step 13
Add a tiny bit of brown near the center of the leaves to make the stem area look real.
Step 14
Lightly erase a small spot in the highlight area to make it shine like a real tomato.
Step 15
Share your finished tomato on DIY.org.
Help!?
What can we use instead of a tissue or cotton swab for blending if we don't have them?
If you don't have a tissue or cotton swab to 'Gently blend the shaded area with a tissue or cotton swab', use a clean fingertip, a folded paper towel, or the edge of a soft cloth to lightly smooth the pencil strokes.
My tomato shape looks off or my highlight disappeared—how do I fix it?
Lightly erase and re-sketch the 'Lightly sketch a circle' and 'Make the circle a little squashed' steps using gentle pencil strokes, then protect the tiny highlight spot from smudging by keeping it free of color until the end (see 'Pick where the light is coming from' and 'Color the main tomato area').
How can I adapt this activity for different ages?
For younger children, simplify to drawing the squashed circle, calyx leaves, and coloring the tomato (steps 'Make the circle a little squashed', 'Sketch four or five pointed leaf shapes', 'Color the main tomato area'), while older kids can add the curved form lines, layered shadows with darker red/brown, and gently erase a highlight for realism (steps 'Add one or two gentle curved lines', 'Add darker red or a little brown', 'Lightly erase a small spot in the highlight area').
How can we make the finished tomato more special before sharing it on DIY.org?
Extend the activity by drawing a vine with extra tomatoes, adding a simple background or watercolor wash, or using a white gel pen to sharpen the highlight and deepen the shadow before you 'Share your finished tomato on DIY.org'.
Watch videos on how to draw a tomato
How To Draw A Tomato Step By Step 🍅 Tomato Drawing Easy
4 Videos
How To Draw A Tomato Step By Step 🍅 Tomato Drawing Easy
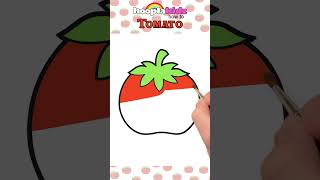
Draw and Color a Tomato 🍅 - Step By Step Guide for Kids #shorts #drawing #coloring
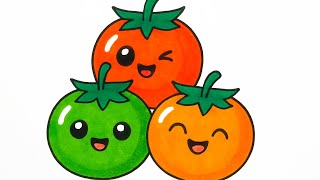
How to Draw Cute Tomatoes | Easy Drawing for Kids | Step by Step Tutorial
"How to Draw a Tomato for Kids | Easy and Fun Drawing Lesson
Facts about drawing fundamentals for kids
🍅 Botanically a tomato is a berry — it develops from a flower and contains seeds, so it’s a fruit!
💧 Ripe tomatoes are over 90% water, which helps explain their juicy shine and why highlights matter when shading.
🎨 In drawing, value (light to dark) creates the illusion of roundness more than hue — great shading makes a tomato look 3D.
🧪 The red color in many tomatoes comes from lycopene, a carotenoid pigment also studied for antioxidant properties.
🌱 There are thousands of tomato varieties (often cited as over 10,000), offering tons of shapes, sizes, and colors to practice from.
How do I draw a tomato step-by-step with basic shapes, shading, and color?
What materials do I need to draw a realistic tomato?
What ages is drawing a tomato suitable for?
What are the benefits of drawing a tomato and how can I vary the activity?
