How to draw a toilet - a free toilet drawing guide
Learn to draw a toilet step-by-step using simple shapes, practice proportions, add details like seat and tank, and color your finished drawing.


Step-by-step guide to draw a toilet
How To Draw A Toilet
Step 1
Draw a horizontal oval near the top half of the paper for the outer toilet rim.
Step 2
Draw a slightly smaller oval inside the first oval to make the inner rim opening.
Step 3
From the left and right edges of the outer oval draw two vertical slightly curved lines down to form the bowl sides.
Step 4
Connect the two vertical lines at the bottom with a shallow curved line to close the bowl shape.
Step 5
Directly behind the bowl draw a rounded rectangle slightly above the rim for the water tank.
Step 6
On the right side of the tank draw a small rectangle or circle to show the flush handle.
Step 7
Under the bottom of the bowl draw two short vertical lines to start the pedestal.
Step 8
Connect those two short lines with a wide curved base to finish the pedestal.
Step 9
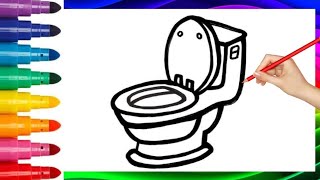
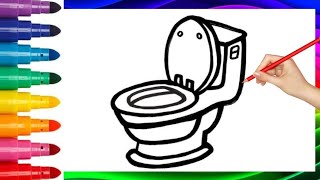
Lightly draw a U-shaped ring around the top outer oval to show the toilet seat.
Step 10
Draw two small rectangles at the back of the seat to make the hinge pieces.
Step 11
Lightly erase any overlapping sketch lines you do not want in the final drawing.
Step 12
Trace over the main lines with your pencil to make the final outline darker and cleaner.
Step 13
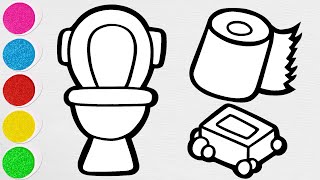
Use your coloring materials to color the tank bowl seat and pedestal with your chosen colors.
Step 14
Add extra details like a water line shading or floor tiles to make your picture more interesting.
Step 15
Share your finished creation on DIY.org.
Help!?
What can we use if we don't have a pencil, eraser, or coloring materials from the instructions?
Use a ballpoint pen or felt-tip marker to sketch if you don't have a pencil, a clean corner of a white crayon or the back of a paintbrush to lift light marks instead of an eraser, and replace colored pencils with crayons, markers, or watercolor paints to color the tank, bowl, seat, and pedestal.
My ovals and the two vertical bowl lines look uneven—how can we fix them before tracing the final outline?
Lightly redraw a center guideline and use a ruler or fold the paper in half to measure the left and right edges, erase extra sketch lines, then trace over the main lines to make the outer and inner ovals and the slightly curved vertical lines more even.
How can I change the activity for younger kids or make it more challenging for older kids?
For younger children, pre-draw the outer and inner ovals and the shallow curved bowl base so they can add the seat, hinge rectangles, and color the tank, bowl, seat, and pedestal, while older kids can add detailed hinge pieces, realistic water-line shading, floor tiles, and cleaner traced outlines for a more advanced drawing.
What are some ways to personalize or extend the drawing before sharing it on DIY.org?
Add patterned floor tiles, a plunger or toilet-paper holder next to the pedestal, change the flush handle shape, decorate the seat with colors or stickers, or cut and mount the finished traced drawing on cardboard to create a small 3D display to photograph and share on DIY.org.
Watch videos on how to draw a toilet
How to Draw a Toilet | Easy Step by Step for Beginners
4 Videos
How to Draw a Toilet | Easy Step by Step for Beginners
How to Draw and Color a Toilet - Fun & Simple Drawing for Beginners
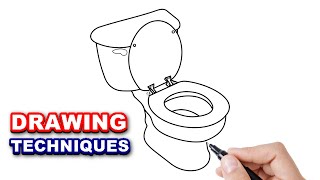
HOW TO DRAW A TOILET, easy drawing techniques
How to Draw and Color a Toilet - Fun & Simple Drawing for Beginners
Facts about drawing for kids
🚽 Break a toilet into simple shapes: an oval for the bowl, a rectangle for the tank, and a curved seat—perfect for step-by-step drawing!
🎨 Most toilets are glazed white porcelain so they look clean and are easy to shade and highlight when coloring.
🧩 When drawing, remember four main parts: bowl, tank, seat, and flush handle—start with big shapes, then add the small details.
🕰️ The modern flush toilet became popular in the 1800s, giving us the classic tank-and-bowl look you’ll learn to sketch.
♻️ Toilet bowls come in round and elongated shapes—try both to practice proportions and make different styles.
How do I teach my child to draw a toilet step-by-step?
What materials do we need to draw a toilet with kids?
What ages is learning to draw a toilet suitable for?
What are the benefits and safety tips for drawing a toilet with children?
