How to draw a thermometer - a free thermometer drawing guide
Draw a detailed thermometer using paper, pencil, ruler, and color. Create scale markings, label temperatures, and practice careful measuring and shading.


Drawing Apps
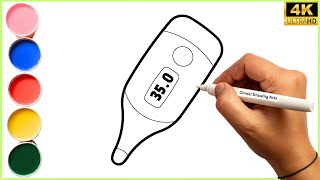
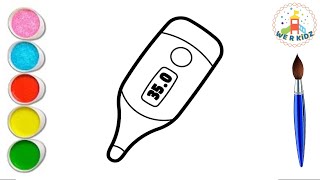
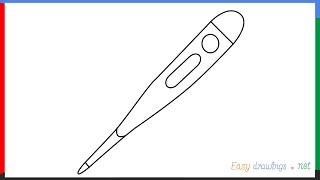
Photos of thermometer drawing examples


Step-by-step guide to draw a thermometer
Quick Draws for Kids - How to Draw a Thermometer (Easy)
Step 1
Place your paper in portrait (vertical) position on a flat table.
Step 2
Lightly draw a circle about 4 cm across near the bottom center of the paper for the thermometer bulb.
Step 3
From the top center of the bulb lightly draw a centerline upward to about 12 cm above the bulb top to mark the tube height.
Step 4
Use your ruler to draw two straight parallel vertical lines 1.5 cm apart along the centerline to form the glass tube.
Step 5
Connect the two tube lines at the top with a small semicircle to make the rounded top cap.
Step 6
Mark the bottom major tick (0°C) just above the bulb and the top major tick (100°C) at the top cap.
Step 7
Use your ruler to make small pencil marks every 1.2 cm up the tube to mark each 10°C interval.
Step 8
Add a shorter pencil mark halfway between each 10°C mark (0.6 cm from each major mark) for 5°C intervals.
Step 9
Draw long tick lines at each 10°C mark and shorter tick lines at each 5°C mark using your ruler.
Step 10
Write the temperature numbers 0 10 20 30 40 50 60 70 80 90 100 neatly next to the long ticks on the right side.
Step 11
Choose a temperature you want to show and make a small dot at that tick so you know where the mercury should stop.
Step 12
Color the bulb and fill the tube up to your chosen dot with red coloring material to show the mercury level.
Step 13
Add a thin pencil shadow along one side of the tube and leave a narrow uncolored strip for a glass highlight.
Step 14
Erase any extra construction lines and darken the final outline and ticks so your thermometer looks neat.
Step 15
Share your finished thermometer drawing on DIY.org
Help!?
What can we use if we don't have a ruler, compass, or red pencil for this thermometer drawing?
Use the straight edge of a book or cereal box to draw the two 1.5 cm-apart tube lines and measure 1.2 cm tick spacing with a folded paper strip, and substitute a red marker, crayon, or piece of red paper to color the bulb and fill the tube.
My tube lines or tick marks look crooked or uneven—how can I fix that step-by-step?
Lightly erase the uneven lines, relight the centerline, place your ruler on that centerline to mark 1.5 cm for the tube edges and make all 1.2 cm major tick marks with the ruler before darkening the long and short ticks to ensure straight, evenly spaced marks.
How should I change the activity for younger kids or for older kids who want more challenge?
For younger children, simplify by drawing a larger bulb and only three big ticks and having them color up to their chosen dot, while older kids can use a compass to make an exact 4 cm bulb, measure precise 1.2 cm intervals for each 10°C and add a Fahrenheit scale alongside the °C numbers.
What are some creative ways to enhance or personalize the finished thermometer before sharing on DIY.org?
Add a thin pencil shadow and narrow highlight as instructed, decorate a seasonal background to show when the chosen temperature occurs, or glue a sliding red paper strip under a clear plastic overlay to make an interactive mercury effect before photographing for DIY.org.
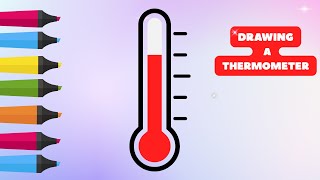
Watch videos on how to draw a thermometer
How to Draw a Thermometer for Kids Step by Step | Easy Thermometer Drawing for Kids | #thermometer
4 Videos
How to Draw a Thermometer for Kids Step by Step | Easy Thermometer Drawing for Kids | #thermometer
How to Draw Thermometer ||Digital Thermometer🌡️ ||Instrument for measuring temprature |Video 4 Kids
How to draw Thermometer step by step for beginners
How to Draw a Thermometer Step by Step | Easy Drawing Tutorial from Leo Draws
Facts about temperature and measurement
🌡️ The first thermometer-like device, a thermoscope, was made by Galileo around 1593 — long before modern glass thermometers!
📏 The markings on a ruler are called a scale, and 'scale' also describes the numbered markings on a thermometer.
💧 The Celsius scale makes drawing labeled thermometers easy: 0°C for freezing water and 100°C for boiling water at sea level.
🇺🇸 The United States still commonly uses Fahrenheit — water freezes at 32°F and boils at 212°F, different numbers to label!
✏️ Shading tricks like darker edges and a bright highlight make a flat drawing of a thermometer look shiny and three-dimensional.
How do I teach my child to draw a detailed thermometer step-by-step?
What materials are needed to draw a thermometer with accurate scale markings?
What ages is drawing a detailed thermometer suitable for?
What are the benefits and safety tips for this thermometer drawing activity?
