How to Draw a Thanksgiving Turkey
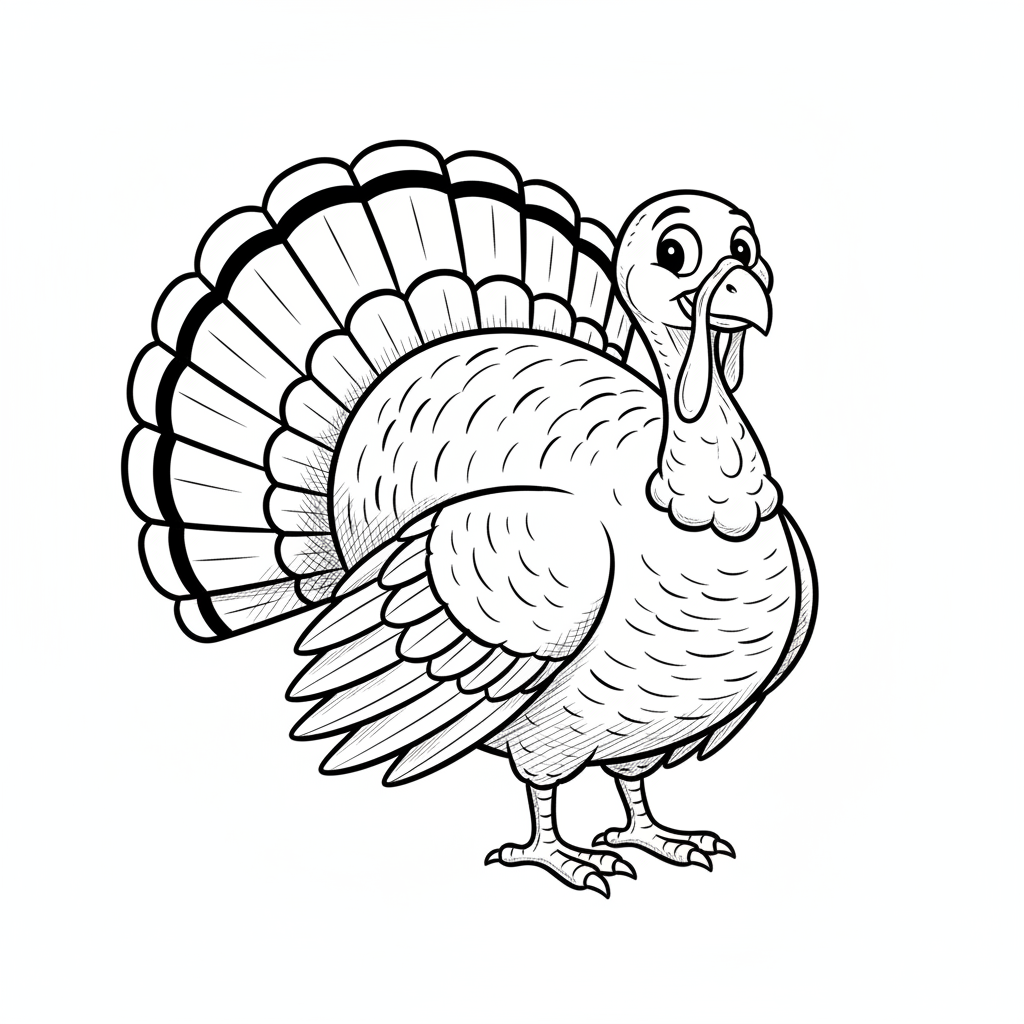
Draw a Thanksgiving turkey step-by-step using simple shapes, outlines, and coloring. Practice proportions, feather patterns, and shading for a festive illustration.
About this tutorial
Draw a Thanksgiving turkey step-by-step using simple shapes, outlines, and coloring. Practice proportions, feather patterns, and shading for a festive illustration.
What you need
Instructions
- 1
Step 1
Lightly draw a large horizontal oval near the center of the paper for the turkey's body.
- 2
Step 2
Draw a smaller circle slightly above and overlapping the oval for the turkey's head.
- 3
Step 3
Draw a short curved line connecting the head and body to make the neck.
- 4
Step 4
Draw the turkey's face by adding a small triangle beak a rounded teardrop wattle and two round eyes on the head.
- 5
Step 5
Draw a curved teardrop shape on one side of the body for the wing.
- 6
Step 6
Draw six large rounded feathers fanning out behind the body starting from one side of the oval to the other.
- 7
Step 7
Add simple patterns on each tail feather like lines V shapes or dots to make them festive.
- 8
Step 8
Draw two straight legs under the body and add small curved lines or ovals for the toes.
- 9
Step 9
Trace over your favorite pencil lines with a black marker and let the ink dry.
- 10
Step 10
Gently erase any remaining pencil lines so only the marker outline shows.
- 11
Step 11
Color the turkey's body head beak wattle legs and feathers using your coloring materials.
- 12
Step 12
Share your finished Thanksgiving turkey creation on DIY.org
Get inspired
Fun facts
How do I draw a Thanksgiving turkey step-by-step?
Start by sketching simple shapes: a large oval for the body and a smaller circle for the head. Add a tiny oval for the wattle and a triangle for the beak. Draw a semicircular fan of overlapping feather shapes for the tail, then two stick legs with ovals for feet. Refine outlines, erase extras, and add feather patterns and proportion notes—head smaller than body, tail larger. Finish with light shading along the belly and under feathers, then color.
What materials do I need to draw a Thanksgiving turkey?
You'll need plain drawing paper or a sketchbook, a pencil and eraser for sketching, and a fine-tip black marker or pen to outline. Bring colored pencils, crayons, or washable markers for filling color; watercolor or tempera paints work too. Optional: a blending stump or cotton bud for soft shading, ruler for symmetry, and scrap paper for testing colors. A washable surface or smock helps with mess.
What ages is drawing a Thanksgiving turkey suitable for?
Suitable for preschoolers through tweens with age-based adjustments. Ages 3–5: focus on simple shapes and parental help with scissors/markers. Ages 6–8: follow step-by-step drawing and try basic feather patterns and coloring. Ages 9–12: practice proportions, more detailed feather designs, and simple shading. Older kids can experiment with texture and color blending. Always supervise young children with sharp tools and small supplies.
What are the benefits of drawing a Thanksgiving turkey with kids?
Drawing a Thanksgiving turkey boosts fine motor skills, hand-eye coordination, and step-sequencing abilities. It teaches basic proportion and pattern recognition while encouraging creativity and color choices. Working on shading introduces observation of light and form, helping visual-spatial reasoning. The activity also offers a calming, screen-free holiday craft that promotes family bonding when done together. Encourage kids to add personal details to make each turkey unique.
Watch & Learn
Need help?
What can we use if we don't have a black marker or the suggested coloring materials?
If you don't have a black marker, trace over your favorite pencil lines with a dark crayon, ballpoint pen, or colored pencil and let any ink dry before gently erasing remaining pencil lines.
My turkey's head, body, or feathers look uneven—how do we fix that?
If the large horizontal oval, smaller circle, or six large rounded feathers look uneven, redraw them lightly using a faint guideline across the back to place feathers evenly and wait for marker ink to dry before erasing pencil lines to avoid smudges.
How can we adapt this drawing activity for different ages or skill levels?
For younger kids, pre-draw the large horizontal oval, smaller circle, neck, and only three large rounded feathers for them to trace and color, while older kids can add extra tail feathers, detailed patterns on each tail feather, and shading with their coloring materials.
What are some ways to extend or personalize the Thanksgiving turkey project?
To extend the activity, add collage textures or fabric to the feathers, glue on googly eyes over the drawn eyes, decorate each tail feather with unique lines, V-shapes, or dots, and photograph your finished turkey to share on DIY.org.