How to draw a tennis racket - a free tennis racket drawing guide
Draw a tennis racket by sketching its oval head, adding a handle, drawing crisscross strings, refining details, and shading to create realistic texture.

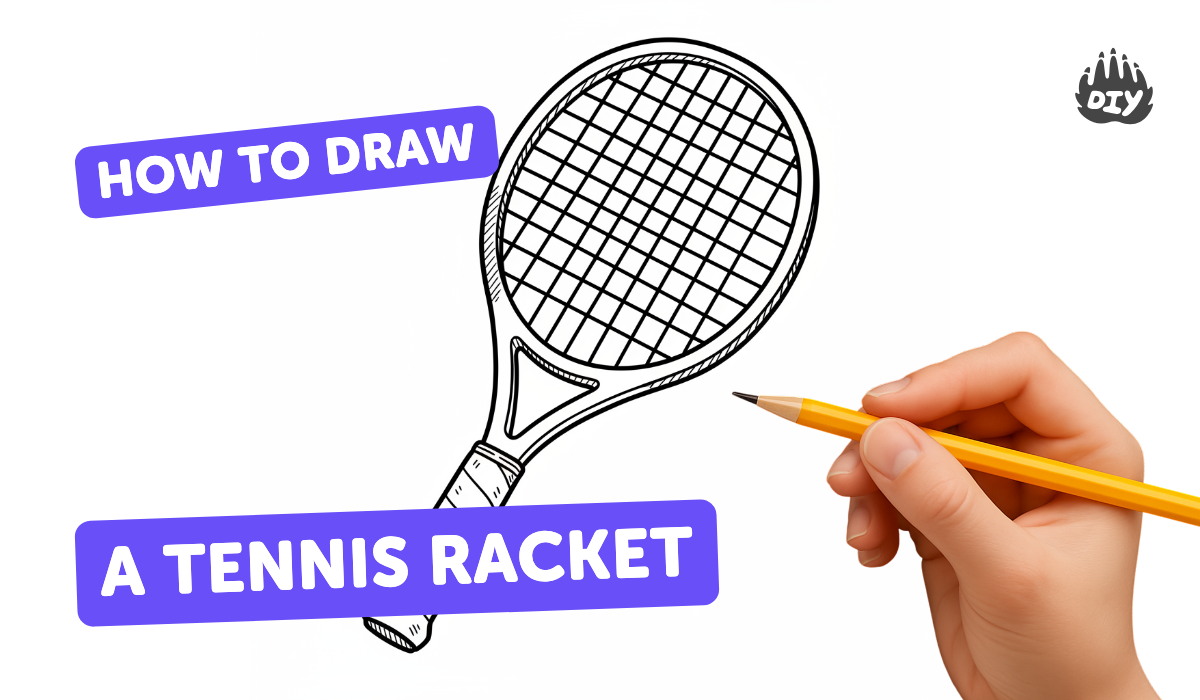
Step-by-step guide to draw a tennis racket
How To Draw A Tennis Racket And Ball
Step 1
Place your paper and pencil on a flat table so you have lots of room to draw.
Step 2
Lightly draw a large oval in the middle of the paper for the racket head.
Step 3
Put a small dot at the bottom center of the oval to mark where the handle will start.
Step 4
Draw a short straight line down from the dot to mark the center of the handle.
Step 5
Draw two parallel lines on either side of the center line to make the handle shape.
Step 6
Add two short curved lines connecting the handle to the oval to form the throat of the racket.
Step 7
Draw a slightly smaller oval inside the first oval to make the racket frame rim.
Step 8
Draw several evenly spaced diagonal lines from one side of the rim to the other across the oval.
Step 9
Draw diagonal lines the other way so the first lines and these lines make a crisscross string pattern.
Step 10
Add small circles or tiny notches where the strings meet the rim to show the string holes.
Step 11
Darken the outer frame and the handle lines to make the racket stand out.
Step 12
Erase any extra construction marks and light guide lines from your drawing.
Step 13
Shade the handle with short strokes to show grip texture and add light shading on one side of the head for depth.
Step 14
Share your finished tennis racket drawing on DIY.org
Help!?
What can I use if I don't have a pencil, eraser, or a flat table?
If you don't have a pencil or eraser use a light-colored crayon or thin washable marker for the initial sketch and a ballpoint or colored pencil to darken the outer frame and handle lines, and place a hardcover book under your paper instead of a flat table.
My oval or strings look uneven—how can I fix them?
If your oval or strings look uneven, lightly redraw the large oval, put a small dot at the bottom center to align the handle, add evenly spaced guide ticks along the rim before drawing the diagonal crisscross string lines, and then erase construction marks.
How can I adapt this drawing for different ages?
For preschoolers have an adult pre-draw the large oval and inner rim so they can add a simple handle and big circles for string holes, for early elementary let them follow the steps to draw the parallel handle lines and crisscross strings, and for older kids add angled perspective and detailed short-stroke shading on the handle.
How can we enhance or personalize the tennis racket drawing?
To enhance the activity add a team logo or colorful pattern on the racket head, use colored pencils to shade the handle with short strokes and add light shading on one side of the head for depth, draw a tennis ball with motion lines, then erase extra marks and share your finished drawing on DIY.org.
Watch videos on how to draw a tennis racket
How to Draw a Tennis Racket and Ball - Easy Step-by-Step! 🎾
4 Videos
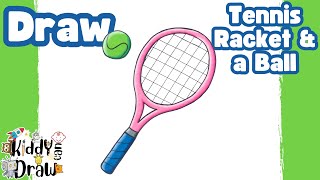
How to Draw a Tennis Racket and Ball - Easy Step-by-Step! 🎾

Tennis Racket Drawing Step by Step for Kids
How to draw a TENNIS RACKET │ EASY drawing tutorial for beginners │ Step by step drawing

Color and Draw a Tennis Racket - For Little Kids
Facts about drawing and sketching
🎾 The standard maximum tennis racket length is 29 inches (about 74 cm) — a great guide for drawing correct proportions!
🪵 Early rackets were made of wood; modern rackets use graphite and carbon fiber, which changed their shapes and weight.
🎨 Artists use hatching and cross-hatching to create the look of crisscross strings and realistic texture on rackets.
🔢 Common string patterns are 16×19 and 18×20, so the spacing in your drawing can match a real racket.
💡 Choosing a clear light source and adding highlights and shadows makes a flat sketch look like a 3D racket.
How do I draw a tennis racket step by step?
What materials do I need to draw a tennis racket with my child?
What ages is drawing a tennis racket suitable for?
What skills and benefits will my child get from drawing a tennis racket?
