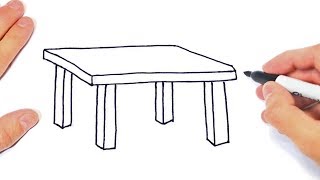
How to draw a table - a free table drawing guide
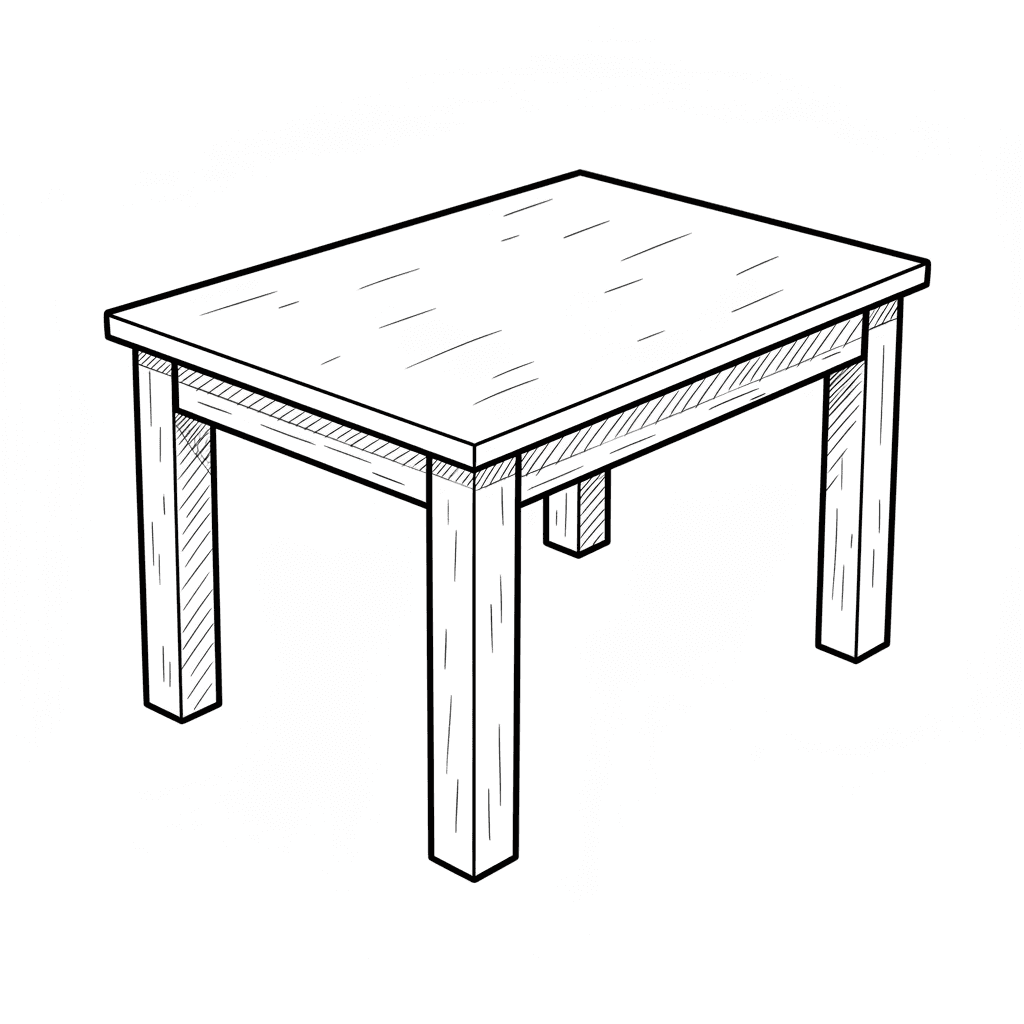
Draw a simple wooden table using pencil, ruler, and shading techniques. Practice perspective, proportion, and shading to make your drawing look three-dimensional.


Drawing Apps
Get inspired with these


Instructions
Learn How to Draw a Table - Very Easy Step by Step for Kids! #drawing
Step 1
Lightly draw a horizontal line across your paper to be the horizon line.
Step 2
Put one small dot on the horizon line to be your vanishing point.
Step 3
Draw a short horizontal line below the horizon to be the front edge of the tabletop.
Step 4
Use your ruler to draw straight lines from each end of the front edge to the vanishing point.
Step 5
Pick points along those slanted lines and draw a horizontal line between them to make the back edge of the tabletop.
Step 6
Use your ruler to measure and mark equal distances along the front and back edges for where the four legs will go.
Step 7
Draw vertical lines down from each leg mark to set how tall the table legs will be.
Step 8
Draw parallel vertical lines beside each leg line and connect their bottoms to make the legs into rectangular leg shapes.
Step 9
Erase extra construction lines inside the tabletop and around the legs so the table shape is clean.
Step 10
Lightly sketch wood grain lines across the tabletop and legs following the direction toward the vanishing point.
Step 11
Choose a light source and shade the opposite faces of the table with softer pencils then use a blending stump or tissue to smooth the shadows.
Step 12
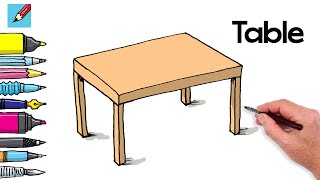
Add final details like sharper grain lines highlights and sign your name on the drawing.
Step 13
Share your finished wooden table drawing on DIY.org.
Help!?
What can we use if we don't have a ruler, blending stump, or softer pencils mentioned in the instructions?
Use a straightedge like the edge of a hardcover book or cereal box instead of a ruler, a folded tissue or cotton swab in place of a blending stump, and substitute softer pencils with a regular HB pressed lighter or a charcoal pencil for the shading step.
My perspective looks wrong or the legs are uneven—what troubleshooting steps fix that?
Go back to the step where you draw lines from the front edge to the vanishing point, extend each slanted guideline carefully with your ruler so they actually meet the vanishing point, then remeasure equal distances along the front and back edges before drawing the vertical leg lines to fix uneven legs.
How can I adapt this table drawing activity for different ages or skill levels?
For younger children simplify by drawing a rectangle top and straight legs without using a vanishing point, while older kids can add complexity by sharpening grain lines, using multiple softer pencils and a blending stump for richer shading, or experimenting with two-point perspective after the horizon/vanishing point steps.
What are simple ways to enhance or personalize the finished wooden table drawing?
After erasing construction lines and completing the shading step, personalize by sketching objects on the tabletop, changing wood grain patterns toward the vanishing point, adding a background on the horizon line, or coloring the table before signing your name and sharing on DIY.org.
Related videos
Learn How to Draw a Table Easy - Simple Step By Step Tutorial For kids #drawing
4 Videos

Learn How to Draw a Table Easy - Simple Step By Step Tutorial For kids #drawing
How to draw a Table Step by Step | Easy drawings
Learn How to Draw Table - Easy dining Table and Chair Drawing -Step by Step for Kids! #drawing
How to draw a table Real Easy
Fun Facts
📐 One-point perspective uses a single vanishing point on the horizon — all parallel lines appear to meet there, which makes flat drawings look 3D!
✏️ Using a ruler keeps edges perfectly straight; architects and illustrators rely on rulers to make perspective lines clean and believable.
🔦 Light direction changes everything — the side facing the light is brighter and the opposite side gets core shadows and cast shadows for depth.
🌳 Drawing wood grain along the tabletop surface helps sell realism and can hint whether the table is oak, pine, or maple.
🪑 A typical table height is about 75 cm (30 in), a handy real-world proportion to measure against when sketching scale.
How do you draw a realistic wooden table using one-point perspective?
What materials do I need to draw a one-point perspective wooden table?
What ages is this one-point perspective table activity suitable for?
What are the benefits and safe variations for drawing a wooden table?


