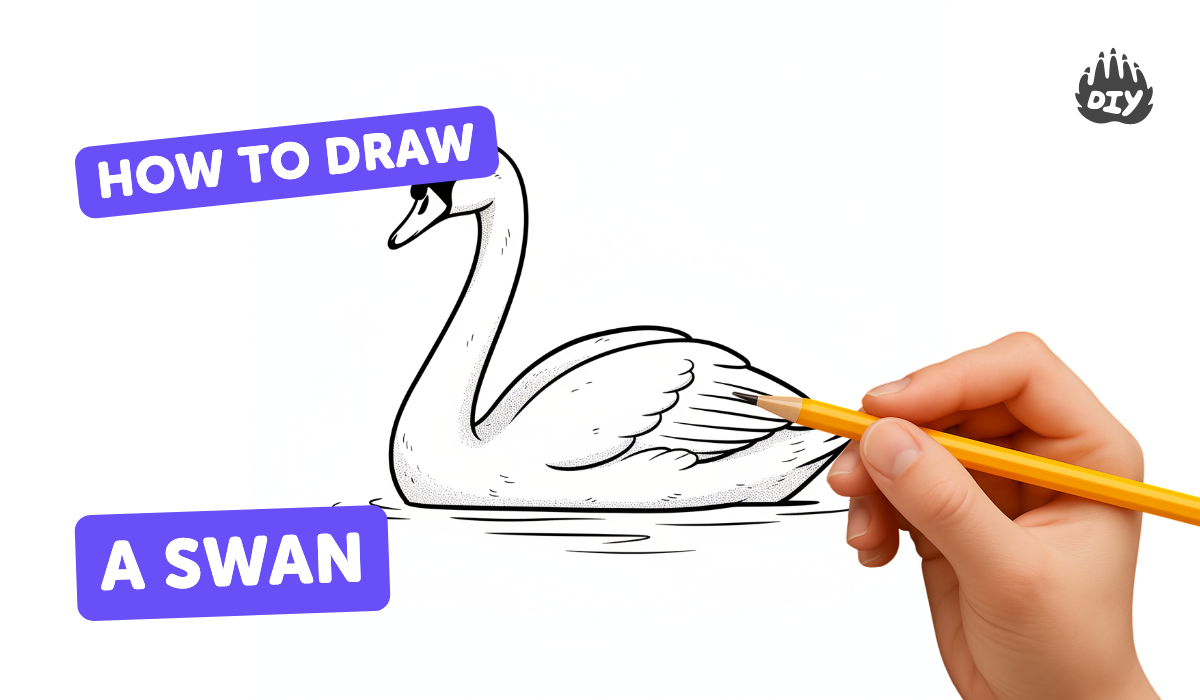
How to draw a swan - a free swan drawing guide
Draw a graceful swan step-by-step using simple shapes, pencil, and eraser. Practice proportion, smooth curves, shading, and adding feathered details.

Drawing Apps
Photos of swan drawing examples


Step-by-step guide to draw a swan
How To Draw A Swan
Step 1
Lightly draw a small circle near the top of the paper for the swan's head.
Step 2
Draw a larger oval slightly below and to the side of the circle for the swan's body.
Step 3
Sketch a long graceful S-shaped curve connecting the head and body to make the swan's neck.
Step 4
Erase the overlapping construction lines inside where the neck meets the head and body to create a smooth connection.
Step 5
Draw a short pointed beak attached to the front of the head.
Step 6
Add a small dot for the eye on the head.
Step 7
Lightly sketch the wing shape on the body using a long curved line from the back toward the belly.
Step 8
Add scalloped feather lines along the wing edge to show individual feathers.
Step 9
Draw a few short curved strokes at the tail end to form tail feathers.
Step 10
Draw a horizontal waterline under the swan.
Step 11
Add light ripples around the swan where its body meets the water.
Step 12
Shade the underside of the neck and belly with gentle pencil strokes to give the swan volume.
Step 13
Use the eraser to lift tiny highlights on the beak and feathers to add shine.
Step 14
Share your finished swan drawing on DIY.org
Help!?
What can I use if I don't have a drawing pencil, kneaded eraser, or sketch paper listed in the steps?
If you don't have a drawing pencil or kneaded eraser, use a regular HB or mechanical pencil for the head, oval body, S-shaped neck and shading, and a clean white vinyl eraser (or a folded tissue) to lift tiny highlights on the beak and feathers, and any plain printer paper or a page from a sketchbook will work for the drawing surface.
My swan's neck looks stiff or disconnected—how do I fix it?
Redraw the long graceful S-shaped curve lightly with smooth, continuous strokes and carefully erase the overlapping construction lines where the neck meets the head and body so the neck reads as one flowing shape.
How can I change the activity for different ages or skill levels?
Make the head circle and body oval much larger and let younger children trace bold lines with crayons for the basic head, body and S-shaped neck, while older kids can add scalloped feather lines, gentle pencil shading under the neck and belly, and erased highlights on the beak and feathers.
What are some simple ways to extend or personalize the swan drawing after finishing the basic steps?
Enhance your drawing by adding soft blue watercolor around the horizontal waterline and light ripples, painting a faint reflection under the swan, coloring the beak and feathers, signing your name, and then share your finished swan drawing on DIY.org.
Watch videos on how to draw a swan
How to Draw a Swan Easy 🦢Emoji
4 Videos
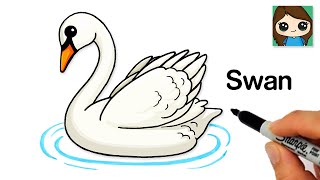
How to Draw a Swan Easy 🦢Emoji

How To Learn To Draw A Duck
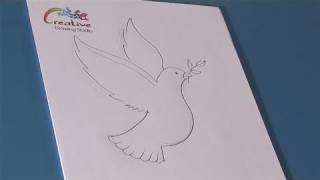
How To Learn To Draw A Dove

How To Draw A Robin Bird - Preschool
Facts about pencil drawing and sketching
🦢 Swans have about 23–25 neck vertebrae, which is why their necks can bend into elegant S-curves perfect for sketching.
🖌️ Artists use an 'S-curve' to make figures look graceful — practicing smooth curves will make your swan look more natural.
🎨 Chiaroscuro (light-dark contrast) is a classic shading trick that helps a flat drawing of a swan look three-dimensional.
❤️ Many swan species form long-term pair bonds, so swans are often symbols of love and loyalty in art and stories.
✏️ Professional artists start with simple shapes (ovals, circles, lines) and light pencil strokes, then refine and erase as they go.
How do I teach my child to draw a swan step-by-step?
What materials do I need to draw a swan with my child?
What ages is drawing a swan suitable for?
What are the benefits and fun variations of drawing a swan?
